Balsa Bashing a P40 (Part 5)

Guillow’s Series 400 P40 Warhawk Build:
Paint:

If you have read my previous posts you may remember me drawing reference to the slightly ‘elastic’ feel of the Deluxe Material’s ‘Eze-Dope’ once dried. Thankfully the paint has stiffened the tissue covering up considerably. Following a spray with white primer the main colours were applied by brush. I prefer acrylics (Revell Aqua Color); after all what’s not to like with an odourless, water-thinnable paint which cleans up under the tap afterwards? Several coats were needed, as is to be expected from brushing, plus I don’t like the transparent look interspersed with brush strokes when the model is held up to the light.

Guillows P40 Base Coat Applied

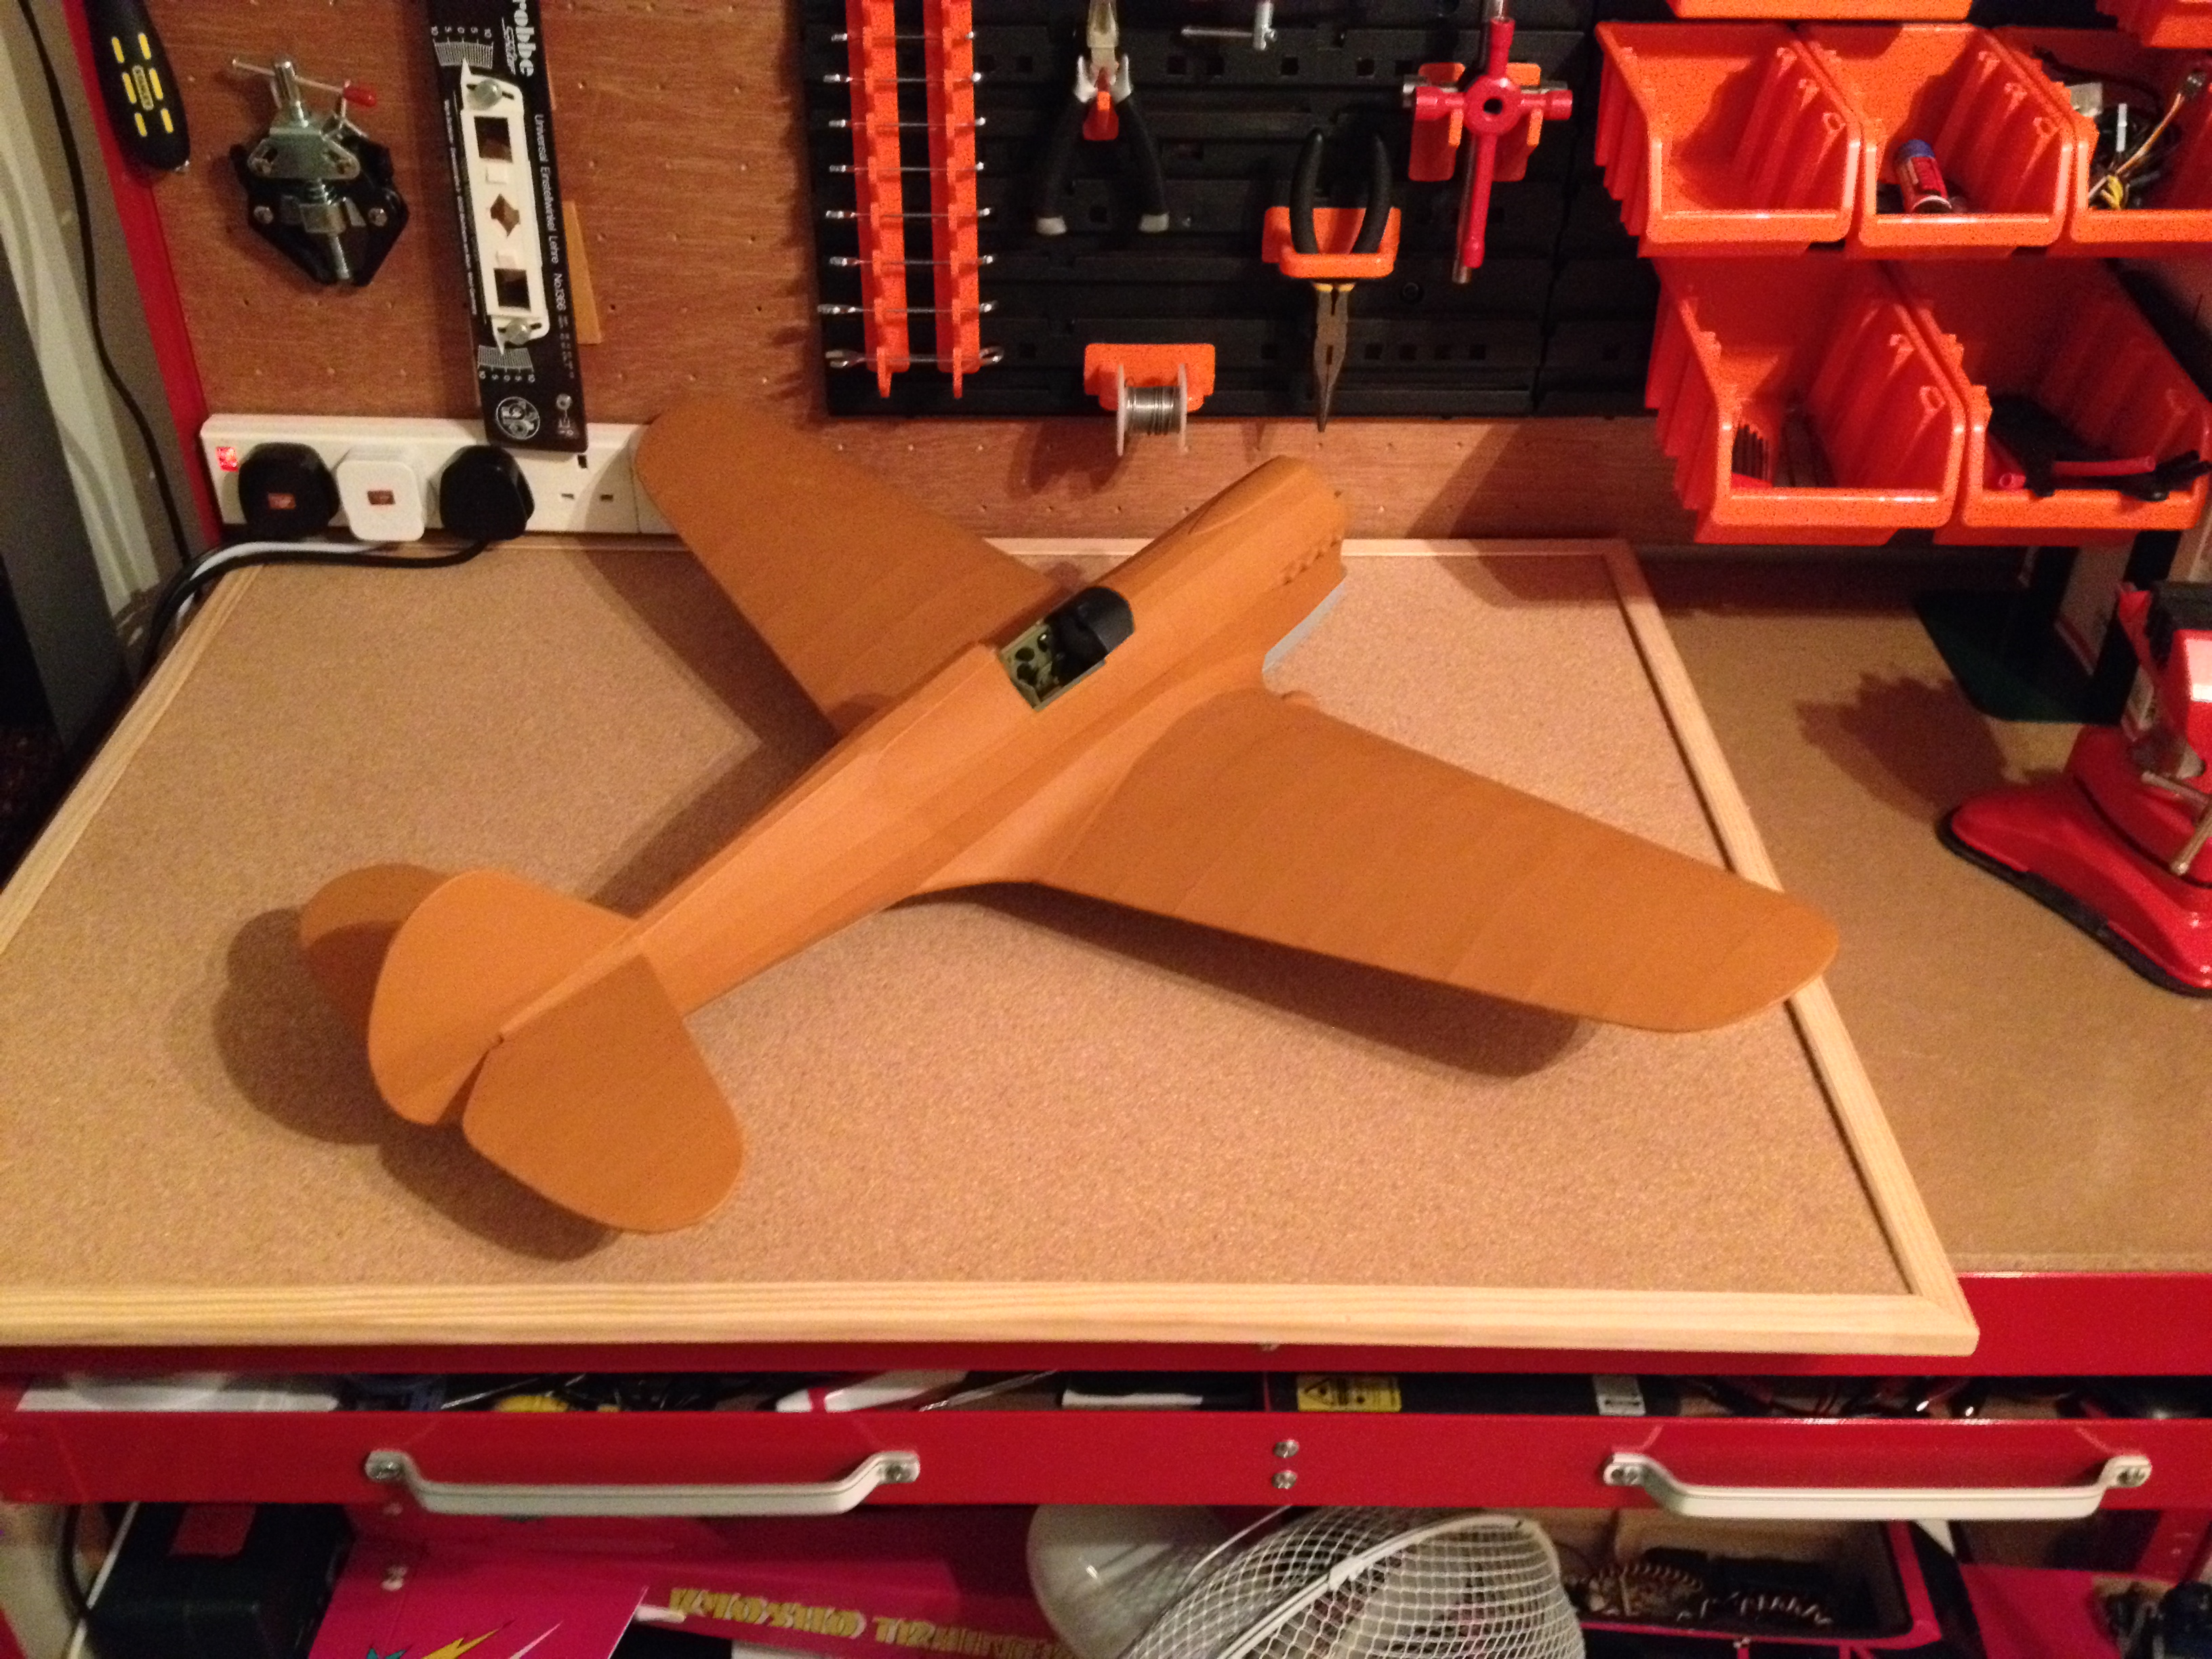
Top base coat applied.

Guillows P40 Base Coat Applied

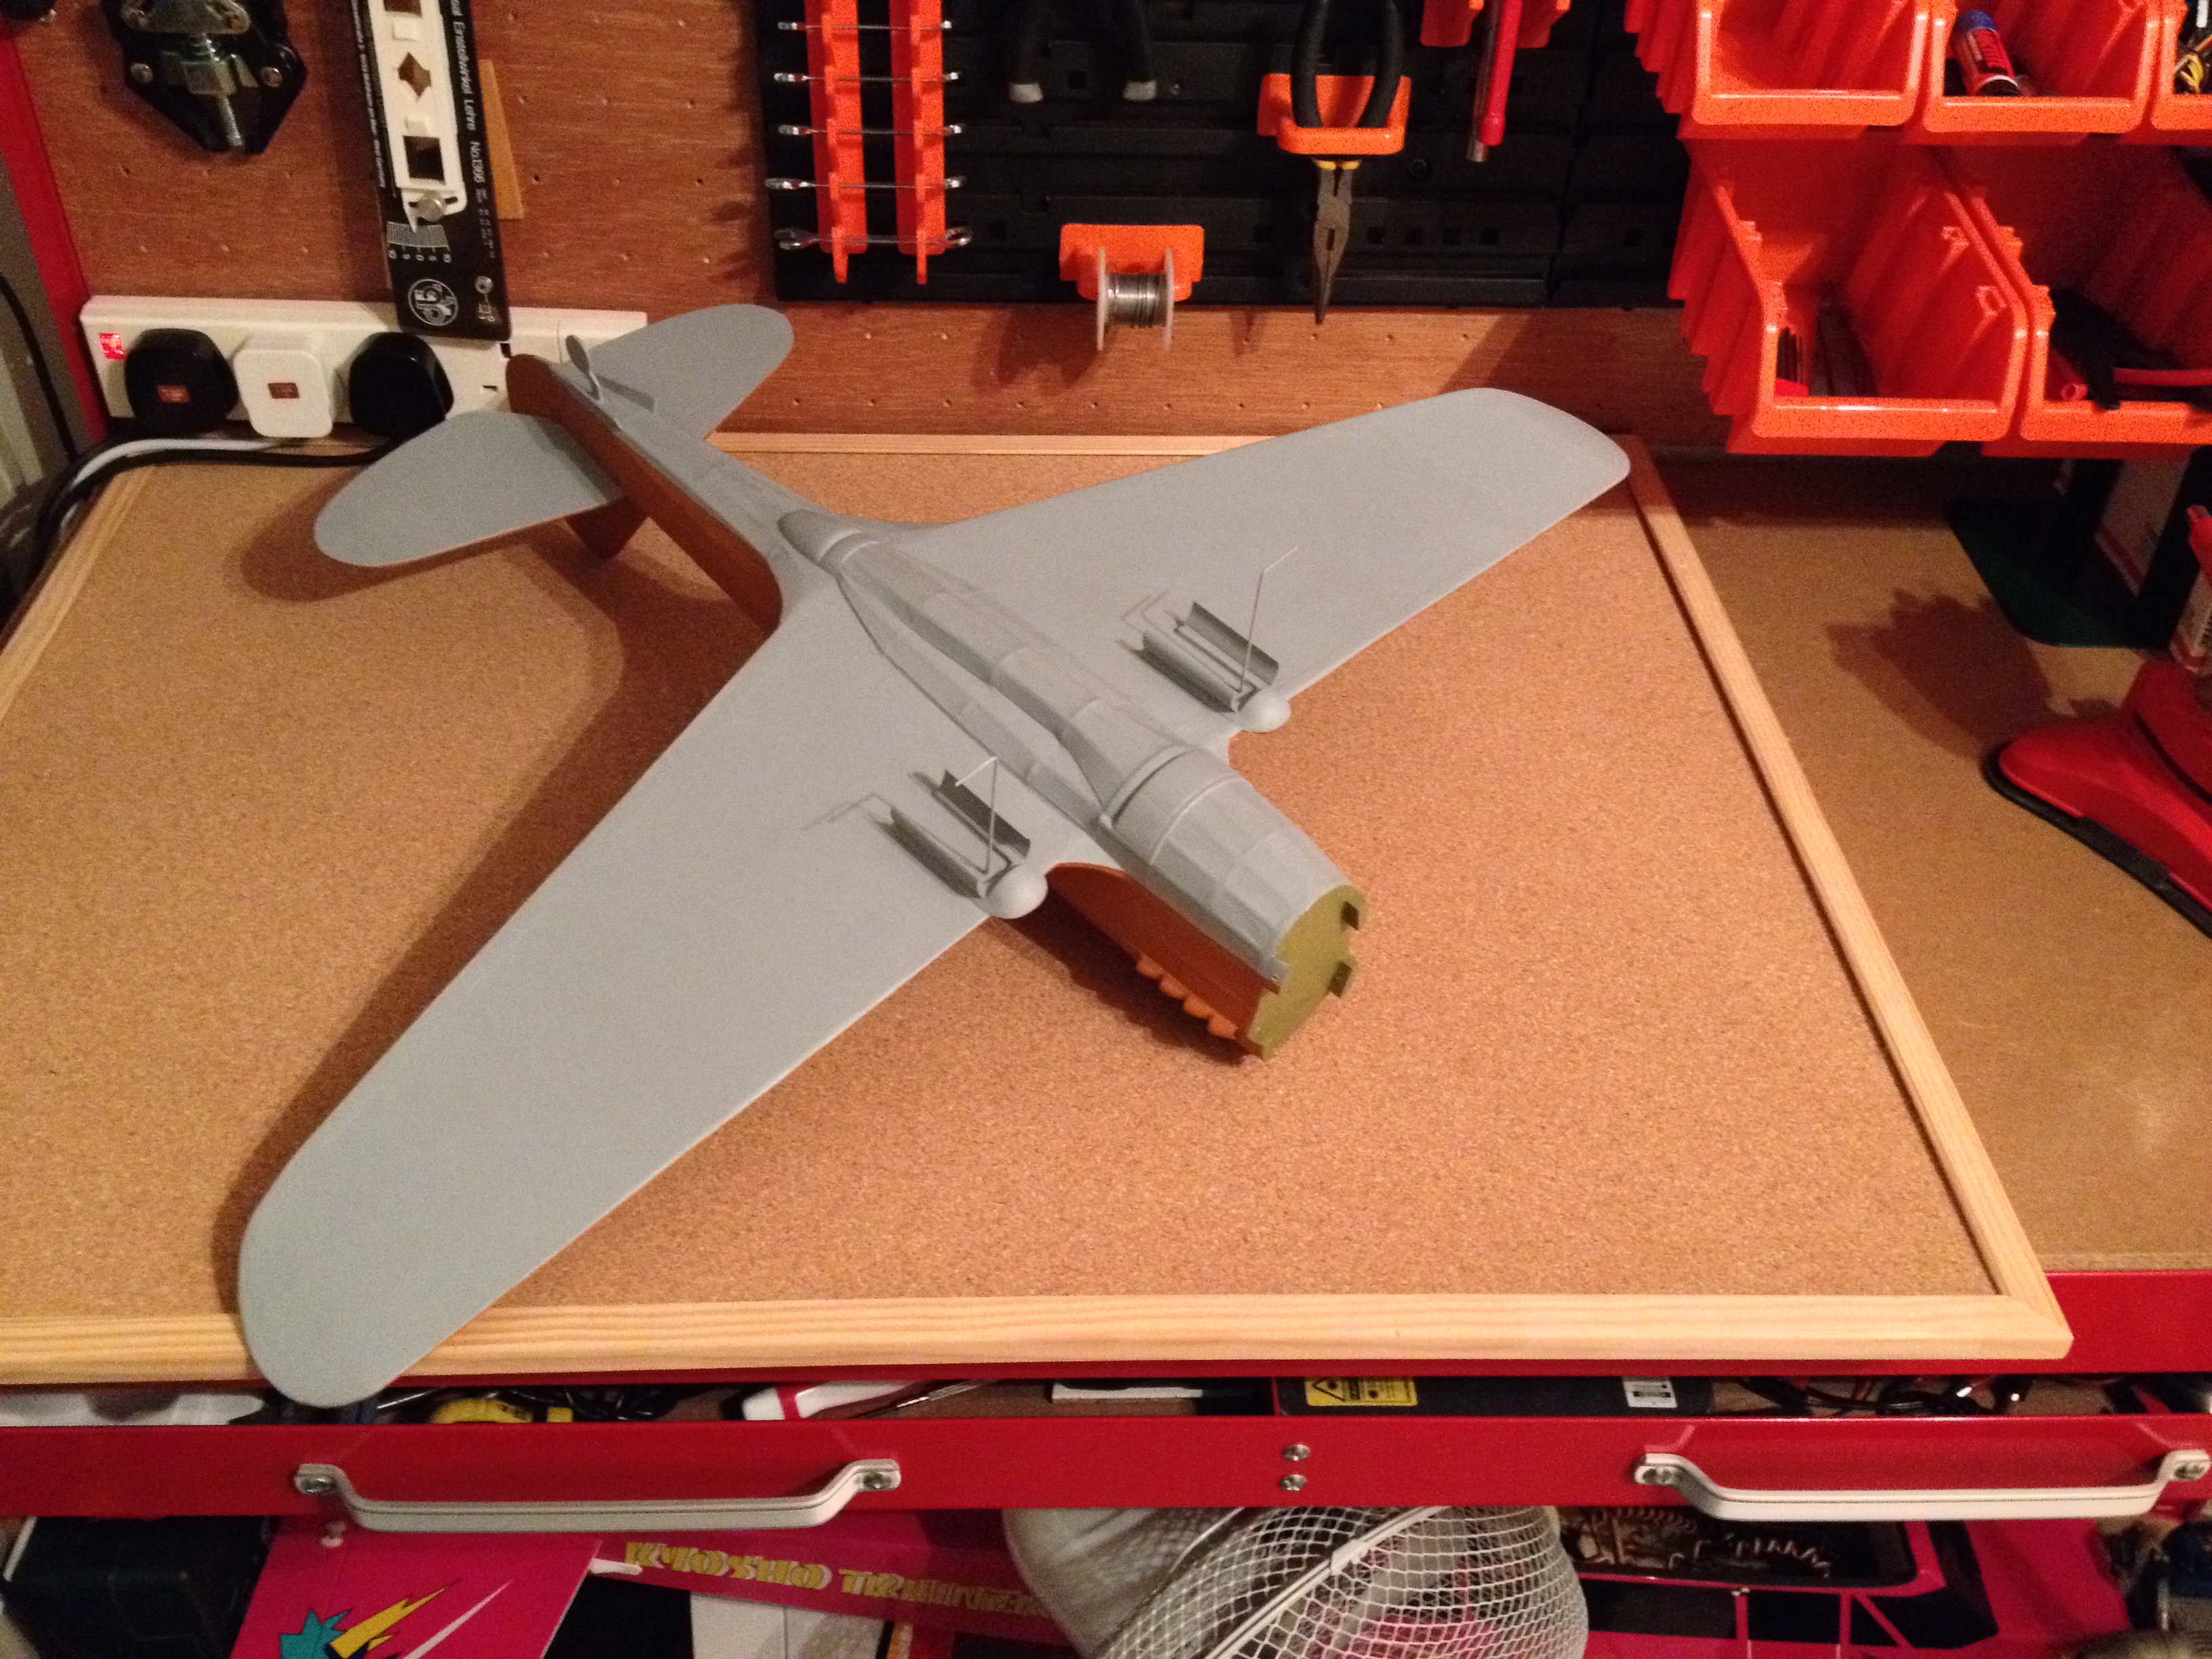
Underside base coat.  You can also see the spruce blocks into which go the cowling mount screws

Gulliows P40 (Q3) Camouflage (28.04.14)

Basic camouflage applied.

Gulliows P40 Camouflage

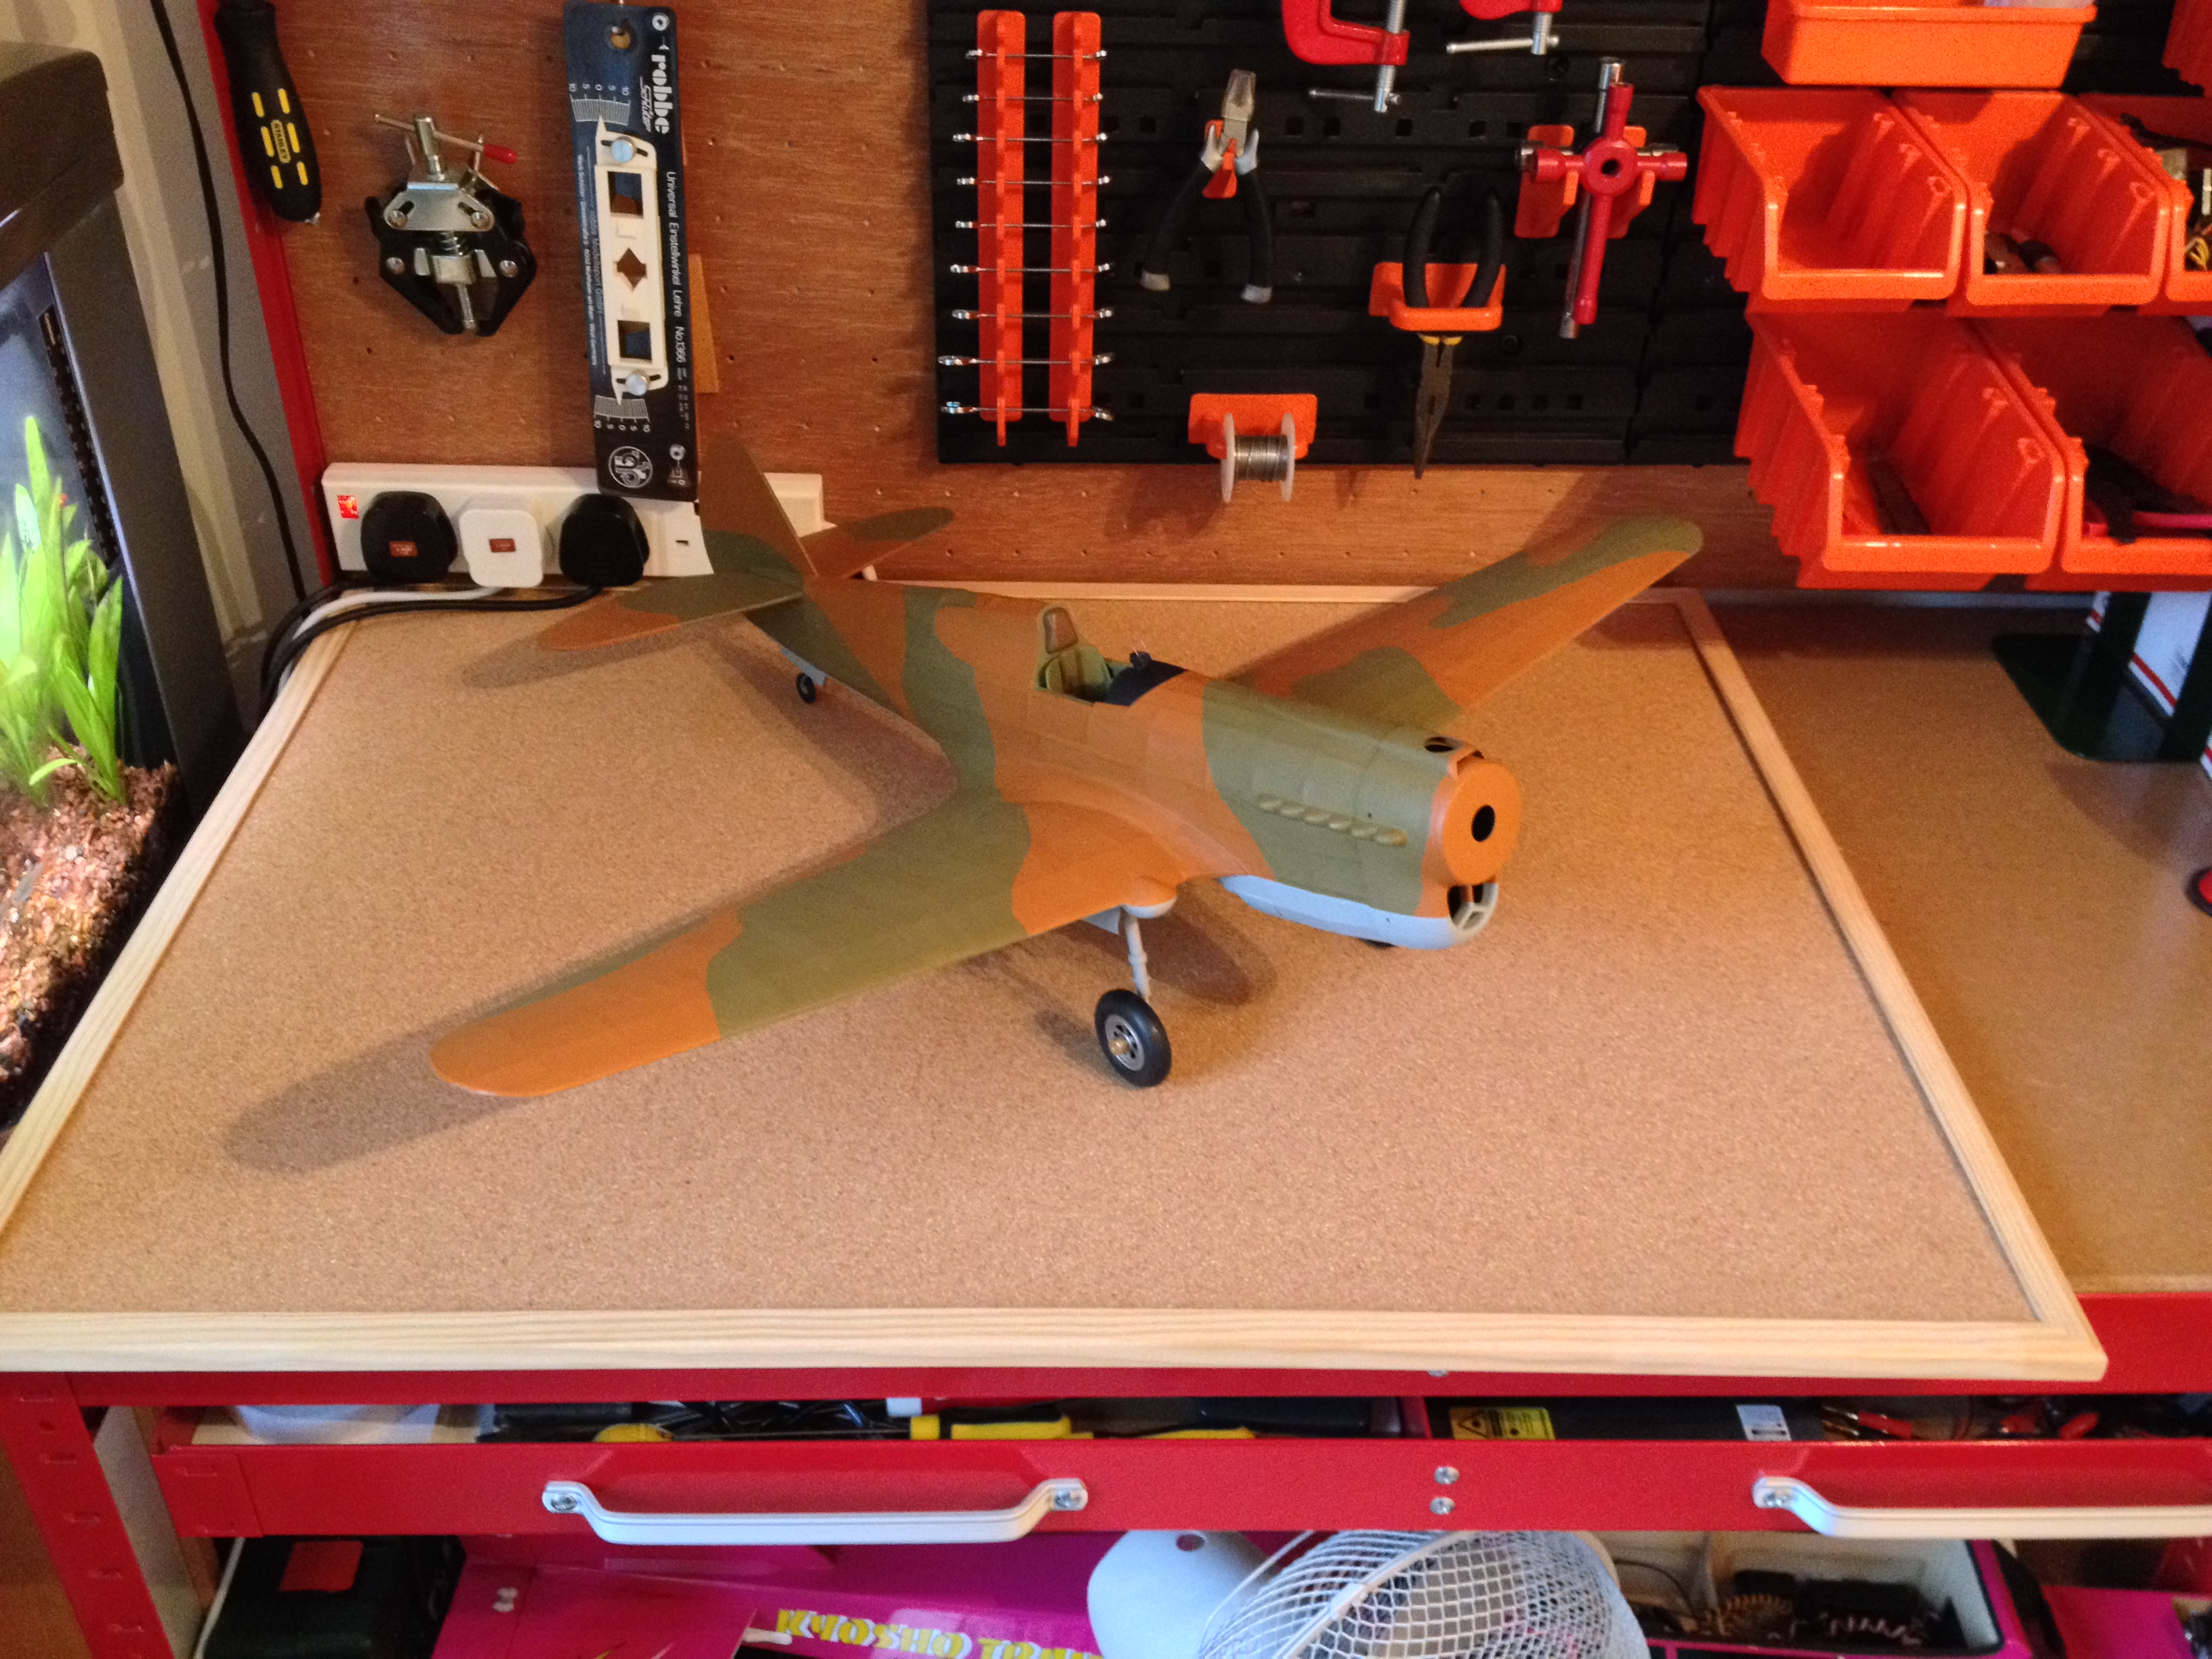
Cowling fitted into place with cut-outs made to suit the engine.

Gulliows P40 Undercarriage

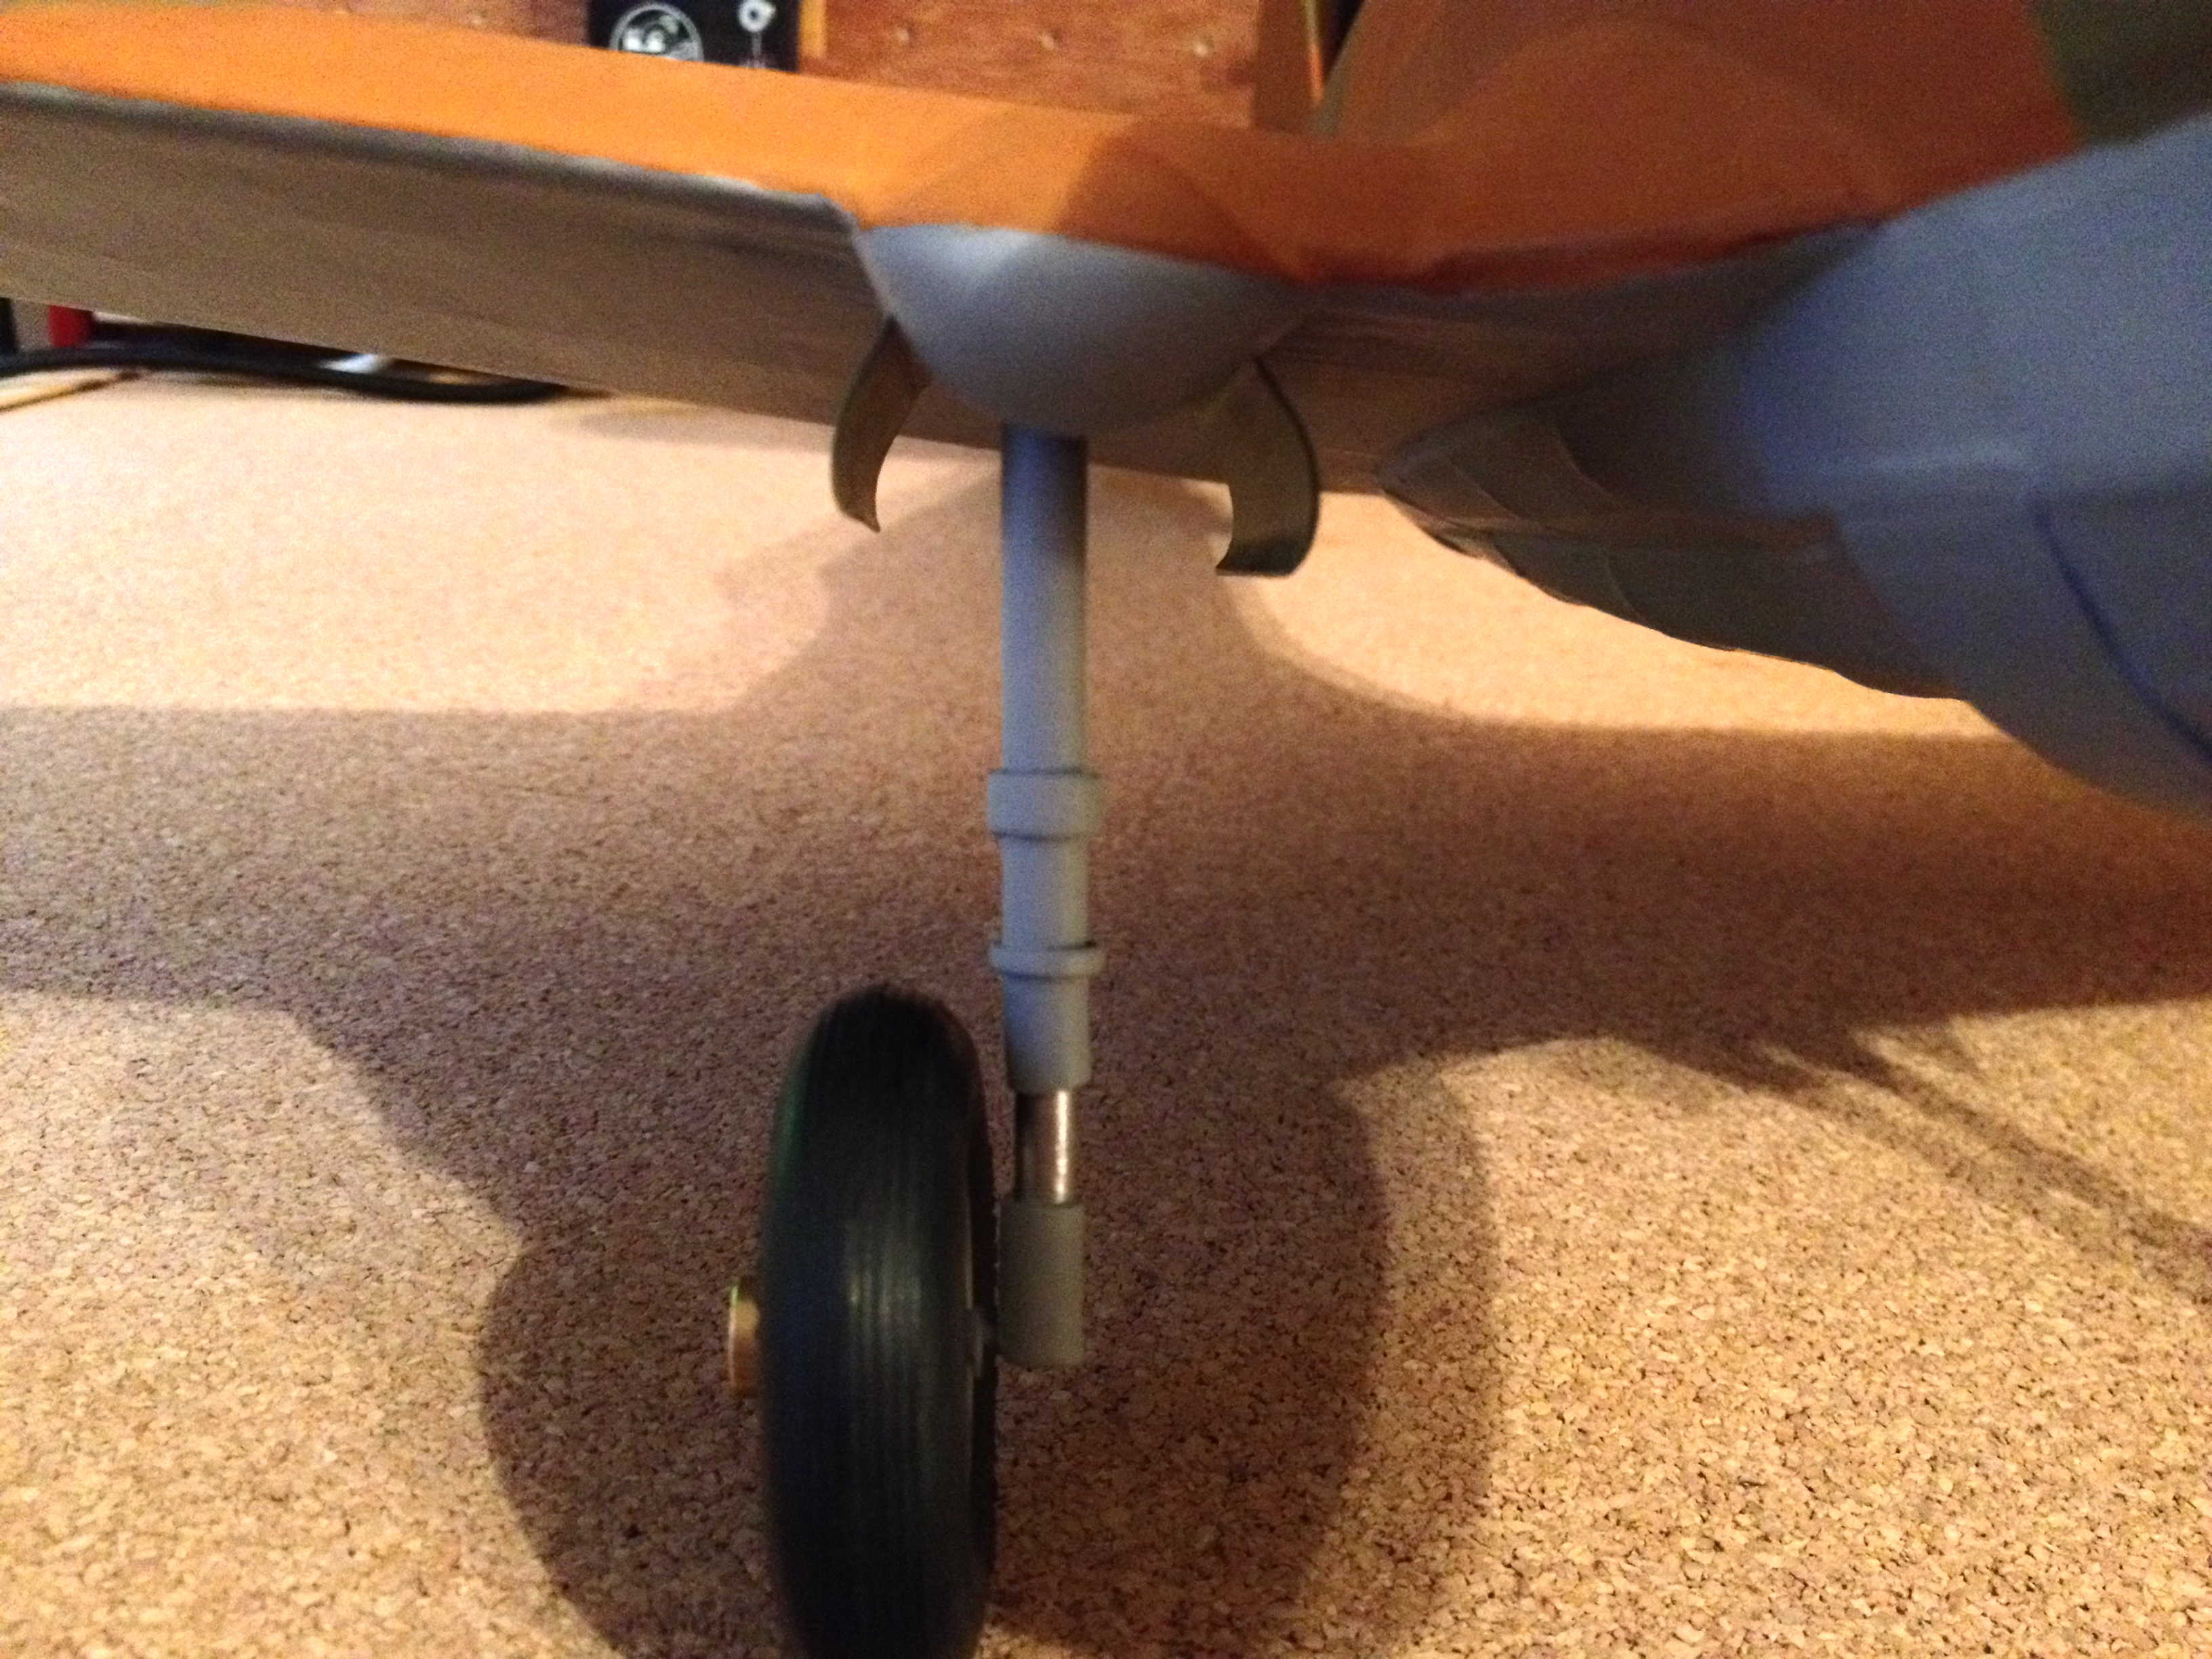
Undercarriage oleos constructed from silicone tubing with masking tape wrap-around strips

Painting any model, especially in more than one colour, is going to incur a weight penalty. The weight is now 152 grams including the cockpit detailing and undercarriage. A Cox Pee Wee .020 (0.33 cc) engine weighs 26 grams so I’m on track for staying under my maximum target weight of 200 grams. This engine is not exactly a power house when compared with a similar sized electric motor, but neither does it have to lug around a battery. For free flight this is good – landings are not going to be smooth and no battery equals no internal damage in the event of a sudden stop!

Balsa Bashing a P40 (Part 4)

Guillow’s Series 400 P40 Warhawk Build:
Fairings:

That’s the plastic parts and fairings glued into place.  A case of measure twice, cut once and carefully sand for a perfect fit.  I used liquid polystyrene cement throughout for the plastic and cyano for the balsa fairings.  A little more ‘persuasion’ was required for those, even with 1/32” balsa, and white glue was never going to set in time.

The cowling is held on with self-tapping screws into spruce blocks glued onto the firewall.  I would rather be able to get at the engine than permanently glue the cowling in place as per the instructions.  I’m very much doubt there is adequate cooling airflow.  Normally with enclosed engines you want a ratio of 1:2 inflow to outflow.  Any extra inflow without sufficient area for exit creates a ‘wall’ of air which inhibits any further fresh intake.  Short of cutting the base of the cowling there is little else I can do to keep any potential cooling holes in the cowling concealed.  It may just be best to run it rich – it’s not as if a free-flight power runs (or perhaps that should read ‘free flight models’!) last for long.

Instead of thin card I used 1/32″ balsa for the fairings.  Simply personal preference as I find it easier to shape and glue into place.

The cowling is removable for convenience and takes with it the overlapping parts of the exhausts and top air scoop.

The front and rear belly pan cowlings clean up the lines nicely. A bit of filling will be required to blend in undercarage nacels at the wing leading edge. Next step is painting – looking forward to that part!

Balsa Bashing a P40 (Part 3)

Guillow’s Series 400 P40 Warhawk Build:
Tissue Covering:

I elected to try Eze-Dope, by Deluxe Materials, instead of cellulose dope to affix and shrink the tissue.  Marketed as being water soluble it was certainly easier to clean up afterwards and considerably less smelly!  I found a weak solution worked better than water alone for initial tightening, followed by several coats at 50/50 until slightly glossy.  It was difficult to brush on a thin enough coat if applied neat straight from the bottle resulting in an uneven crazed surface.

My only other criticism is that once dried the tissue can be ‘stretched’ if enough pressure is applied to a small area, resulting in a slightly sagging panel.  I suspect this is the ‘polymer’ nature of Eze-dope, which once ‘dry’ then behaves as a plastic.  No amount of additional water or dope would encourage the tissue to re-shrink, and heat, whilst initially successful, still failed to provide a permanent solution.  The only option was to cut away the offending area and re-cover; not difficult but slightly annoying.   I’m hoping paint will maintain the surface tension somewhat but failing that it will just be a case of handle carefully!  On the flip side, slightly stretchy also equates to puncture resistance and the sagging wouldn’t be sufficient to affect flying performance.

Guillows P40 (N) Covering Completed (07.01.14)

Assembled and ready for the plastic parts and wing fairings.

Guillows P40 (N2) Covering Completed (07.01.14)

The kit supplied tissue was used throughout and (mainly) applied dry using Eze-Dope at the edges.

Guillows P40 (N3) Covering Completed (07.01.14)

I’m still debating on using 1/32″ balsa instead of thin card for the fairings. IMO it’s considerably easier to sand and shape balsa a bit at a time than cut card.

Guillows P40 (N4) Covering Completed (07.01.14)

The belly pan stringer detail was a little vague on the plans and required a bit of comparison with photos of the full size P40 and then a bit of guesswork. I reached for the white glue to encourage the tissue to stay attached to what amounts to a concave structure during application.

Balsa Bashing a P40 (Part 2)

Guillow’s Series 400 P40 Warhawk Build:
Cockpit Detail:

I decided to deviate from the plan’s suggestion of using thin cardboard and instead made the dummy bulkheads behind the cockpit from balsa sheet.  This may add a bit more weight but I feel the trade-off for additional durability worth it, particularly as I’m going to be trimming the canopy side windows from the main moulding and attaching them separately.

The cockpit detail has been crafted from scrap balsa, doped to seal, and then painted.  The instruments I’ve represented with a photo of the real thing glued to the panel – simple but effective.  My aim was to make something attractive to pass off as ‘semi-scale’ with minimal weight penalty and I’m quite pleased with the final result.

Guillows P40 Cockpit Crafted

Cockpit detail and dummy bulkheads crafted from scrap balsa

Guillows P40 Cockpit Completed

Instrument panel

Guillows P40 Cockpit Completed

Cockpit left side

Guillows P40 Cockpit Completed

Seat and trim adjusters

Guillows P40 Cockpit Completed

Cockpit right side

Guillows P40 Cockpit Completed

Documents pouch

Balsa Bashing a P40 (Part 1)

Guillow’s Series 400 P40 Warhawk Build:

I’ve always been a fan of Guillow’s kits finding them well engineered and very comprehensive.   Many are now converted to micro RC and I did toy with doing this but in the end I decided to build this one as a glow powered free flight/display and will build it for the most part as per the instructions.  The current series 400 kits include laser cut parts but my particular kit must have passed through the net and contained the traditional die-cut parts.  Not to worry though as the parts were soon released from the sheets.  Some formers and spars did need a little work to reduce the size of the stringer slots but overall the frames went together smoothly using white glue throughout.  I always start with the wings.  If I start with the fuselage I spend so long admiring it that I never get around to the rest!

Guillows P40 (A) Ribs Glued

Ribs glued in place

Guillows P40 (B) Top Spars Glued

Top spars glued in position

Guillows P40 (C) Dihedral Set

Dihedral Set (and obligatory tea in my favourite Edinburgh Neuroscience mug)

Guillows P40 Completed Wing

Completed Wing

Guillows P40 (E2) Tail Surfaces Construction

Tail surfaces constructed – nothing complex about these

Guillows P40 (F) Tail Surfaces Sanded

Tail surfaces completed and sanded smooth

Guillows P40 (G) Fuselage Formers

Fuselage formers glued into place. ‘All-Square’ gauges ensure everything is at 90 degrees.

Guillows P40 (H) Opposite Fuselage Formers Added

Opposite fuselage formers added

Guillows P40 (I2) Fuselage Stringers Completed

Stringers added to complete the fuselage

Guillows P40 (J) Plastic Parts Cut Out

Plastic parts cut out and sanded to shape

Guillows P40 (K) Dry Assembly

Dry assembly prior to covering

Guillows P40 (K2) Dry Assembly

Looking good already!