
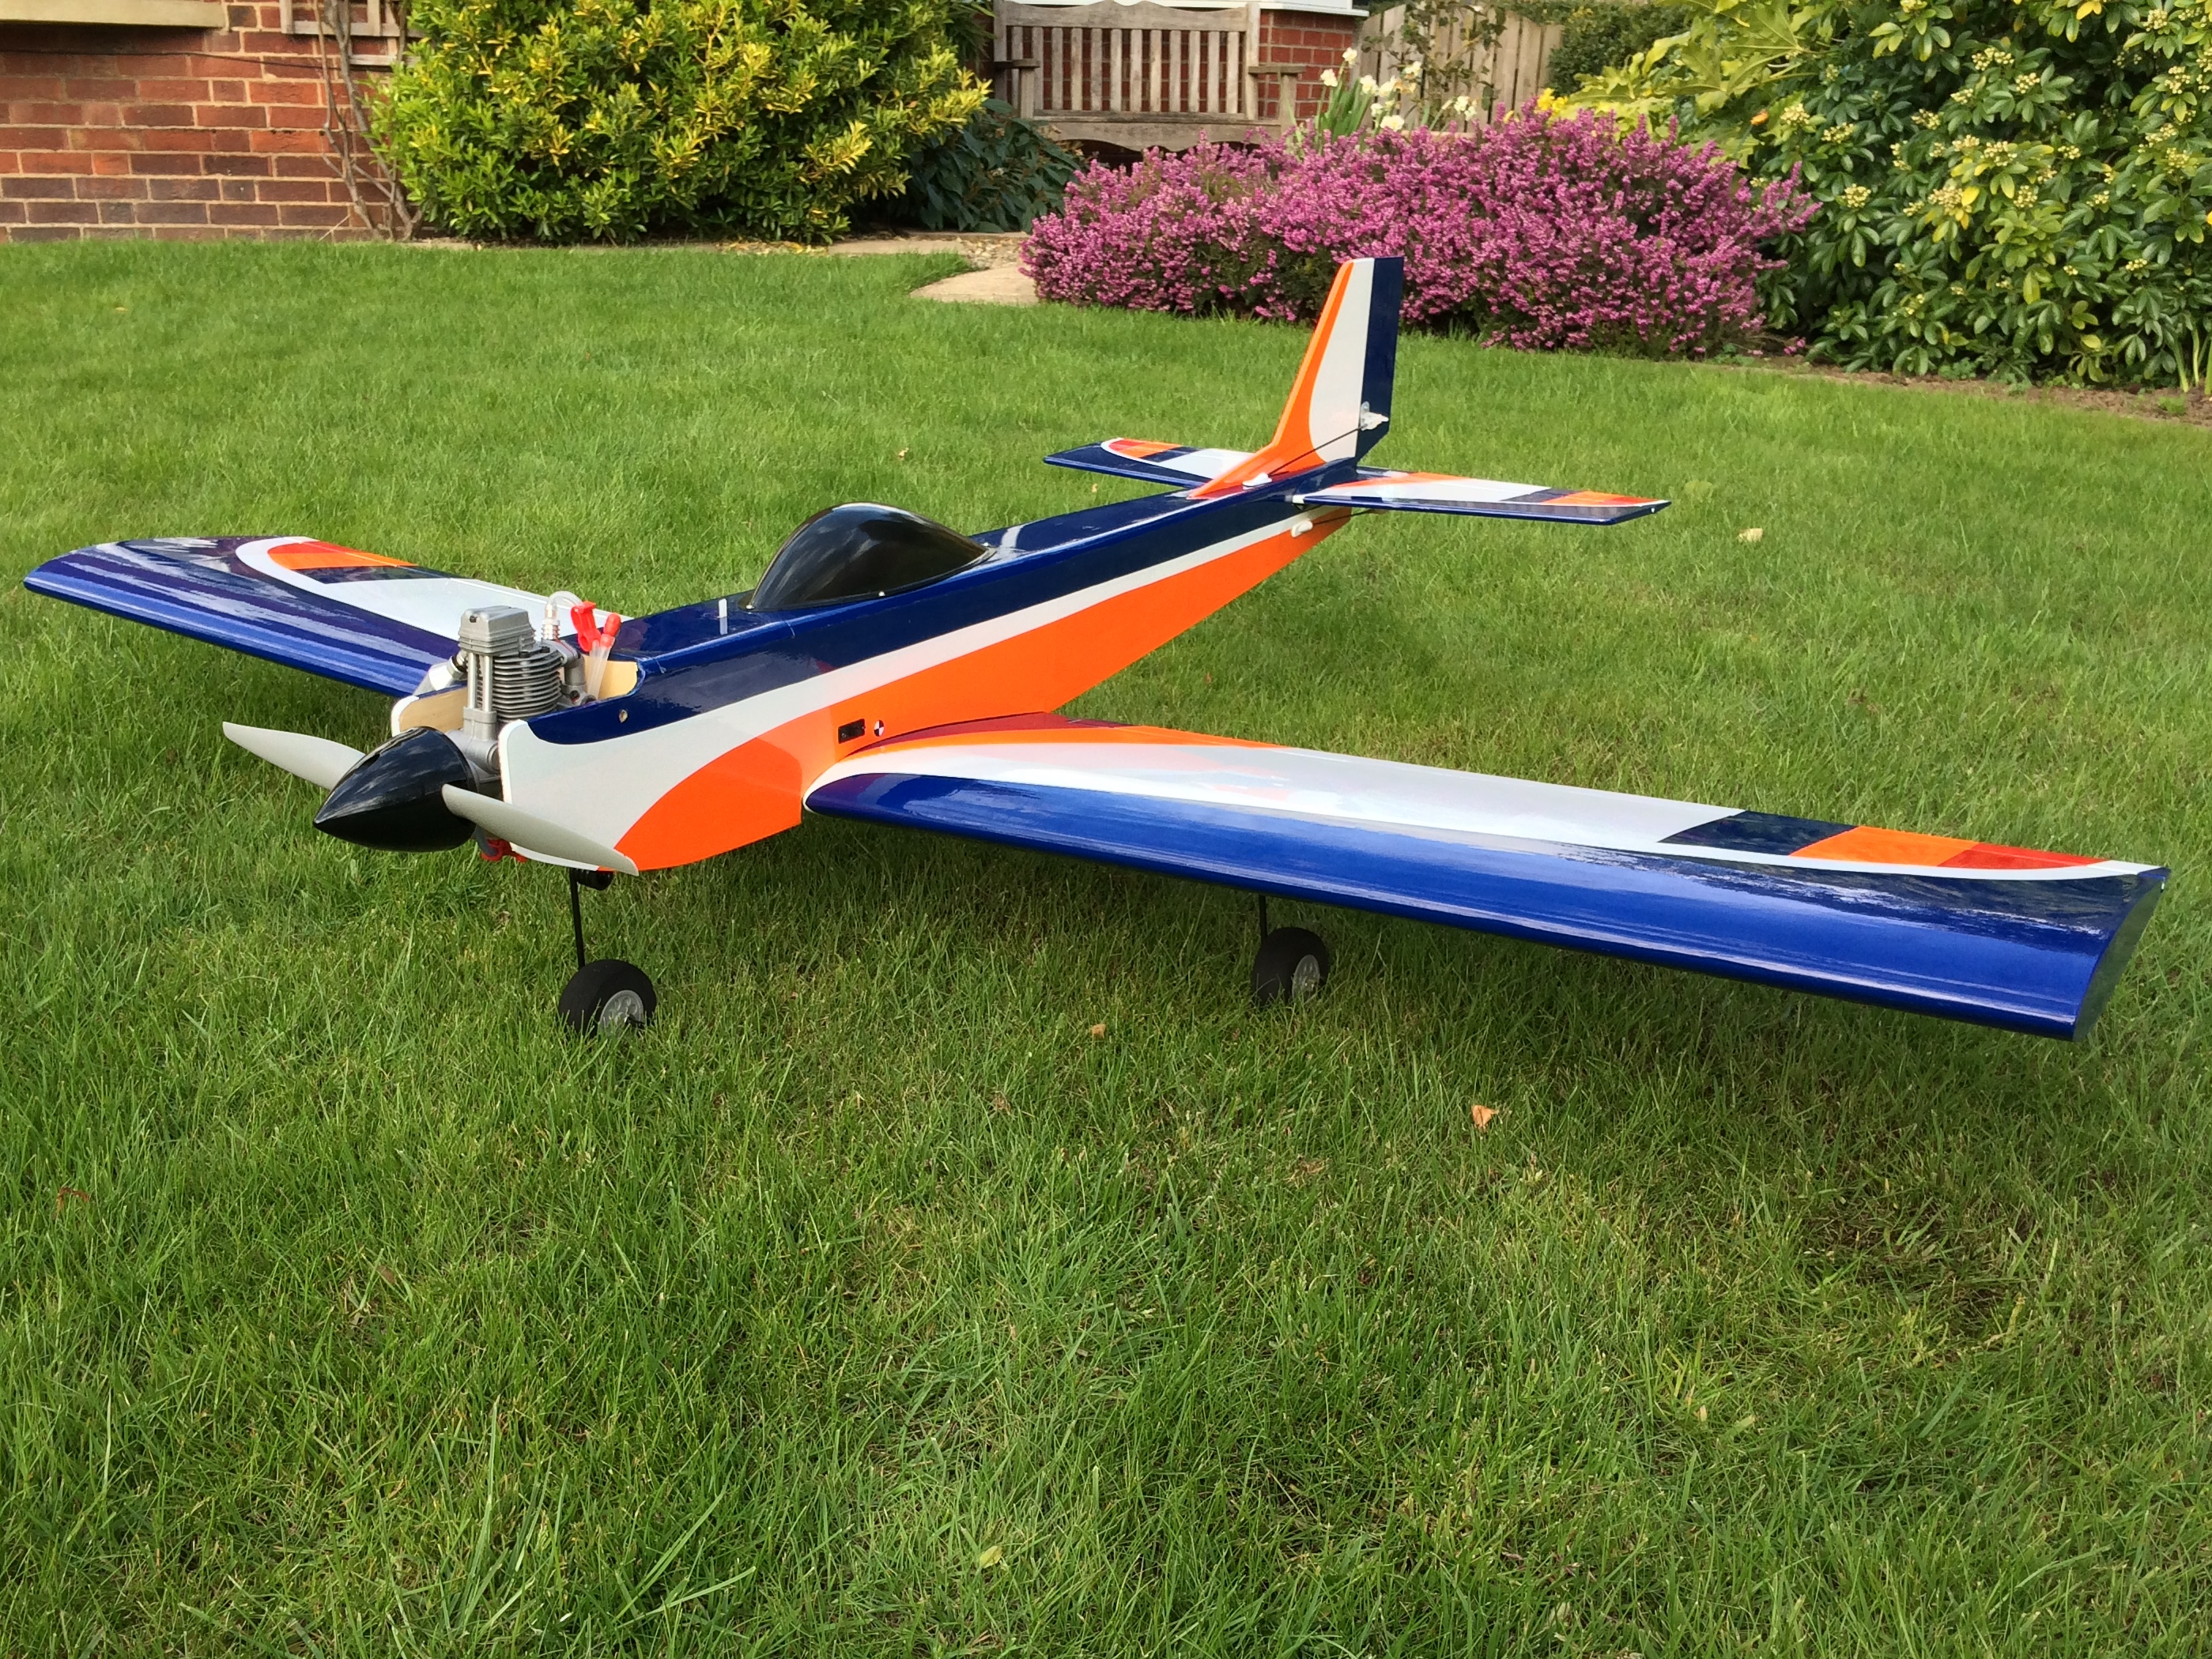
My HobbyKing Maestro 46
Fixing the undercarriage on a HobbyKing Maestro 46:
If you fly your Maestro from a grass strip you will, like me, quickly find the main undercarriage legs get a bit wobbly. The hardwood blocks that holds the main legs are not substantial and when assembling the model I was a little sceptical that it would be up to the job. Well, as you will see I was only half right.
The purpose of this post is twofold. Primarily it’s a simple picture walkthrough of how I addressed fixing the wings on my model. Second it’s to show what is under the cover to those considering buying one but are put off my fears of a flimsy undercarriage – let’s face it 99% of model flying clubs in the UK are grass.
When assembling my Maestro it was quickly evident that this model is light. Engine bulkhead aside, there is not a single part that has not been milled down to save weight. Even the front hatch, a component I would have sanded smooth from solid balsa sheet, is constructed from no less than 7 individual CNC-lightened components to produce a ‘built-up structure’. Clearly this has been done to make the model a 2-in-1 and cater for those who choose to power their model with electric. For nitro, low weight is not going to do any harm – just remember to make sure that prop is balanced and tracking straight as there is not much superfluous material to absorb any engine related vibration. Turning to the wing I couldn’t help but be slightly suspicious of the main undercarriage blocks. They seemed small and just how far had efforts to keep the weight down gone? Had balsa been substituted for plywood on the ribs either side of the block? How thick were the ribs? Had glue been kept to the barest minimum? I’ve owned models in the past where built up wings and wing-mounted undercarriage blocks are not always a successful combination, particularly when flying off grass. As such I tend to steer toward tail-dragger type models. An additional snag with an ARTF is that, unless you peel back the covering, there is just no way of knowing what lurks under that film.
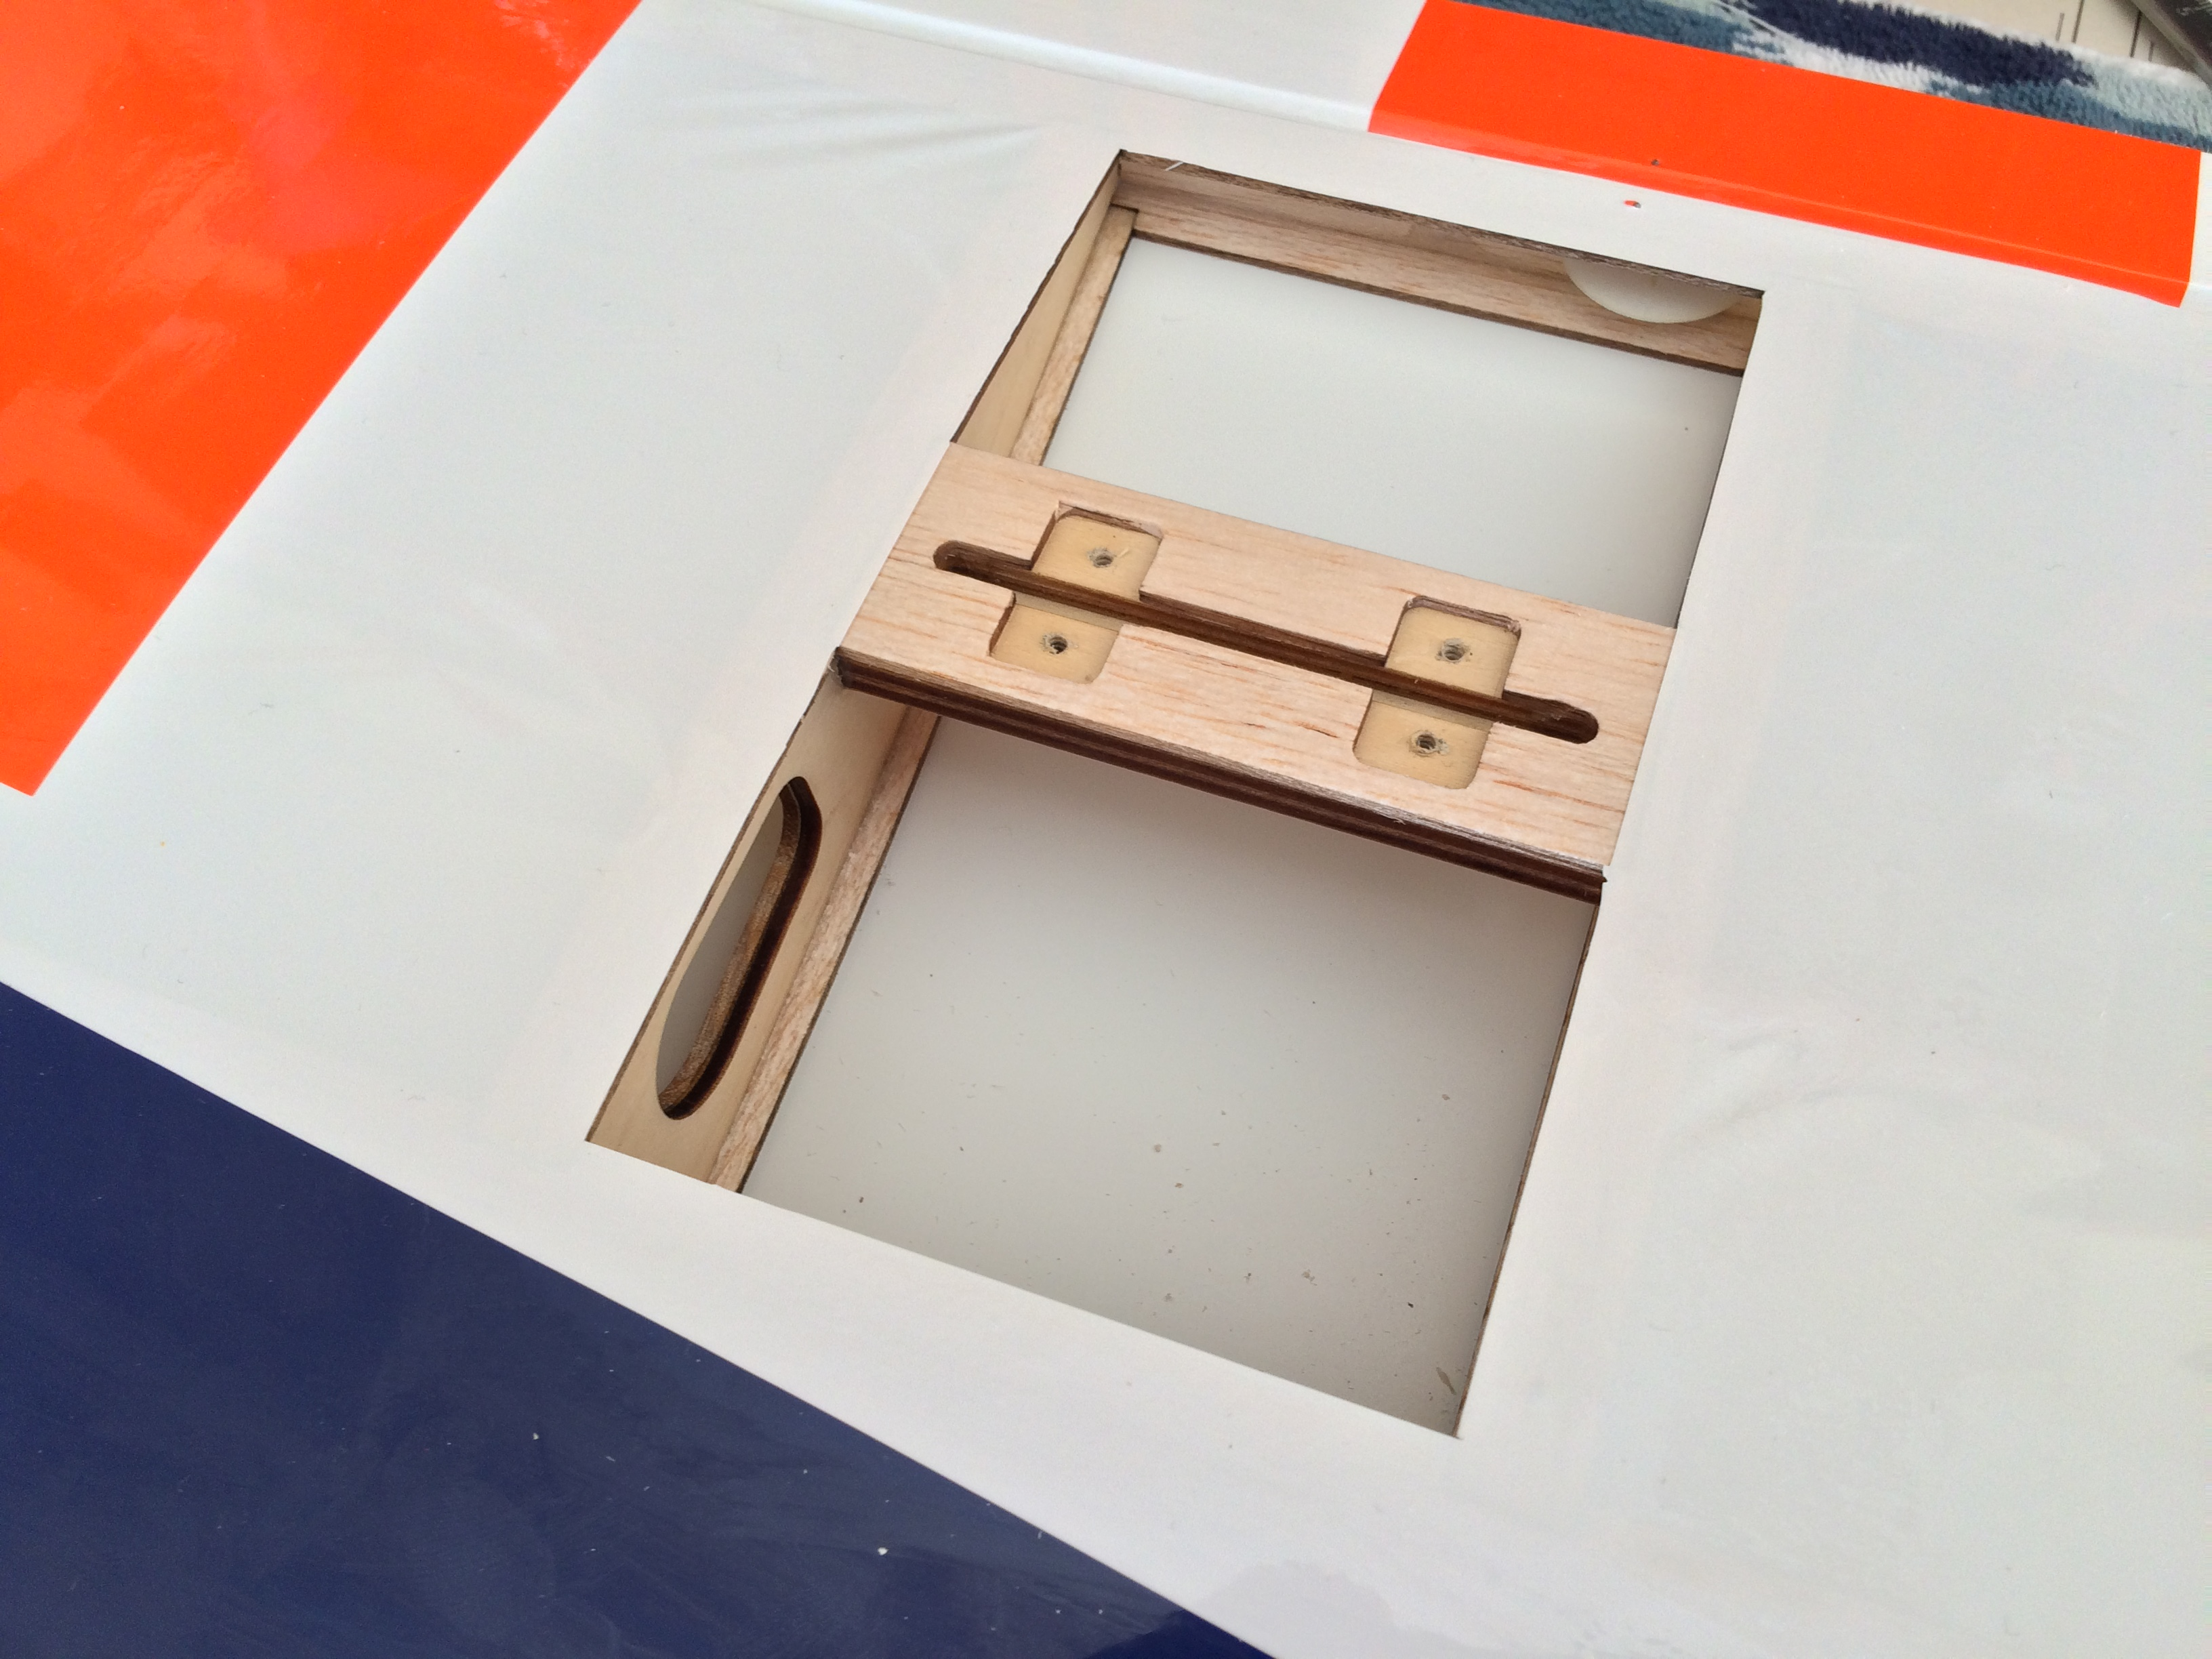
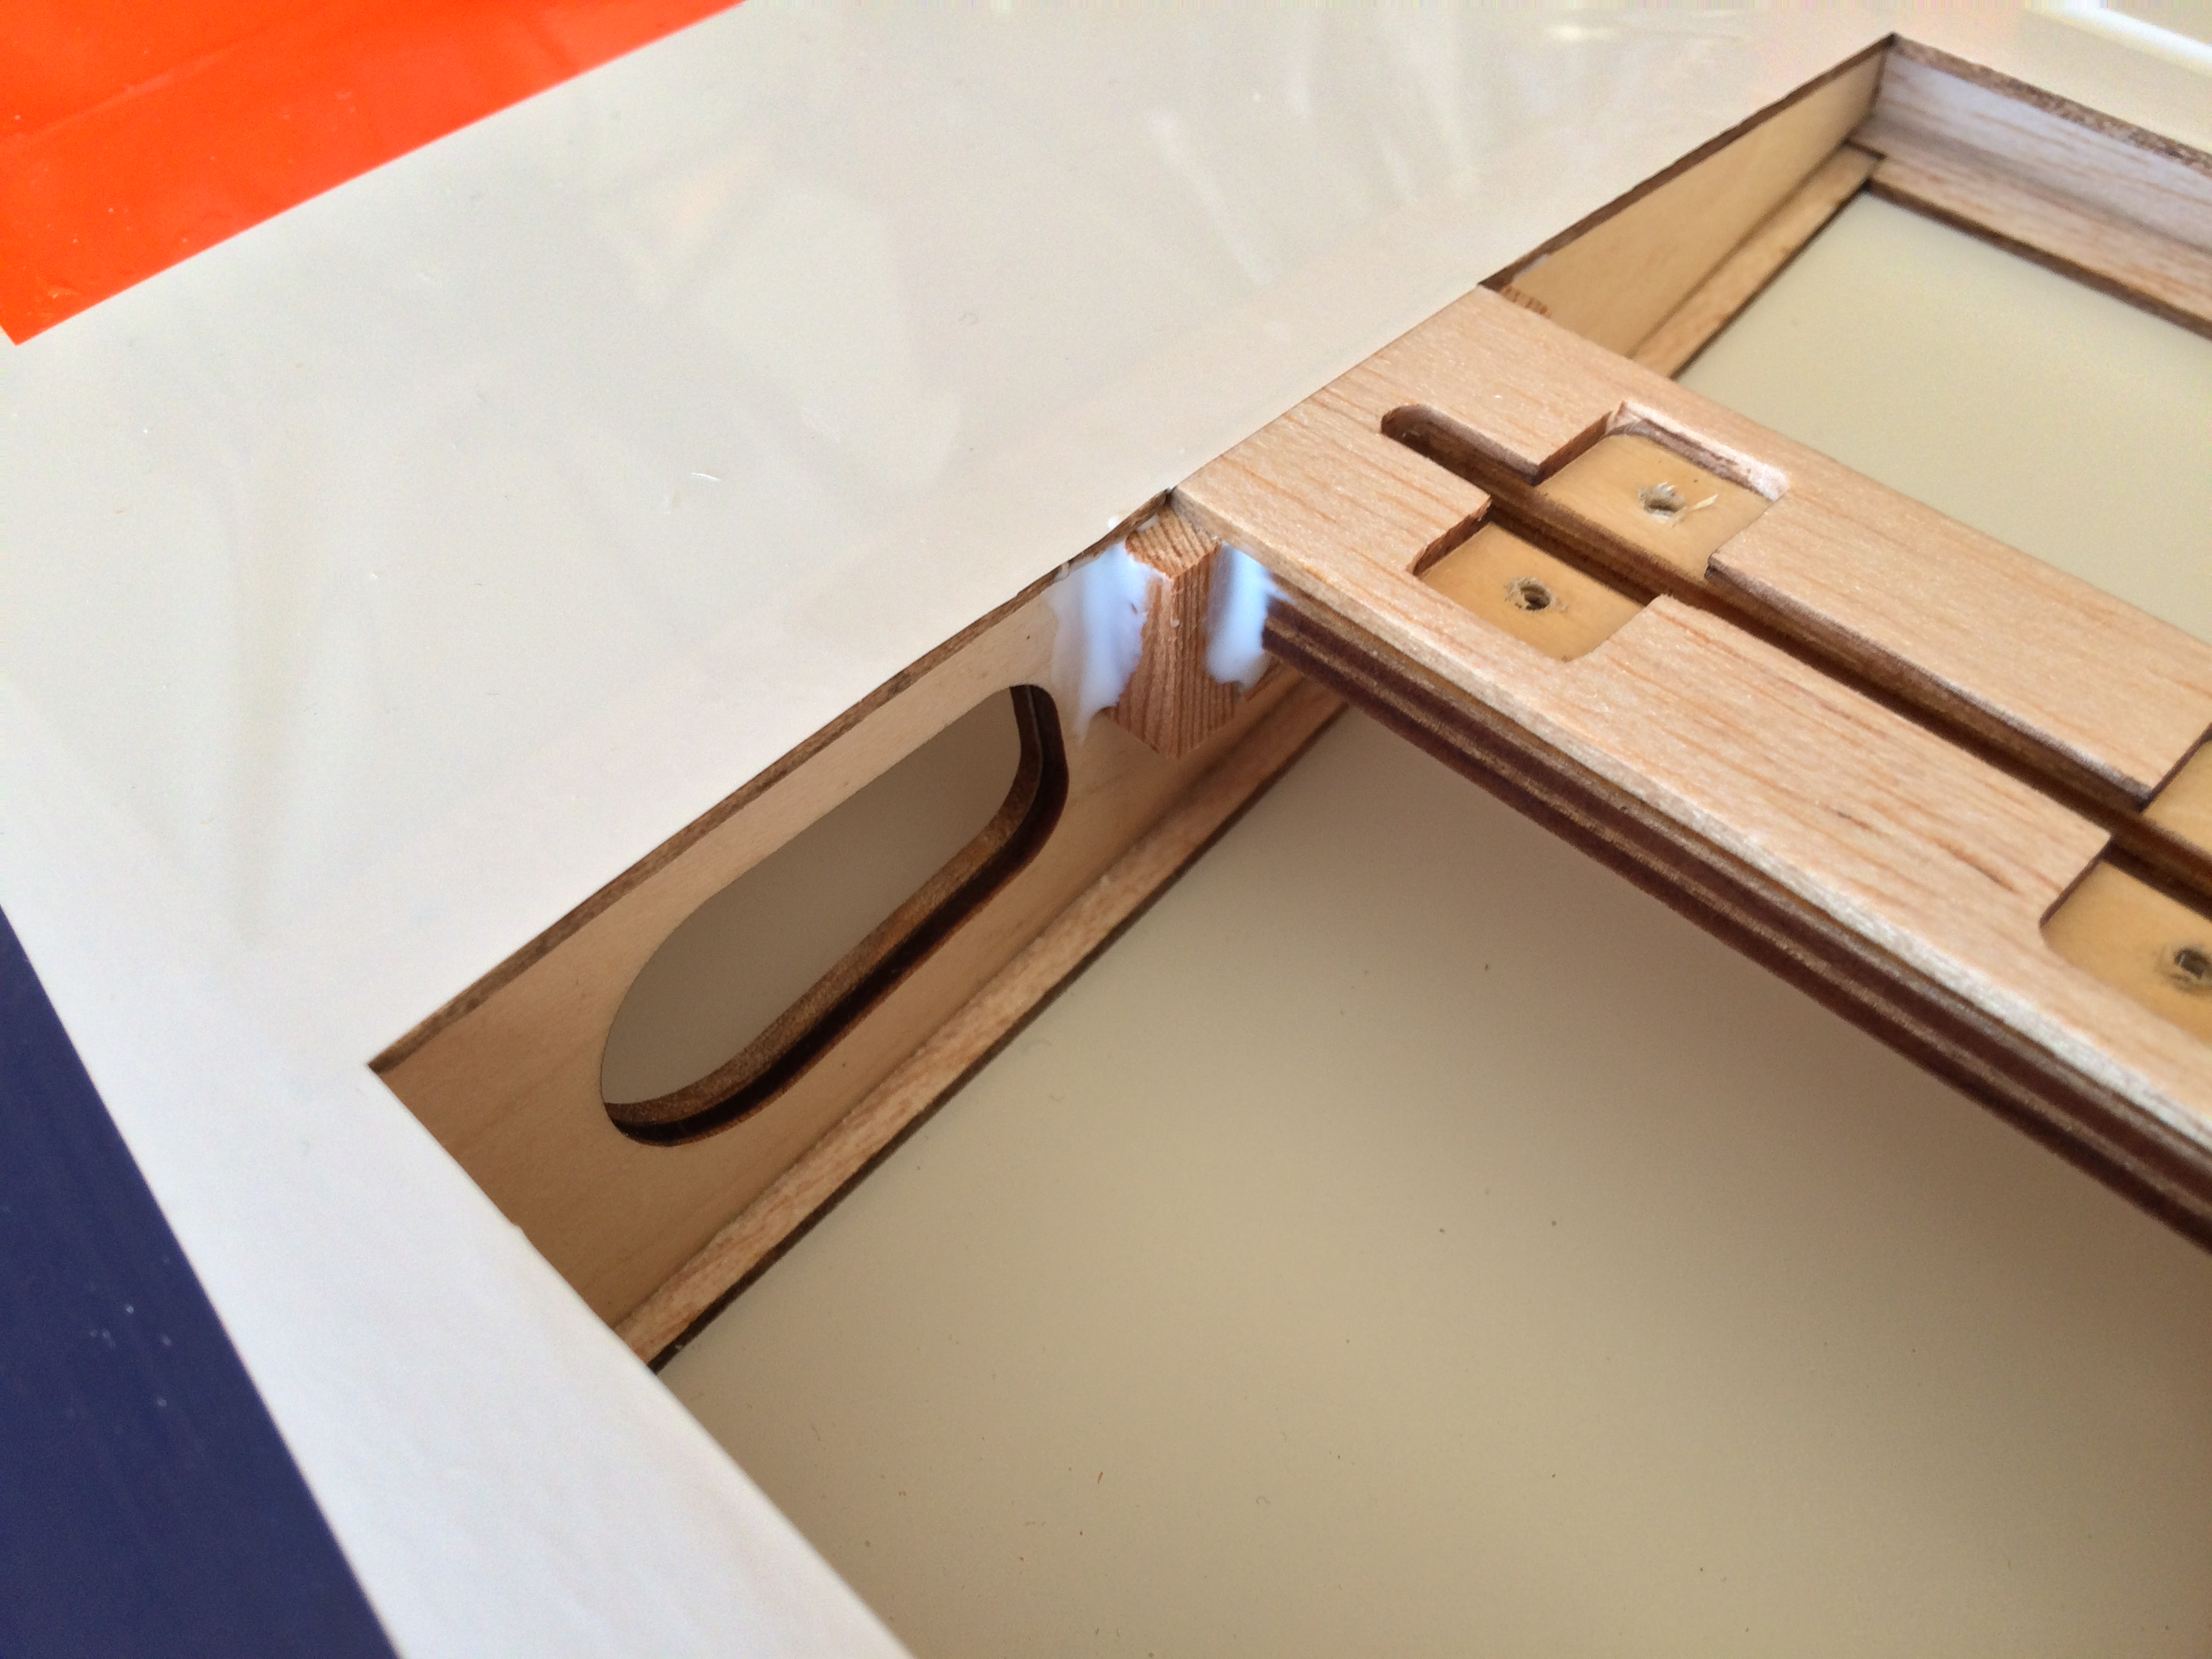
I was therefore pleasantly surprised once the covering was peeled back. The blocks are held in place between two plywood doublers and appear to ‘slot’ into holes cut in the rib, effectively sandwiched then into place during building. Loose fit or not that block is not going to come out short of splintering the entire rib. So why had mine come loose in the slots? Jokes about my landings aside, my guess is that cyanoacrylate has been used. Even when thick, cyano is not the best glue to use for a component that receives any kind of shock – it is too brittle. I have beefed up my blocks by affixing a hardwood strip ‘cradle’ to surround the joint and used a liberal quantity of white wood glue. Fingers crossed this should now hold up to landings on a grass field.
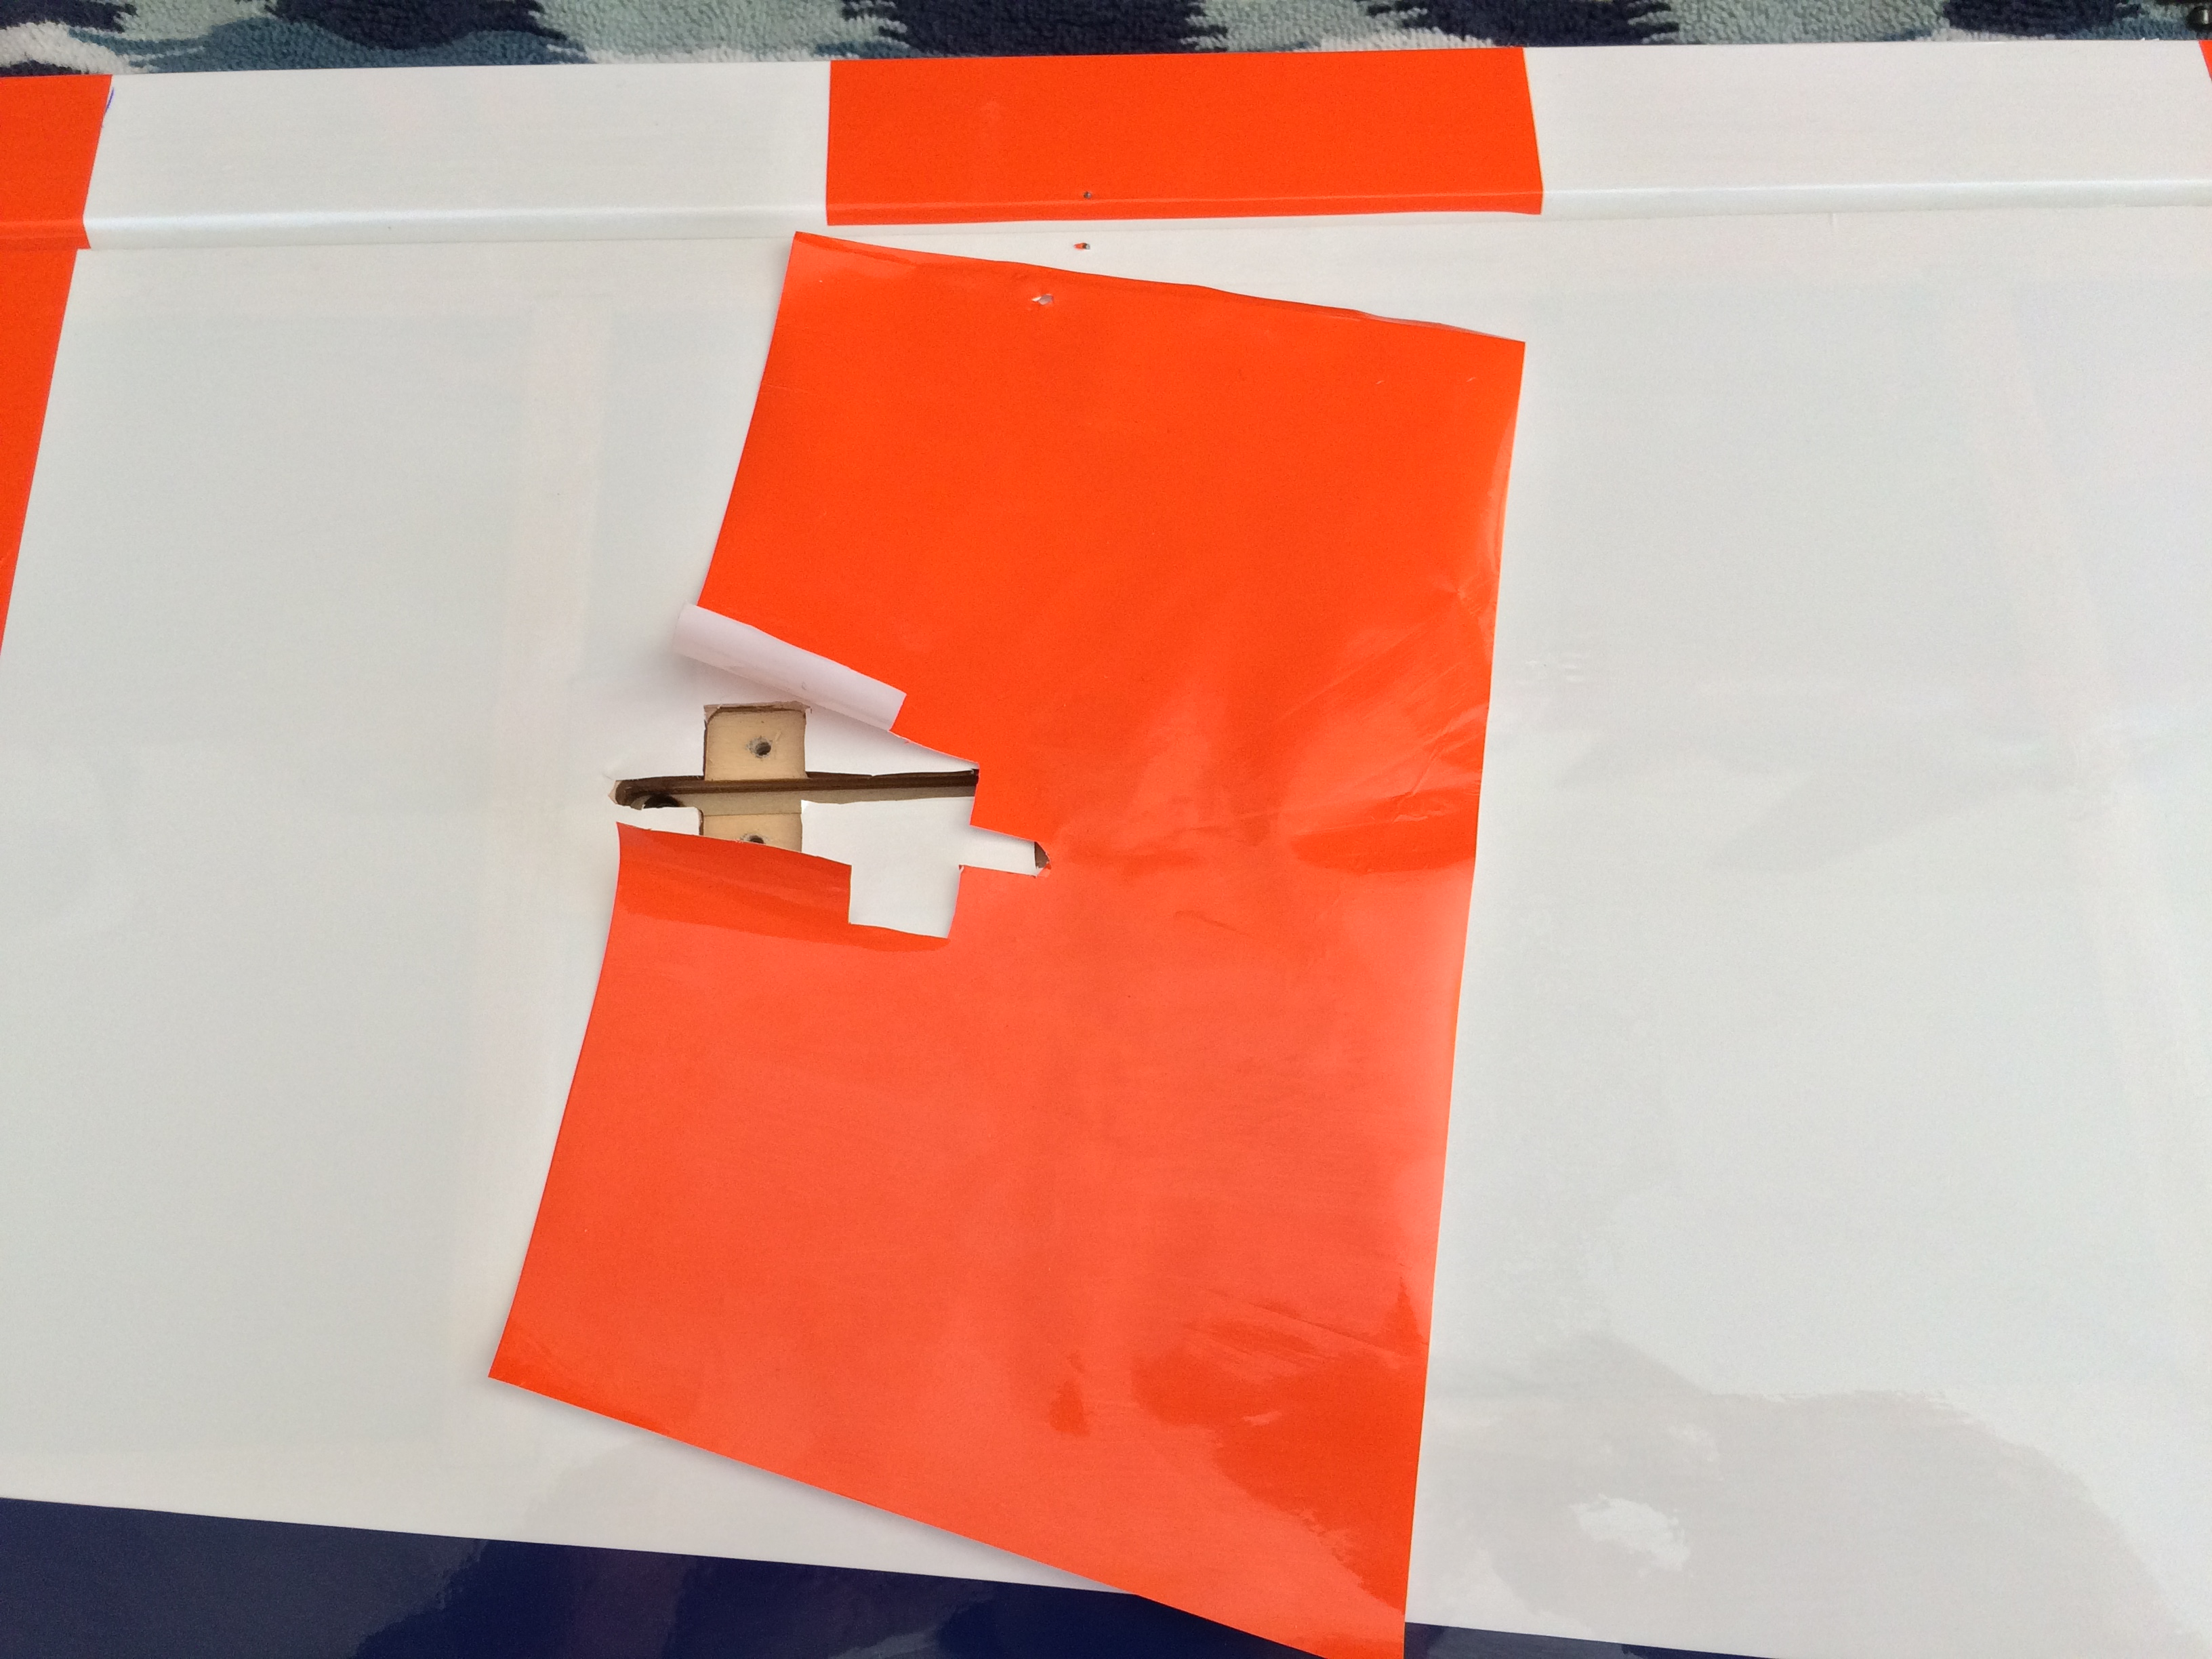
The first step is to removing the covering between the ribs. The orange stripe is made from heat shrink film, not self-adhesive trim, and pulls away easily. I failed in my attempt to recycle this afterwards but it was worth a try.
Cut the covering away between the two ribs. Always use a new knife blade to do this if you want a neat job.
I then glued a length of hardwood strip to the underside and against the rib either side of the block. Be generous with the glue.

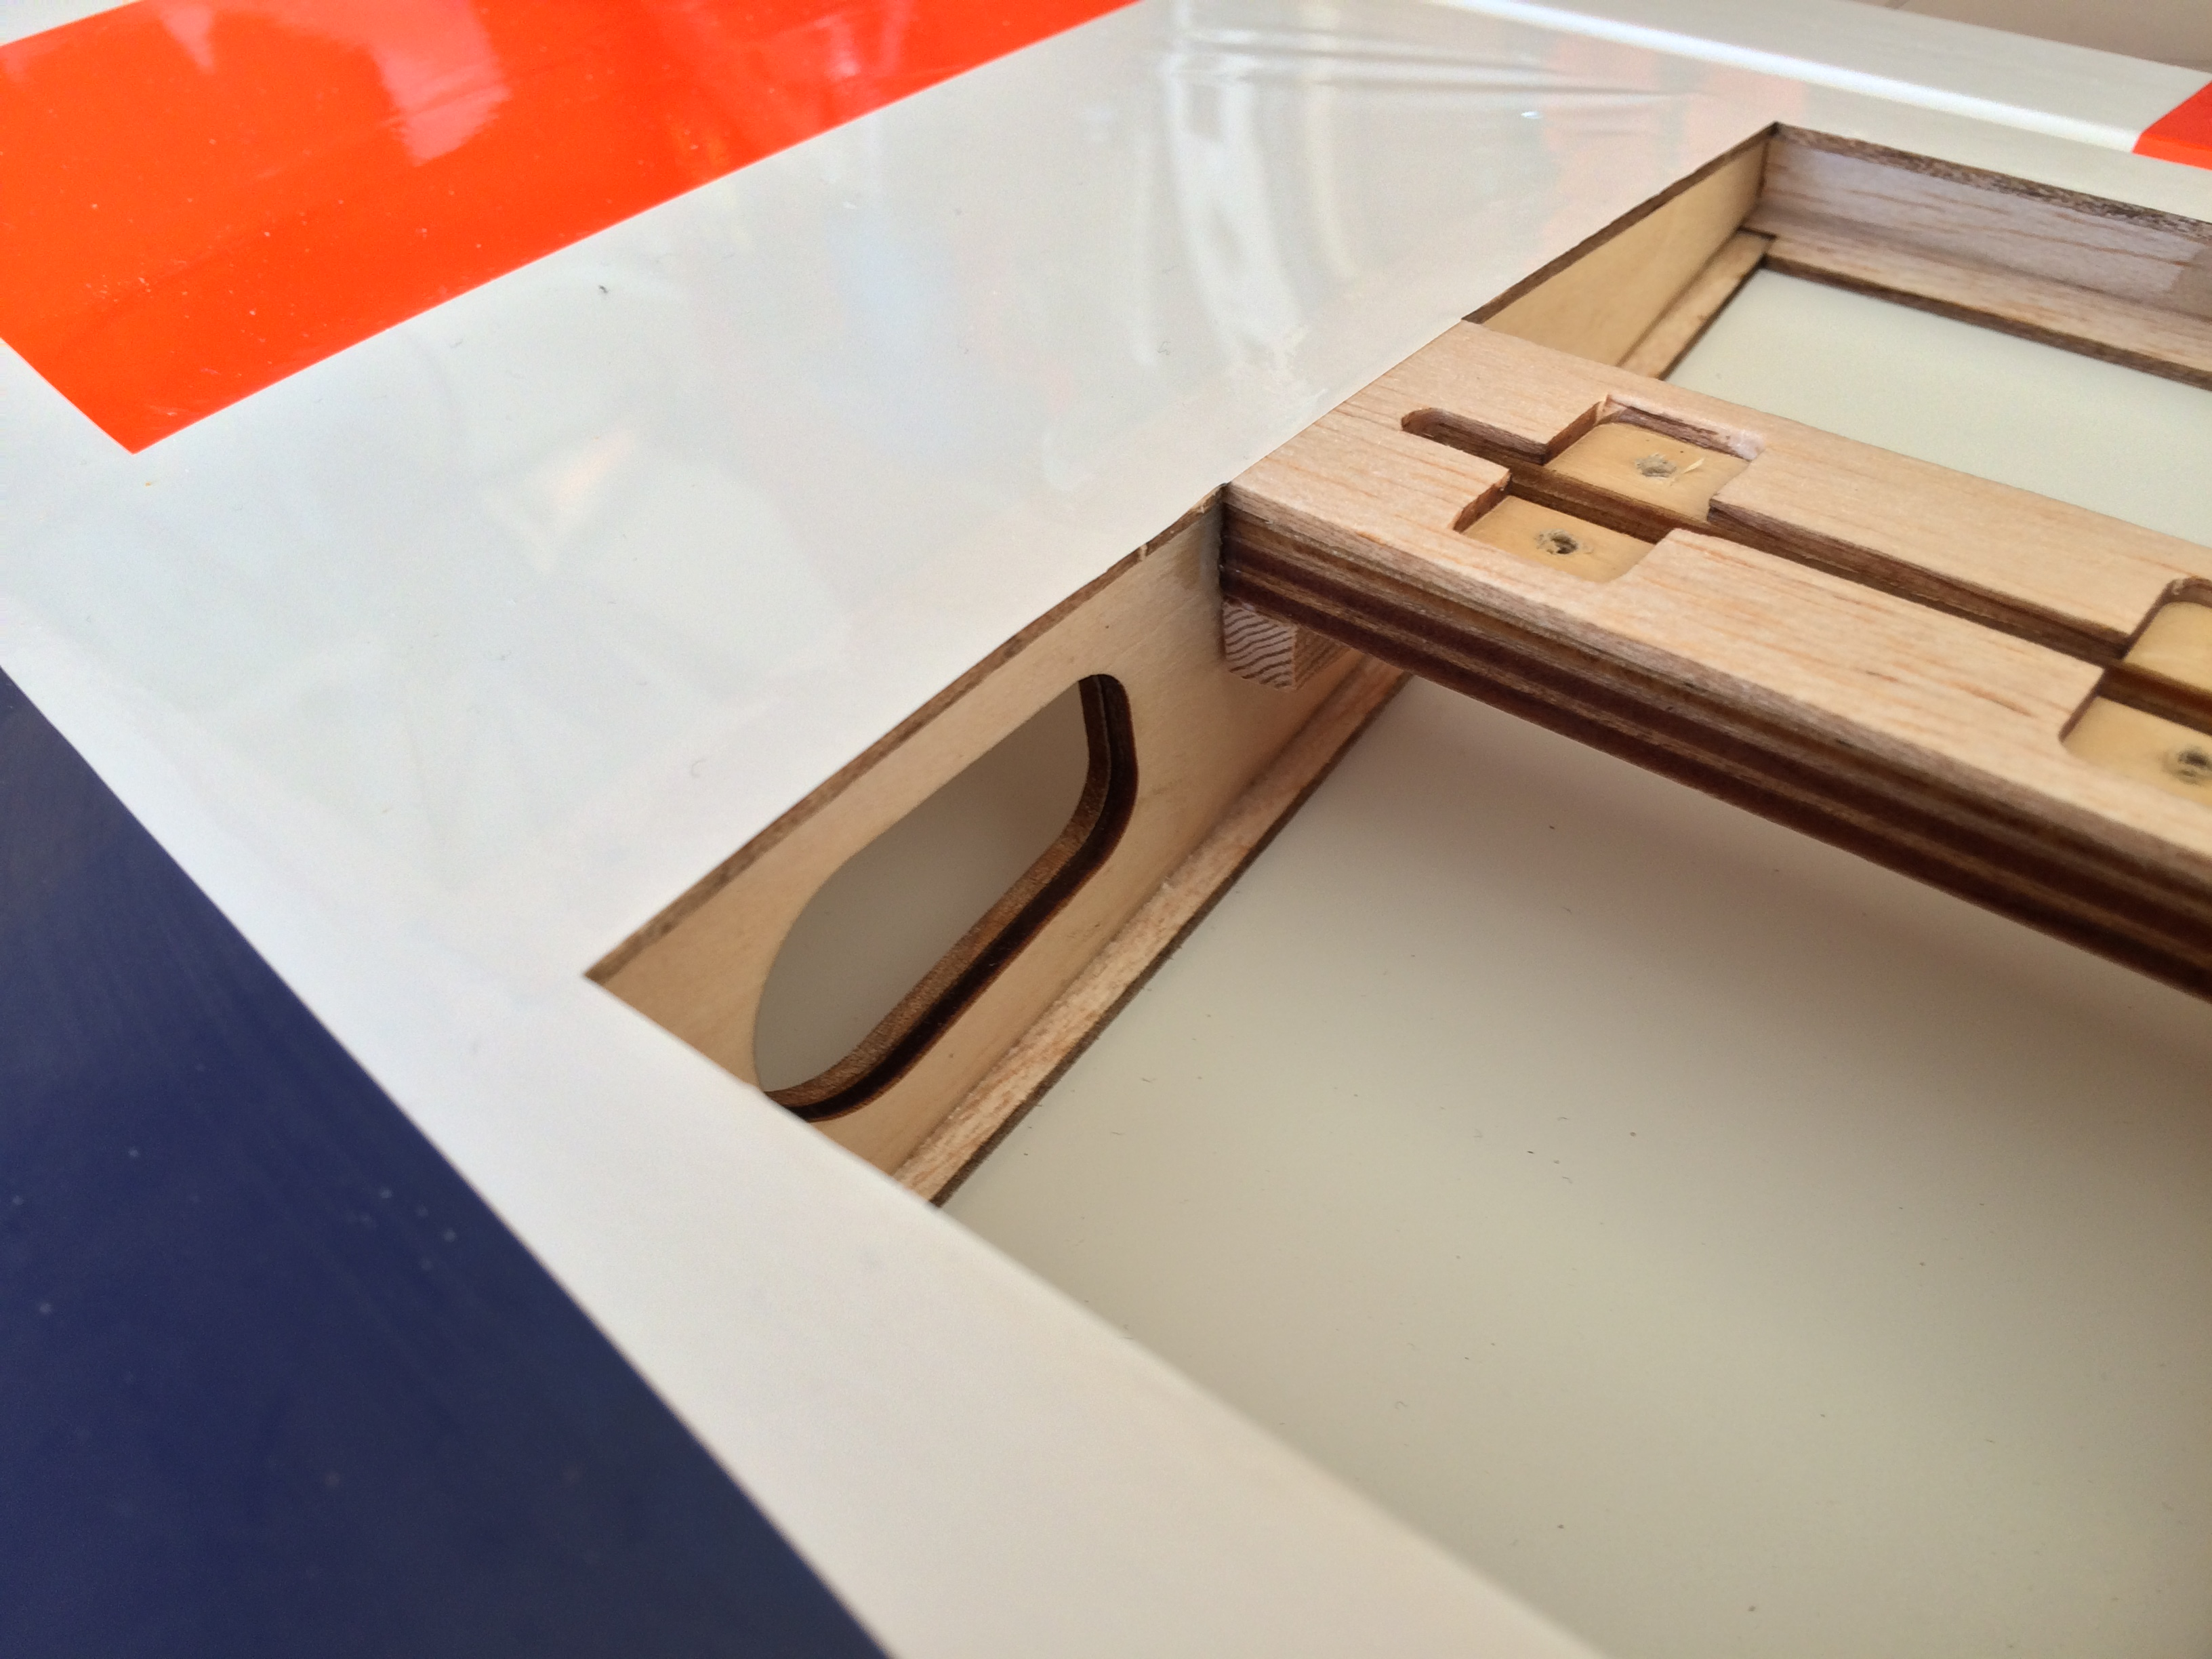
The cradle was completed with the addition of further lengths vertically either side of the block.
Finally run a line of glue into all the corners to form a gusset. Allow all the glue to dry thoroughly (it dries transparent) before re-covering. Then it is simply a case of cutting a patch of covering film (I used Solarfilm) and re-attaching the undercarriage. To ensure the legs are not free to rock back and forth within the block, drop a (small) blob of quick set epoxy into the hole just prior to inserting the legs. The epoxy will mould to shape when cured and prevent the hole from elongating. Ensure before doing this that the undercarriage leg is given a light smear of oil or it will be a permanent fixture.
