
There are many different methods described for cleaning models engines. I’ve tried them all with varying degrees of success…….
How to clean a model engine.
I really despise castor oil….. As soon as I stopped using fuel that contained castor, my engines suddenly became reliable and stayed clean both inside and out. While ‘back-in-the-day’ castor might have been the best oil available, synthetics have now greatly surpassed it. However the same old arguments still crop up from those who swear by the oil:
“It’s more tolerant of a lean run”
“It doesn’t lose viscosity if the engine becomes too hot”
“It smells nicer coming from the exhaust”
Ok, I admit the last point could be true, but as for the first two I reply stating why should your engine ever be allowed to run too lean? If correctly set up that state of affairs shouldn’t ever happen. I suppose it could be argued that “if you use castor you then need castor”. As soon as your engine’s exterior varnishes over with sticky burnt on oil you will lose air cooling efficiency and rely upon castor oil’s high temp properties to keep your now overheating engine running (It will also need constant re-tuning as a result; an easy way to recognise poor castor oil users as they are forever adjusting the needles!).
Consequently if I buy a second hand engine that has clearly been subjected to castor torture it is immediately stripped down and given a comprehensive spring clean. Over the years I have tried multiple methods for cleaning model engines and have summarised my findings here:
| Cleaning agent | Cost | Disadvantages | Result |
| Wire wool | Negligible | Evidence of a complete lack of mechanical sympathy? Hard work to do and removes not just the burnt on oil but also the protective anodising and/or sand blasted appearance. | The engine is clean but left vulnerable to exterior corrosion and scratches. It will most likely require polishing to get any kind of aesthetically pleasing finish. Re-sale value is nil. |
| Ultra-sound sonication | High | Specialist equipment. | Depends very much upon your equipment. I tried high-spec equipment in the laboratory at work. Does not harm the metal or finish but I found it did not remove all traces of exterior varnishing. |
| Dishwasher tablet in boiling water on a hob | Negligible | Due to the ionic properties of detergent the exterior anodising could darken – this is especially true if a steel pan is used or bolts/fixatives are washed at the same time. Bearings will be destroyed if washed. | Requires no additional scrubbing with a brush and can be immediately re-assembled. The engine is cleaned very thoroughly but left darker than it went in. This won’t affect the running of the engine, but it might affect re-sale value. |
| Antifreeze in a slow cooker | Nominal | Require a slow cooker that is then kept solely for hobby use. | The dirt, if not removed in the cooker, is left very loose and comes off easily with a (soft plastic) scrubbing brush under running water. Once rinsed, oiled and re-assembled the engine is left looking immaculate. |
| Power/Oven Cleaner (e.g. Dawn or Cillit Bang) | Minimal | Messy and caustic! | Can be performed with the engine still in one piece. As per detergents above, the engine will be very clean but the anodising can darken. |
Wire wool aside, I’m sure the detergent and ultra-sonication methods could be optimised in someone else’s hands, but I’ve settled on the antifreeze method and all my engines run perfectly following reassembly.
Antifreeze Model Engine Cleaning Method:
Step 1: Heat up the antifreeze.
NB: Before beginning, a word of caution regarding the coloured anodizing on Irvine engines (mainly their cylinder heads and black carburettors). The colour is invariably stripped off in the cleaning process. Anodizing on all other manufacturers I’ve cleaned is unaffected. True anodizing is effectively an attractive and hard-wearing anodic applied layer which being aluminium oxide in nature shouldn’t be affected by anti-freeze (which of course is designed to work in aluminium engines all day long). I can only summise that Irvine must use something else e.g. paint, or haven’t sealed correctly allowing the dye to leach and/or use a soluable dye. This won’t impact on engine performance of course but might the resale value if it’s an old classic.
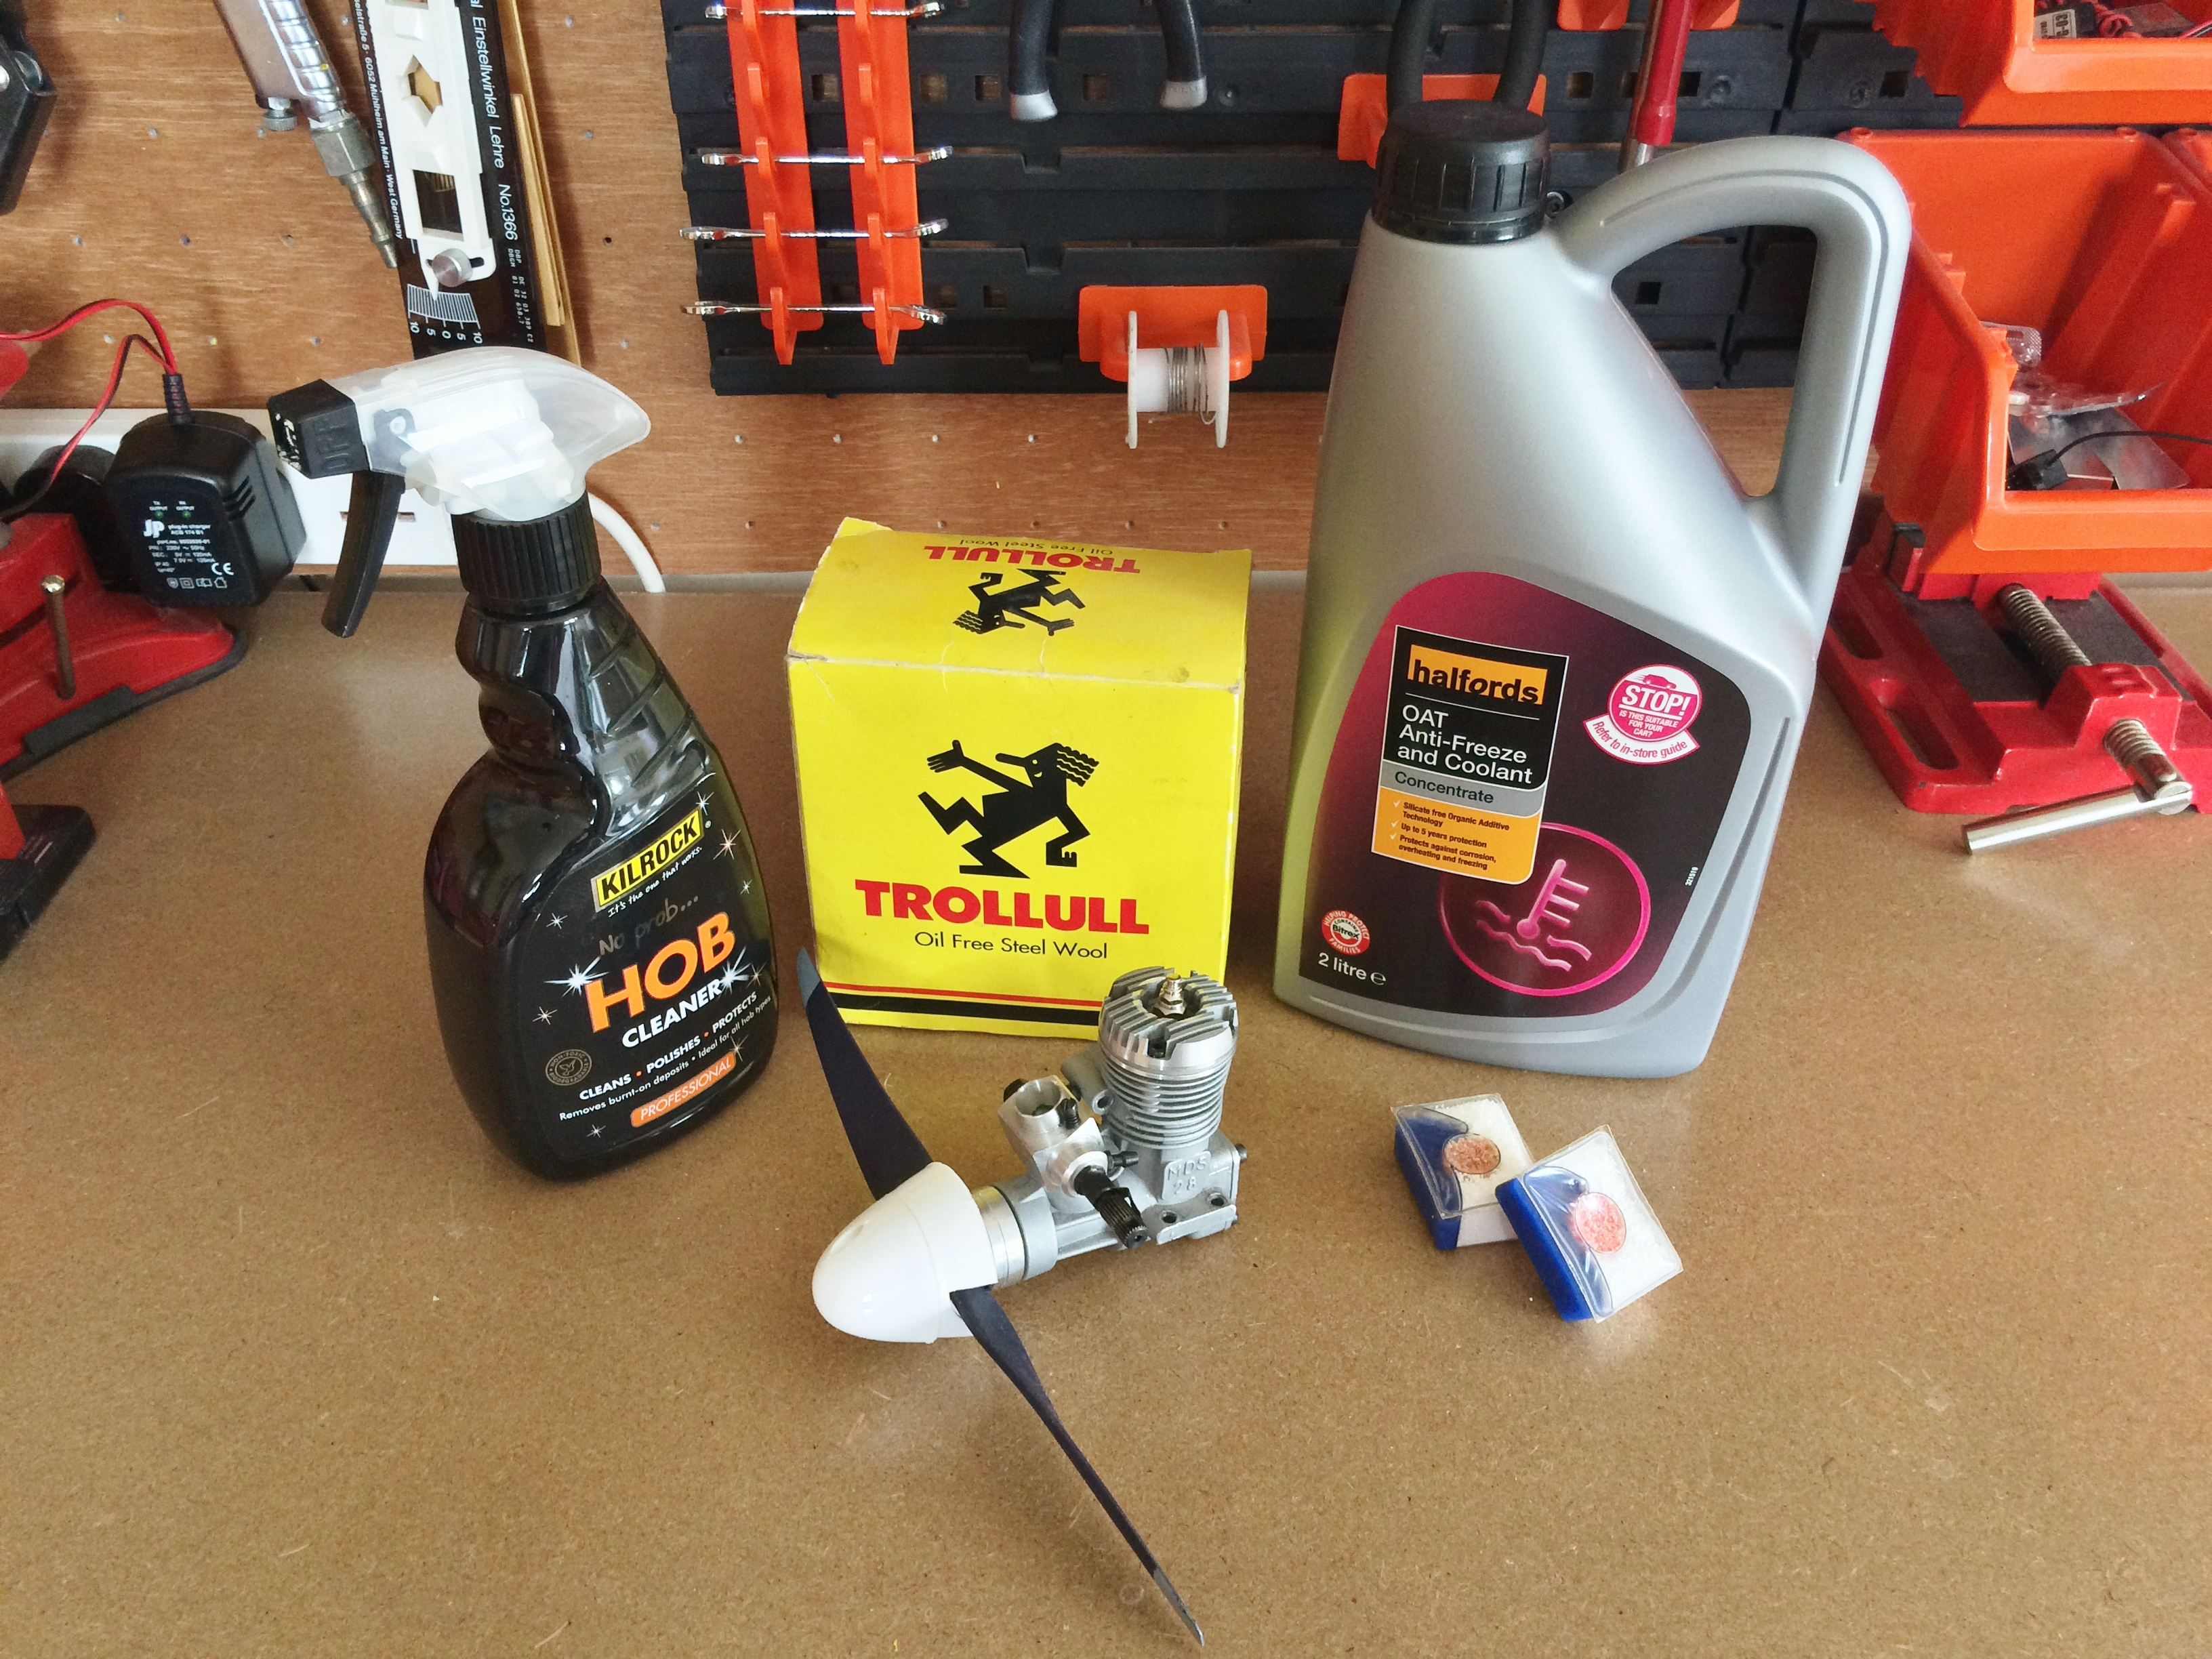
I use either Halfords red concentrate or Prestones antifreeze/coolant concentrate but anything will do the job providing – and this is important – it has corrosion inhibitors. This will ensure the aluminium anodising will not be harmed. If you have any concerns about food contamination, particularly if using a ceramic type, then I would urge on the side of caution and mark the cooker for hobby use only. A suitable slow cooker can be bought for less than £20 new from the likes of Argos so this need not be a particularly expensive sacrifice.
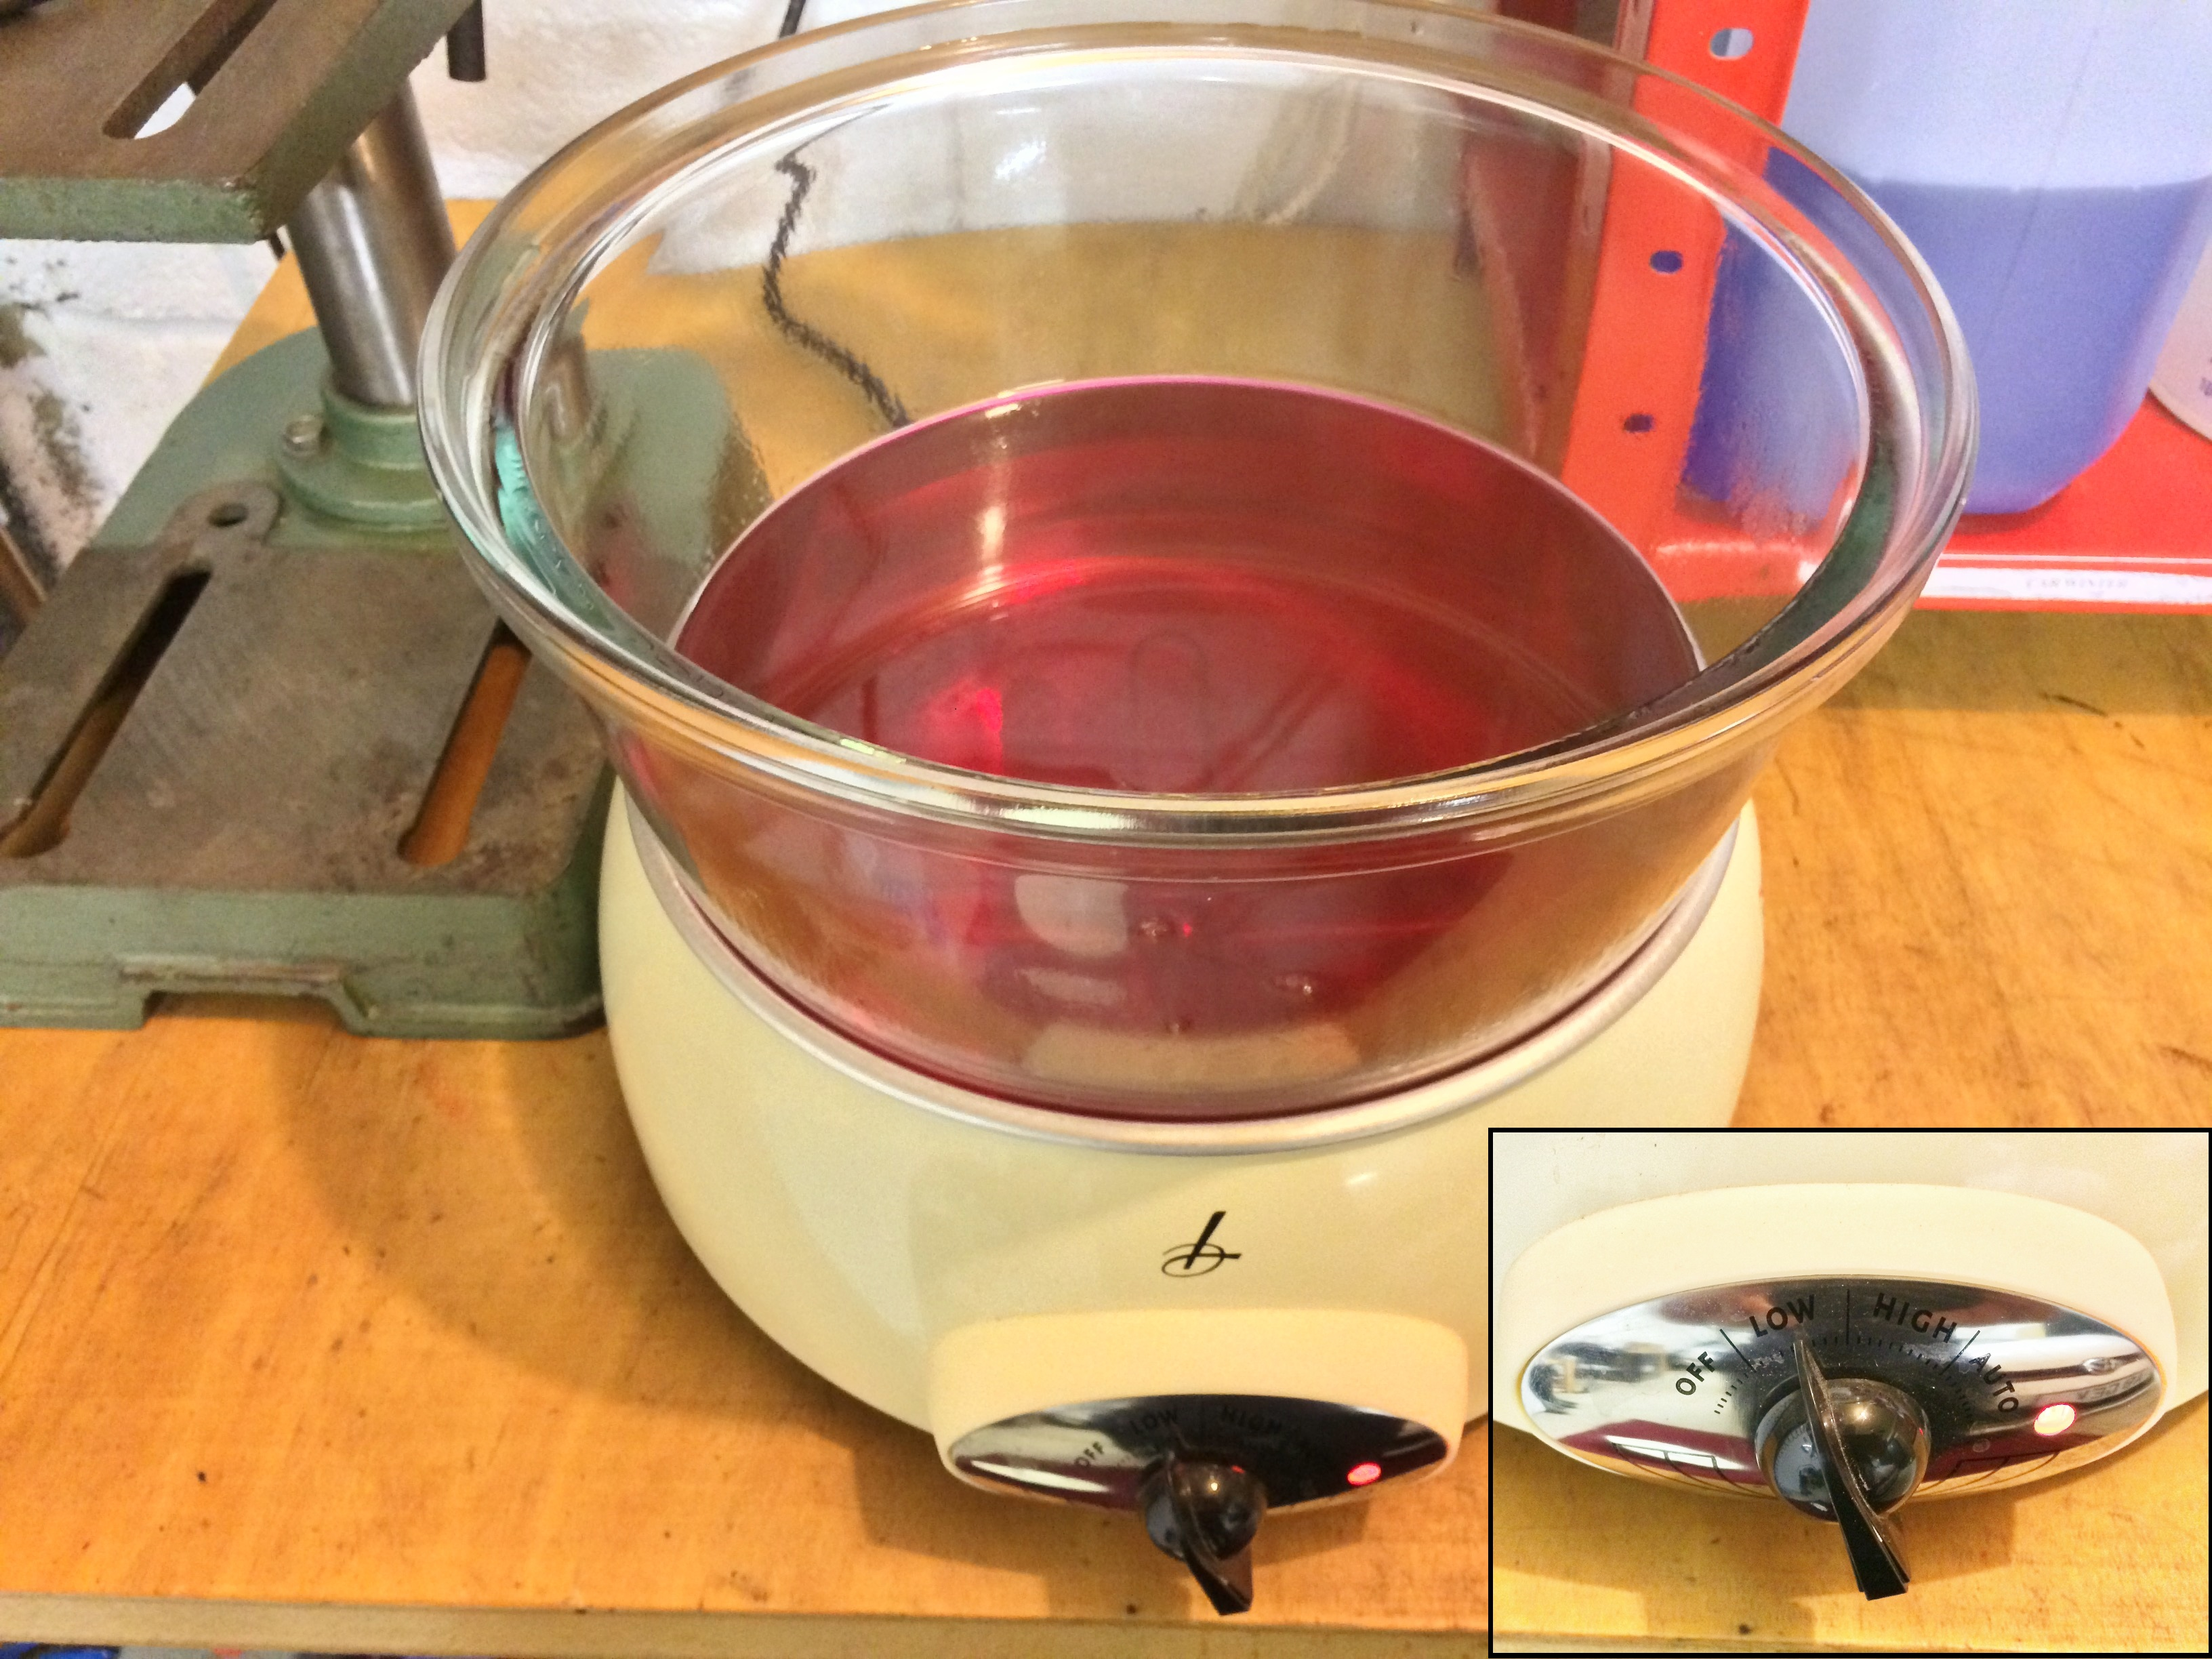
Simply pour in the antifreeze and switch on to a LOW setting in a ventilated environment. I’ve used both neat and 50/50 with water and have not noticed any difference to the cleaning performance.
Step 2: Dismantle the engine.
Getting those bearings and cylinder liner out need not be difficult. I’ve seen videos online of blow torches being used here and cringe! A blow torch flame will work, but keep in mind that at 1500 °C it is both dangerous and you are well above the 660 °C melting point of aluminium. Consequently it won’t take much to go too far and spoil the finish. A much simpler method is to turn on the oven to 240 °C (gas mark 9), place the parts on a baking tray and ‘cook’ for a couple of minutes. More often than not, if face down, you will hear the bearing/cylinder liner drop out on its own accord. If not then (wearing thick oven gloves!) a quick tap on a block of wood will do it. Don’t resort to hammers, etc. If things won’t budge try increasing the oven temp first or leave it in for a bit longer. If a pair of pliers really is required then use a rag between the blades to ensure nothing is scratched. If the engine is hot enough the liner should slide out easily. Always make a note of any marks/guides present prior to dismantling so things go back together in the right direction. It is also worth pointing out here that cylinder head bolts should always be loosened/tightened in opposite pairs to even out the stress and prevent any distortion.
You will need a puller tool to remove the prop driver on most engines (I use this one from Machine Mart).
If heat doesn’t assist in removing those small bearings supporting the cam shaft deep inside 4 stroke engines then they are best removed using the pressed candle wax method (plenty of youtube videos on this).

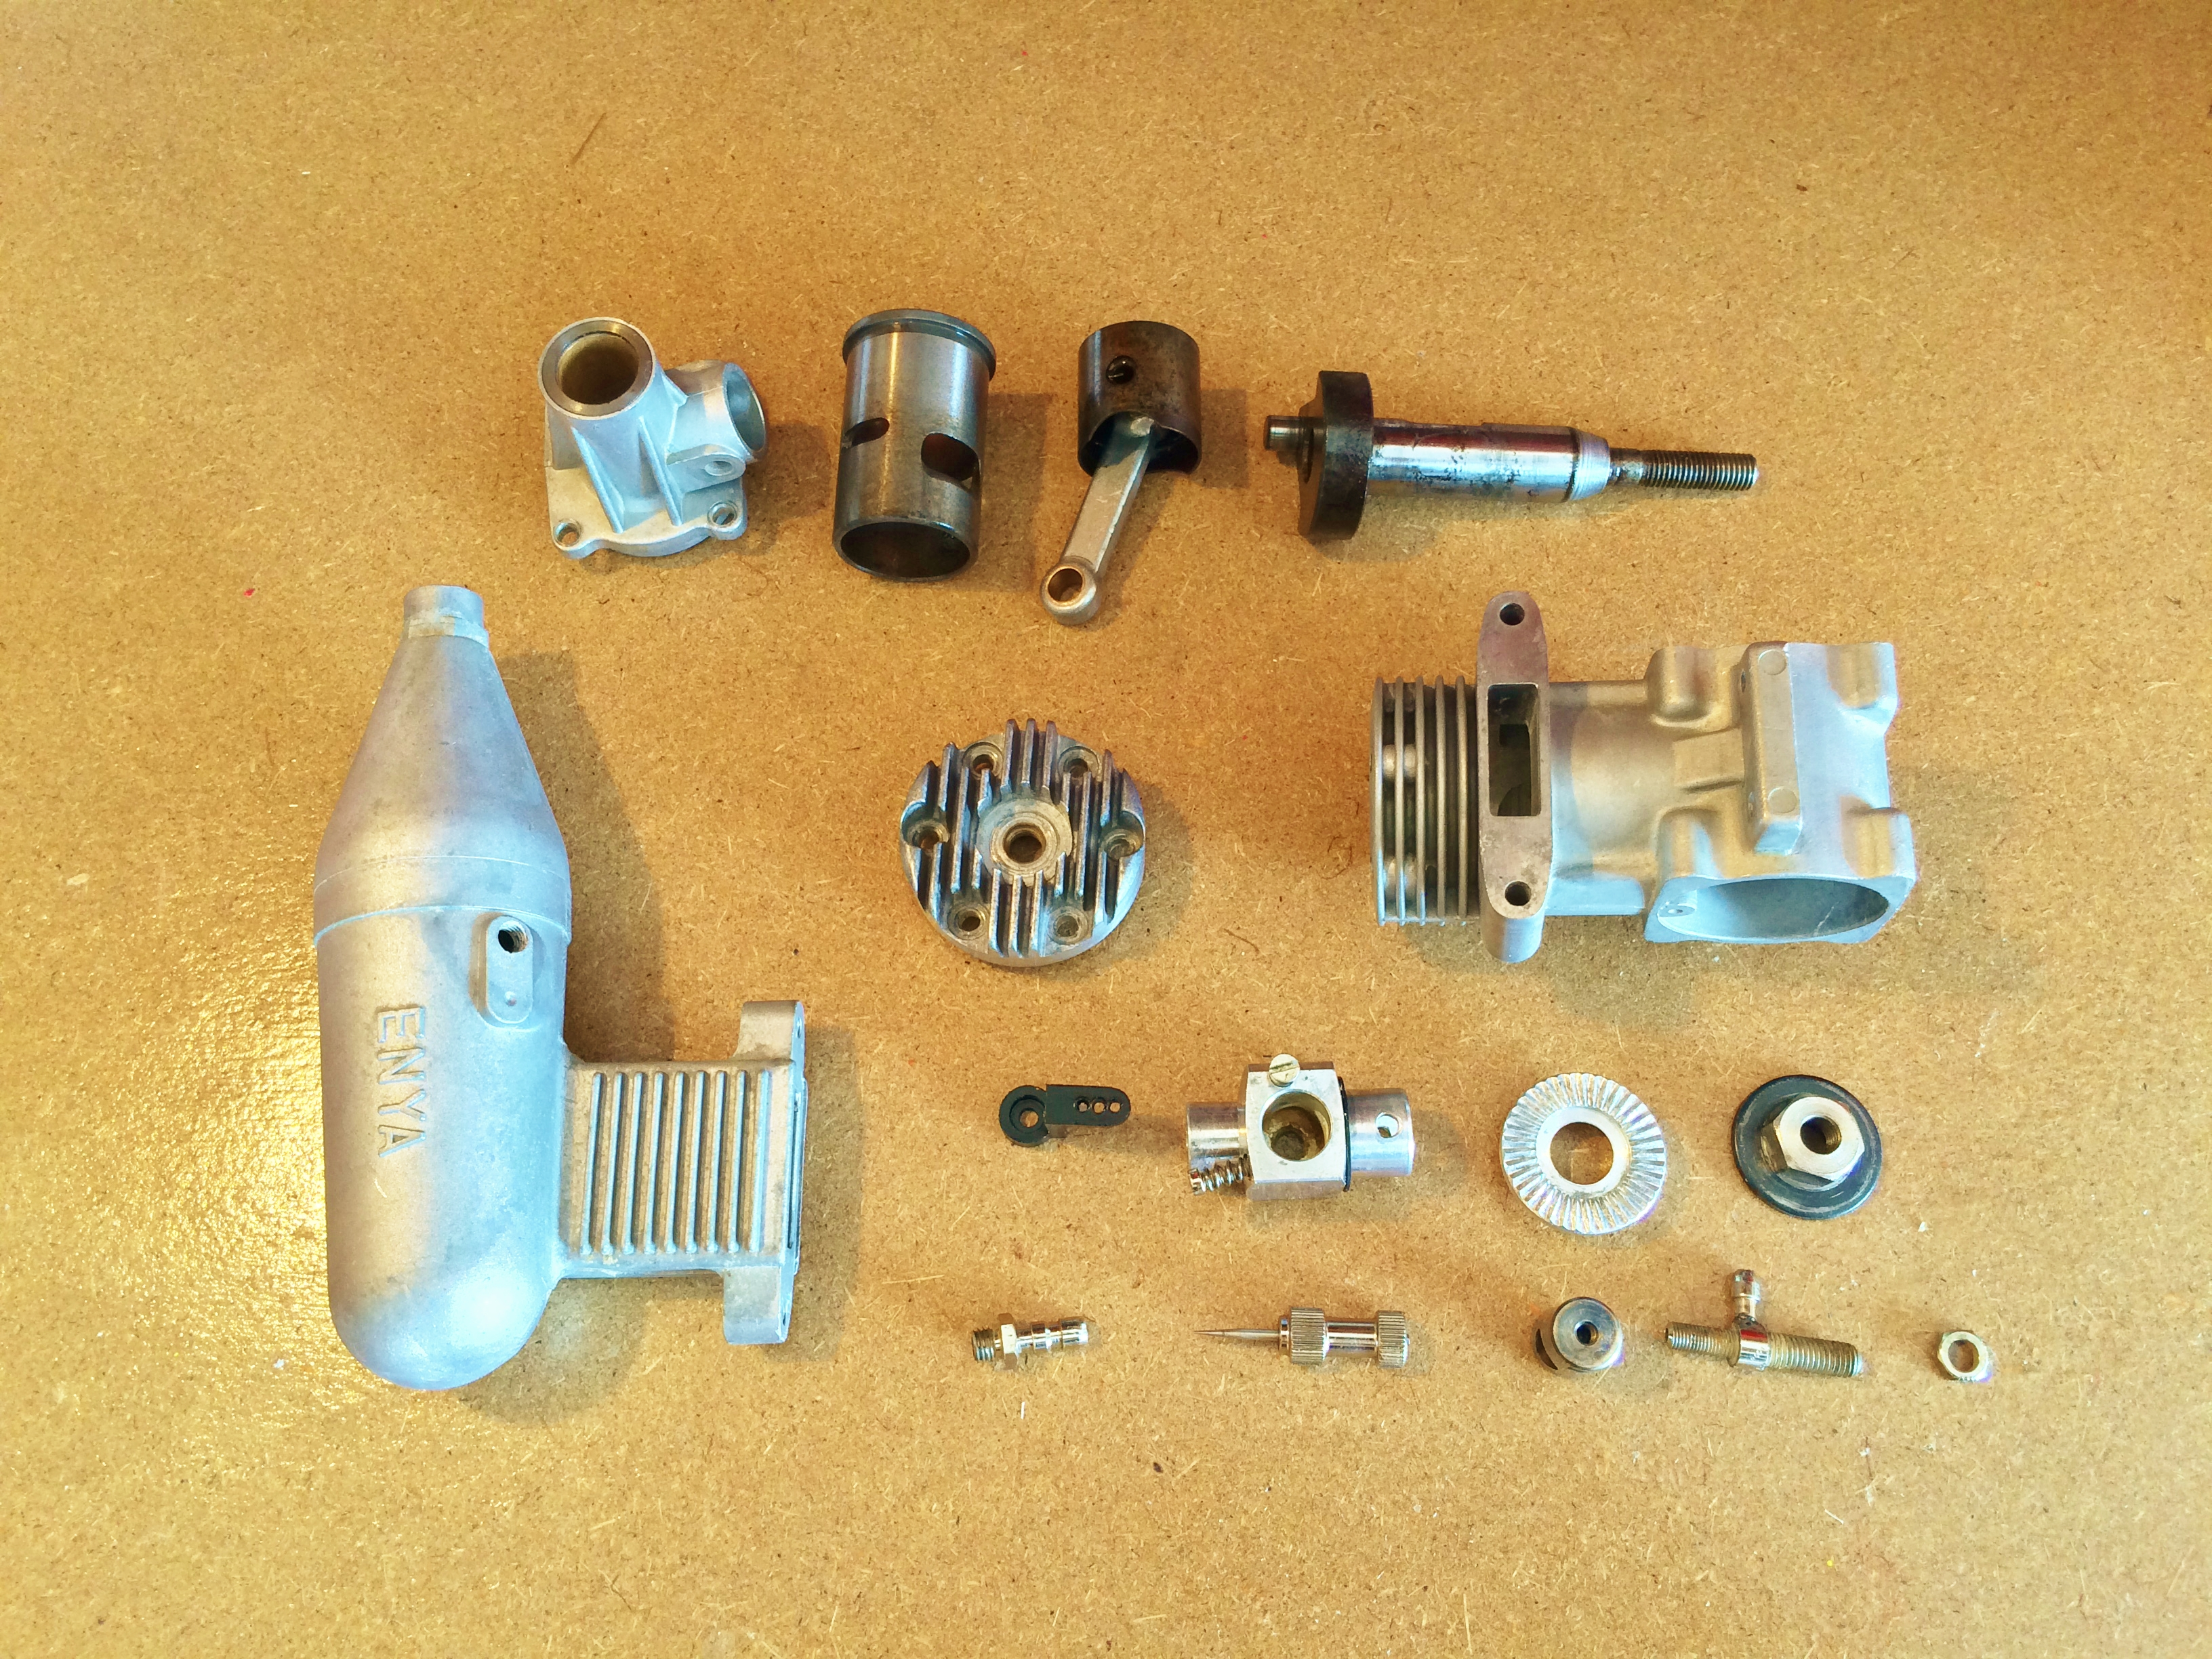
Example 1: Here we see the components of a very dirty second-hand Enya SS40 laid out following removal of the cylinder liner in the oven. I leave the conrod attached to the piston when cleaning my engines. This particular engine uses a plain bronze bushing so there are no ball bearings to contend with, but where present now is a good time to check if they need replacing. Most engines use a sealed front and an unsealed rear. A set of new bearings will cost around £5 from a bearing specialist like RCbearings. Alternatively try a cycle shop.
Step 3: Soak the engine parts.
Add the parts to the slow cooker. Ensure all parts are completely submerged or you may get a tide line mark. Add a little water if needed to raise the level if required. Place the lid on to prevent evaporation and leave covered on a LOW setting overnight. I’ve often found the grime is loosened after only a few hours but everything is quite safe left for several days if required (in a well ventilated area). It is quite safe when using antifreeze to soak the steel and aluminium parts together. Plastic parts are also quite safe, as are ball bearings. I have even soaked an engine intact (which is useful for four strokes) – just ensure when rinsing afterwards that you liberally squirt WD40 into the engine to expel any water and then re-lubricate with afterrun/machine oil (Water Displacement 40 is NOT a lubricant in itself!).
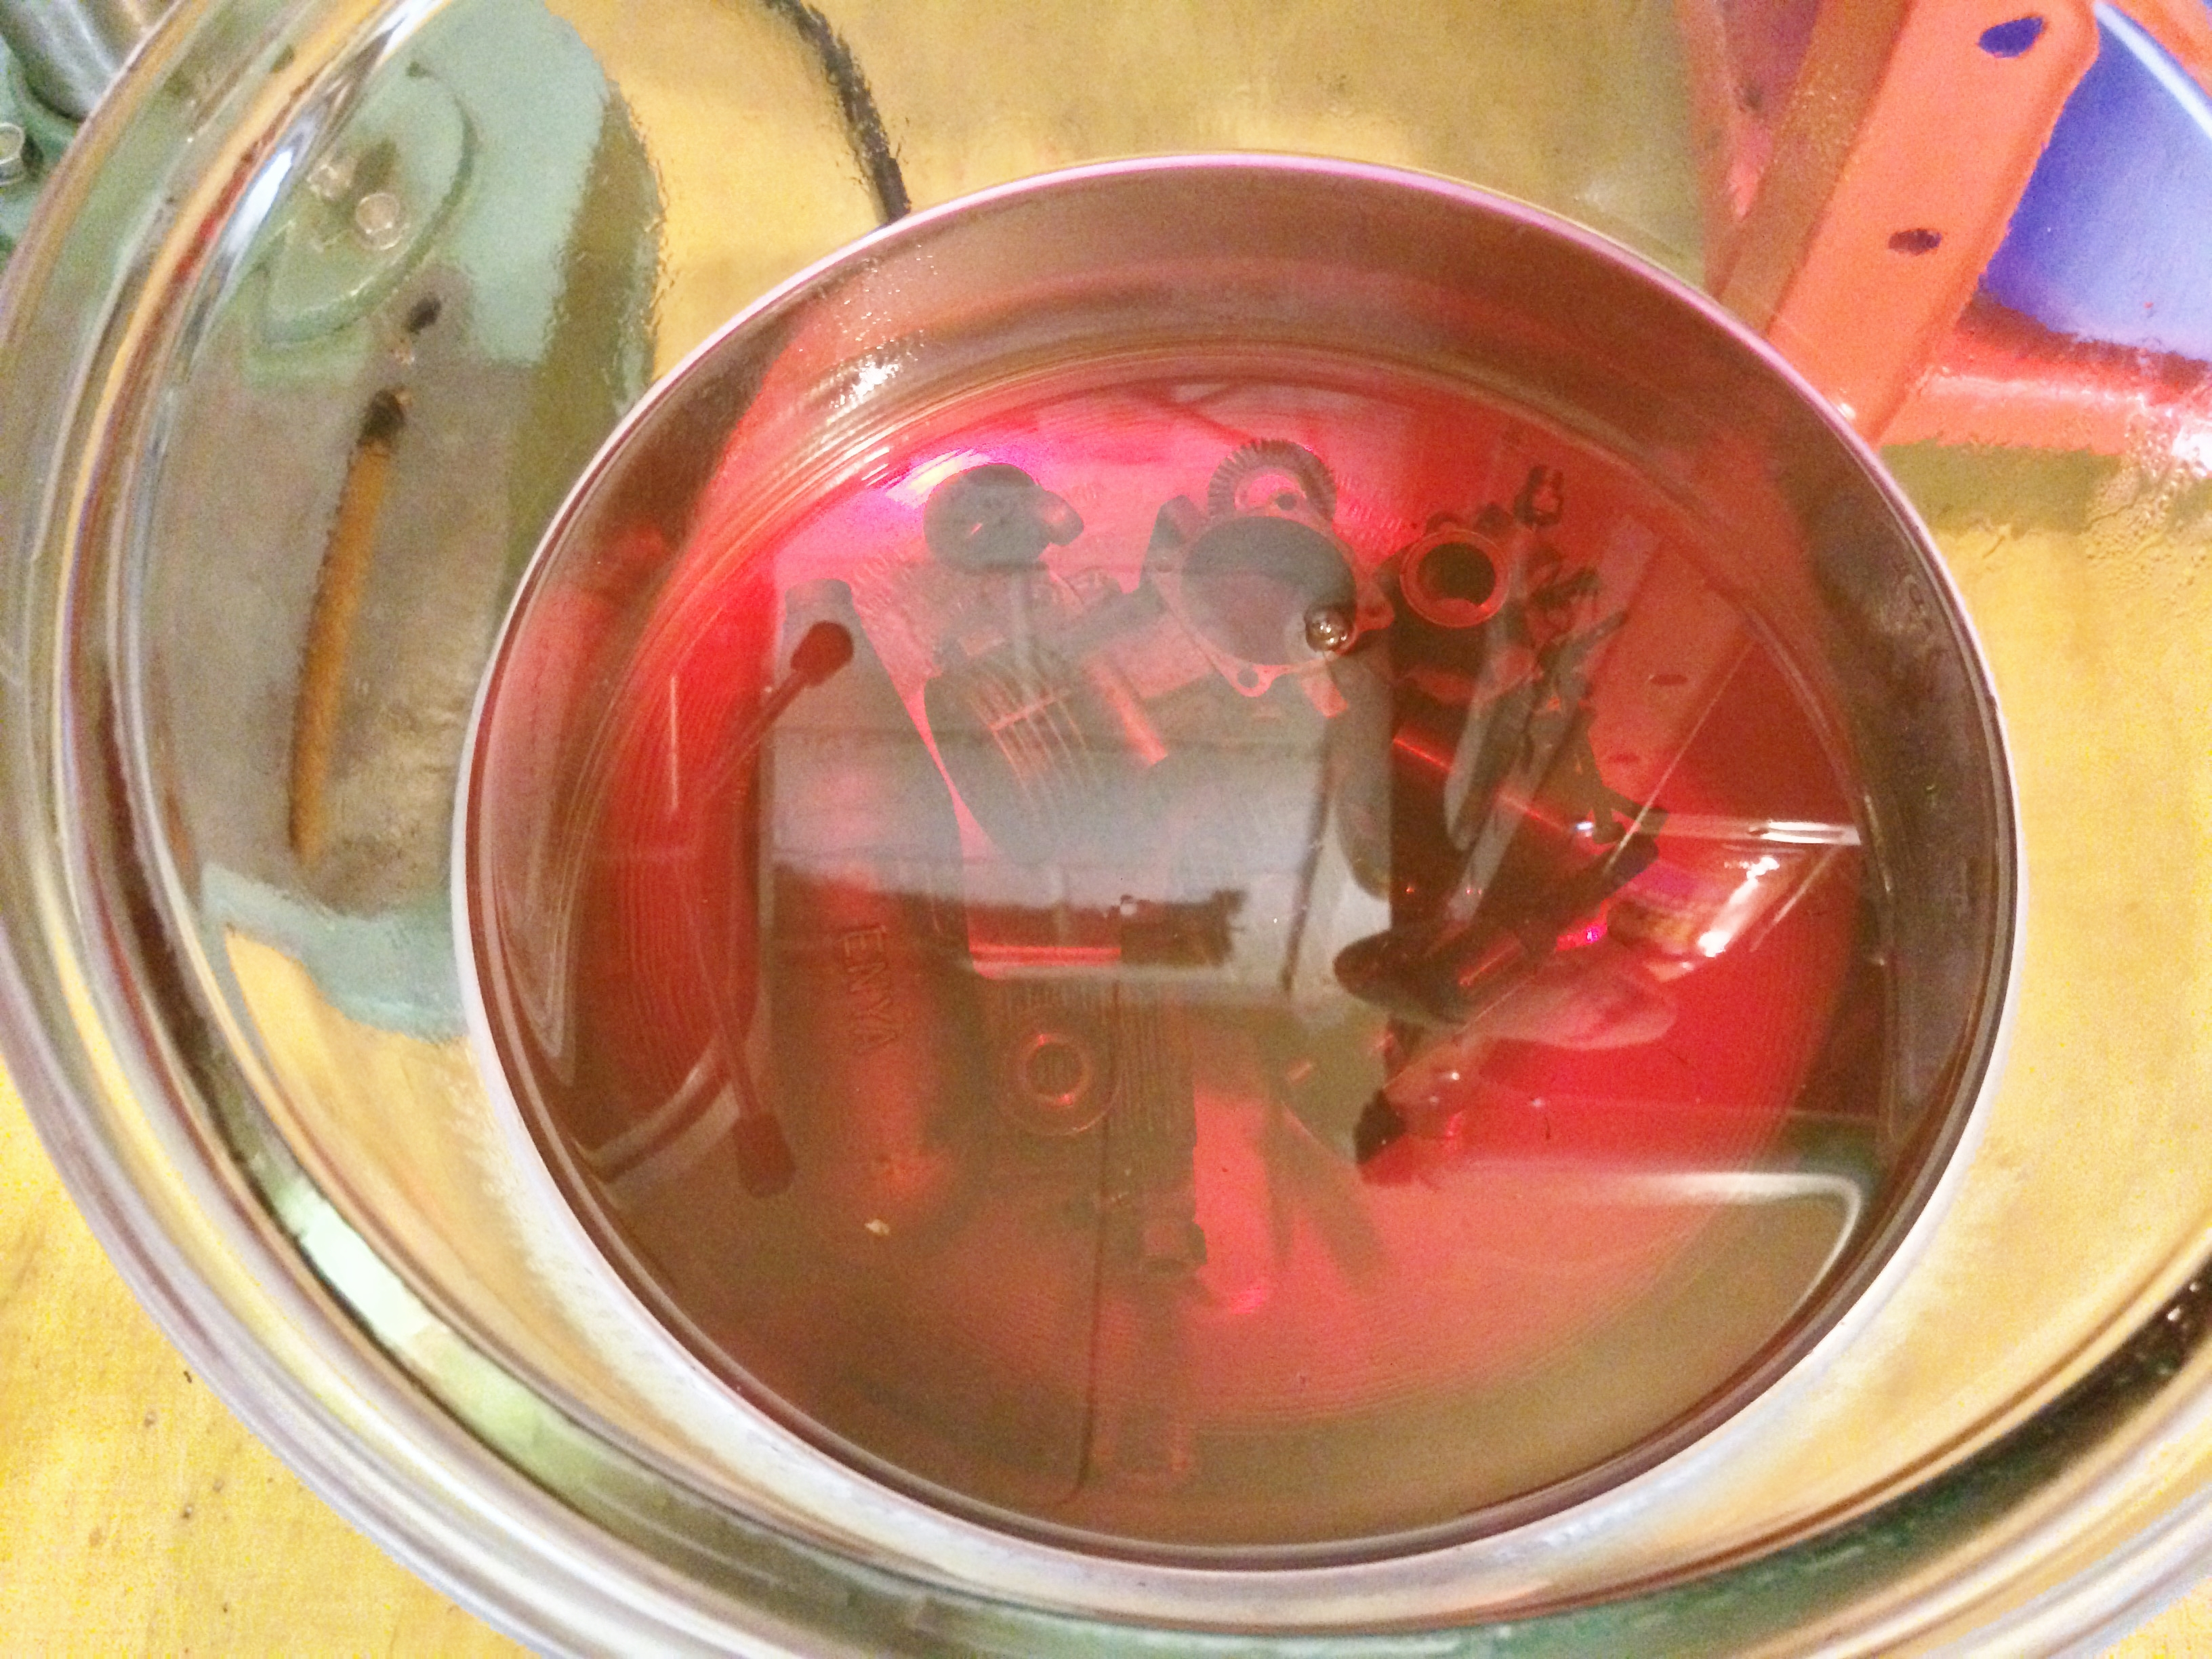
Ensure all parts are completely submerged. Steel, aluminium and plastic parts can all be soaked together with no risk of harm or discolouration.
Step 4: Final cleaning and reassembly.
Once ready, take out the parts (wear rubber gloves at all times so as not to scald yourself) and scrub with a stiff brush and soap under hot water. The dirt, if not already gone will come away very easily. The hot water just ensures everything dries quickly and I also place the parts on a radiator or oven shelf at 50 °C to dry. Coat any steel parts and bolts in WD40 immediately after washing or they will develop a surface rust. Bearings if not to be replaced should be rinsed in WD40 then soaked in after-run oil. Check needle jets are clear of obstructions.
Reassembly is simply a case of reserve order to dismantling, using the oven to heat things up again. Use the exploded diagram in the instruction booklet as a reference – particularly with regard to the direction of the cylinder liner and piston. Once assembled, lubricate with afterrun/machine oil and then sit back and admire your handiwork.
Parts all cleaned, lubricated and ready for assembly.
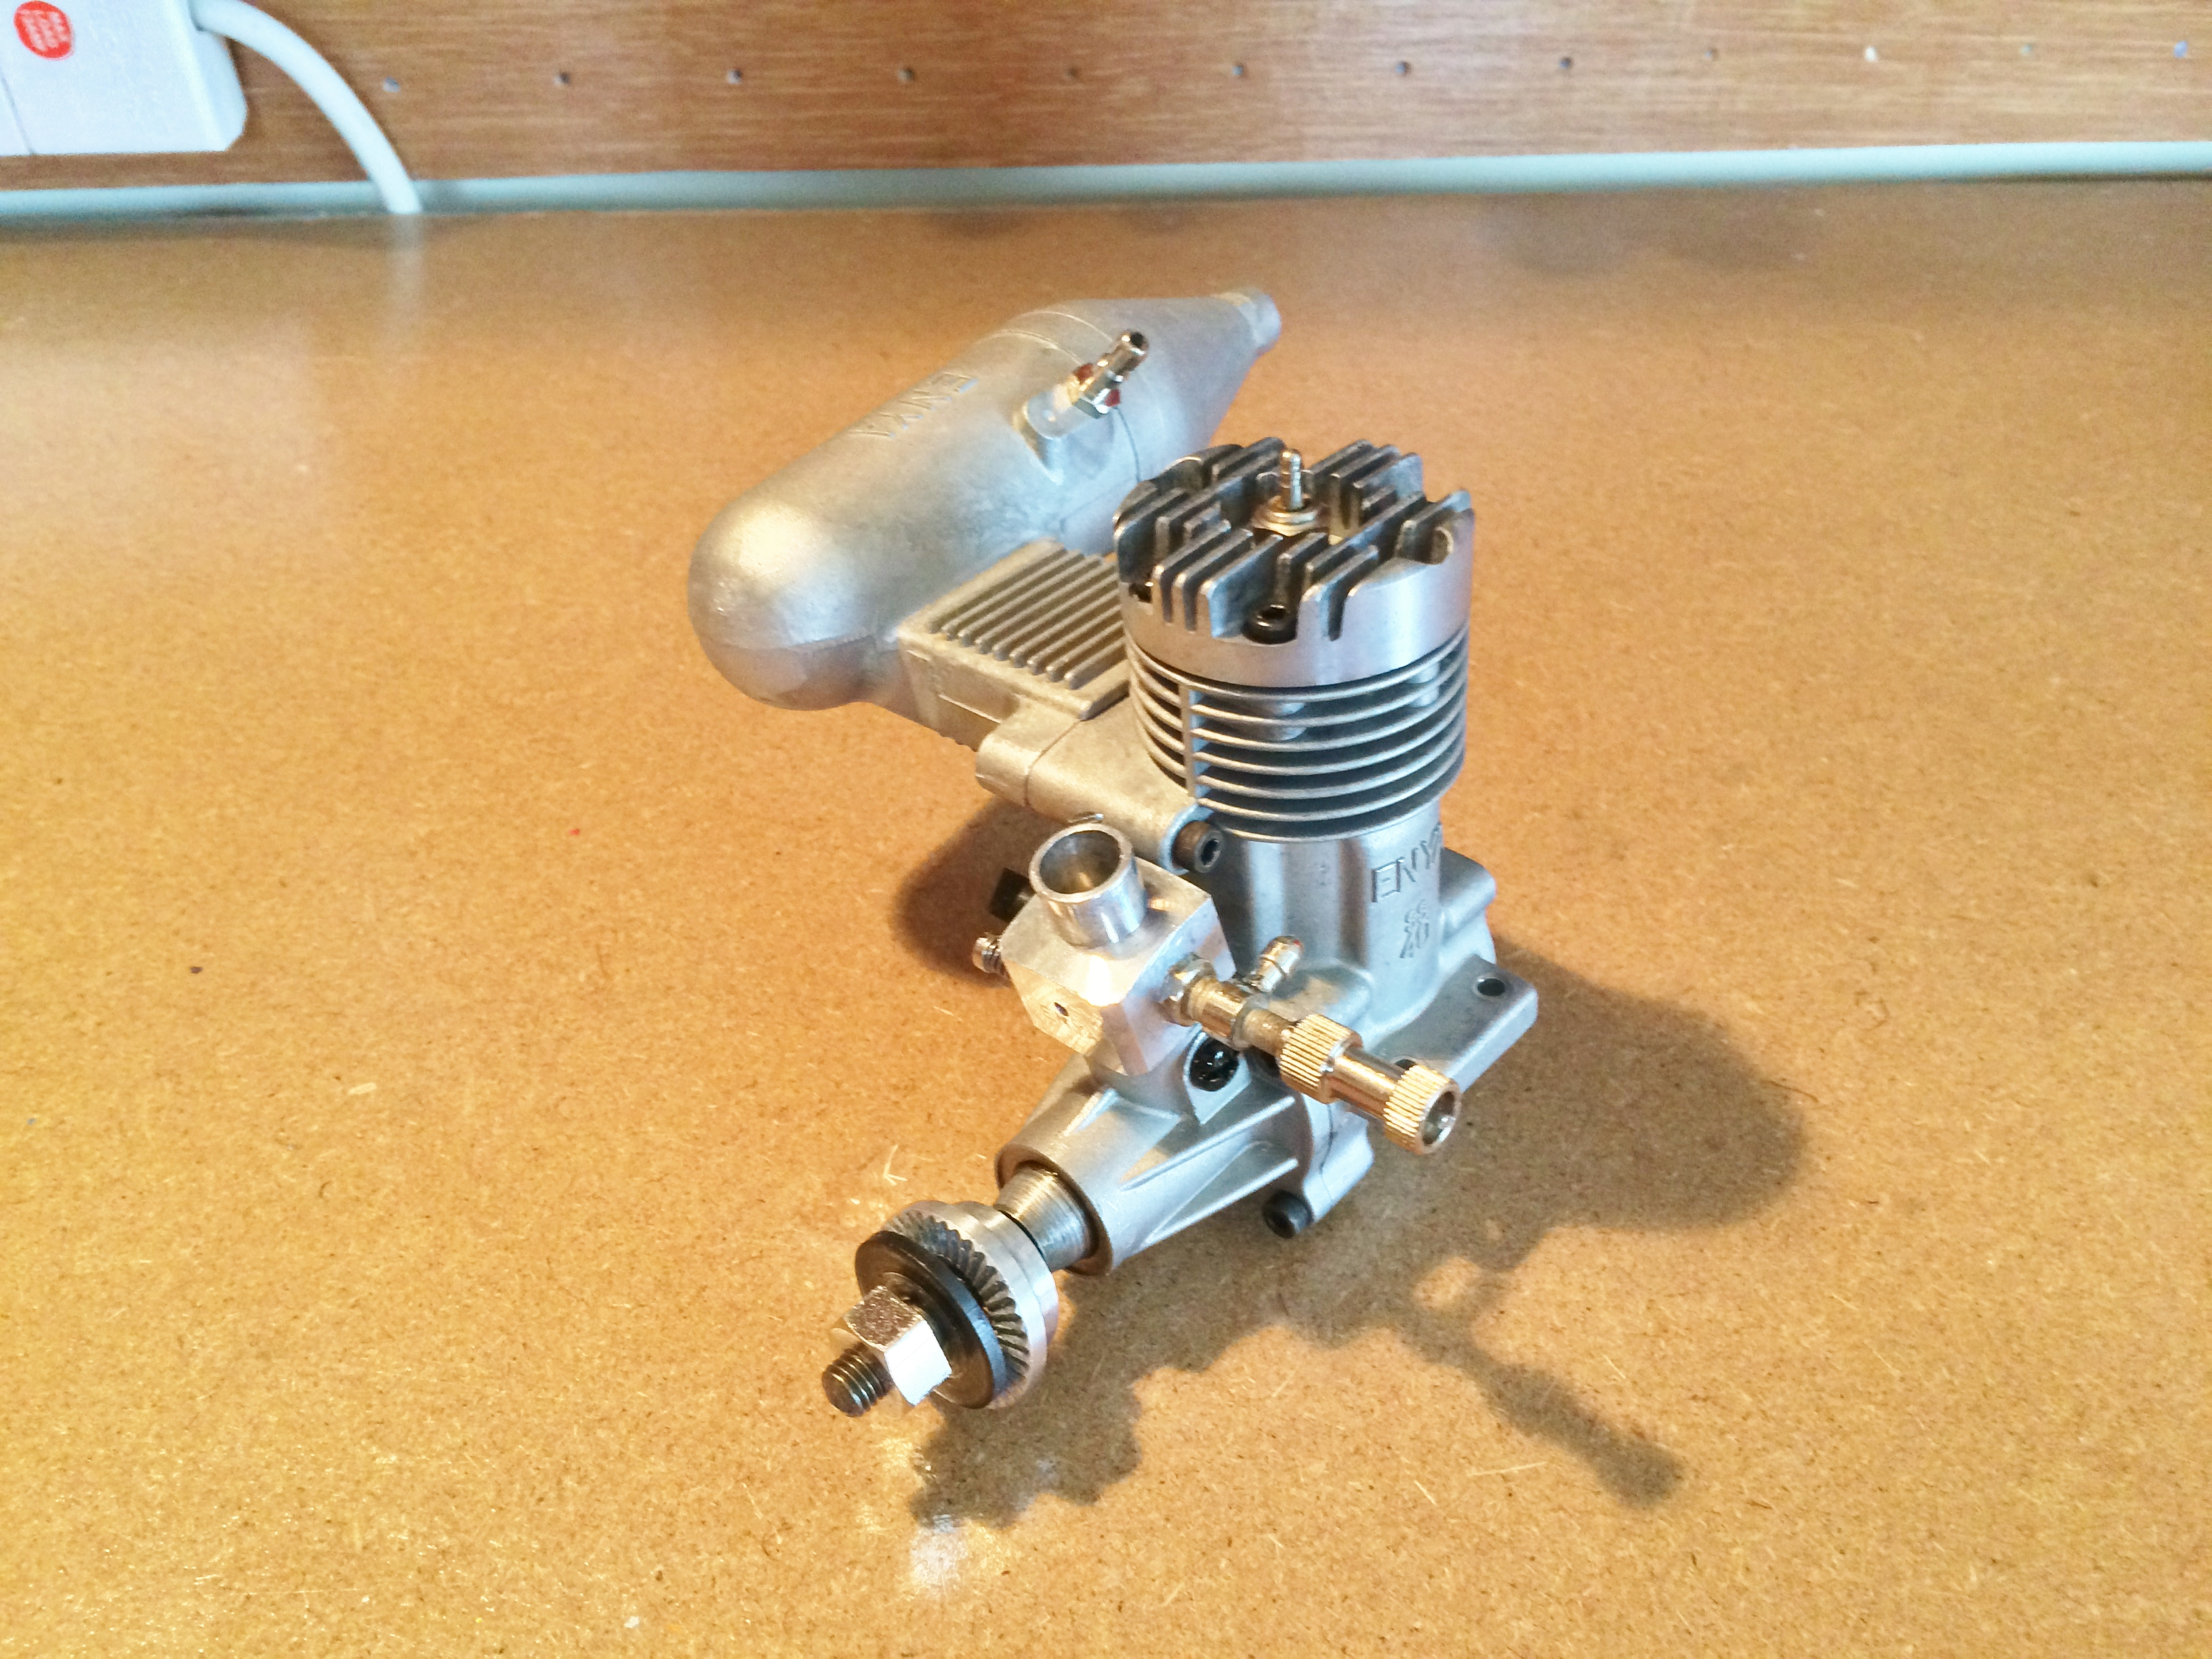
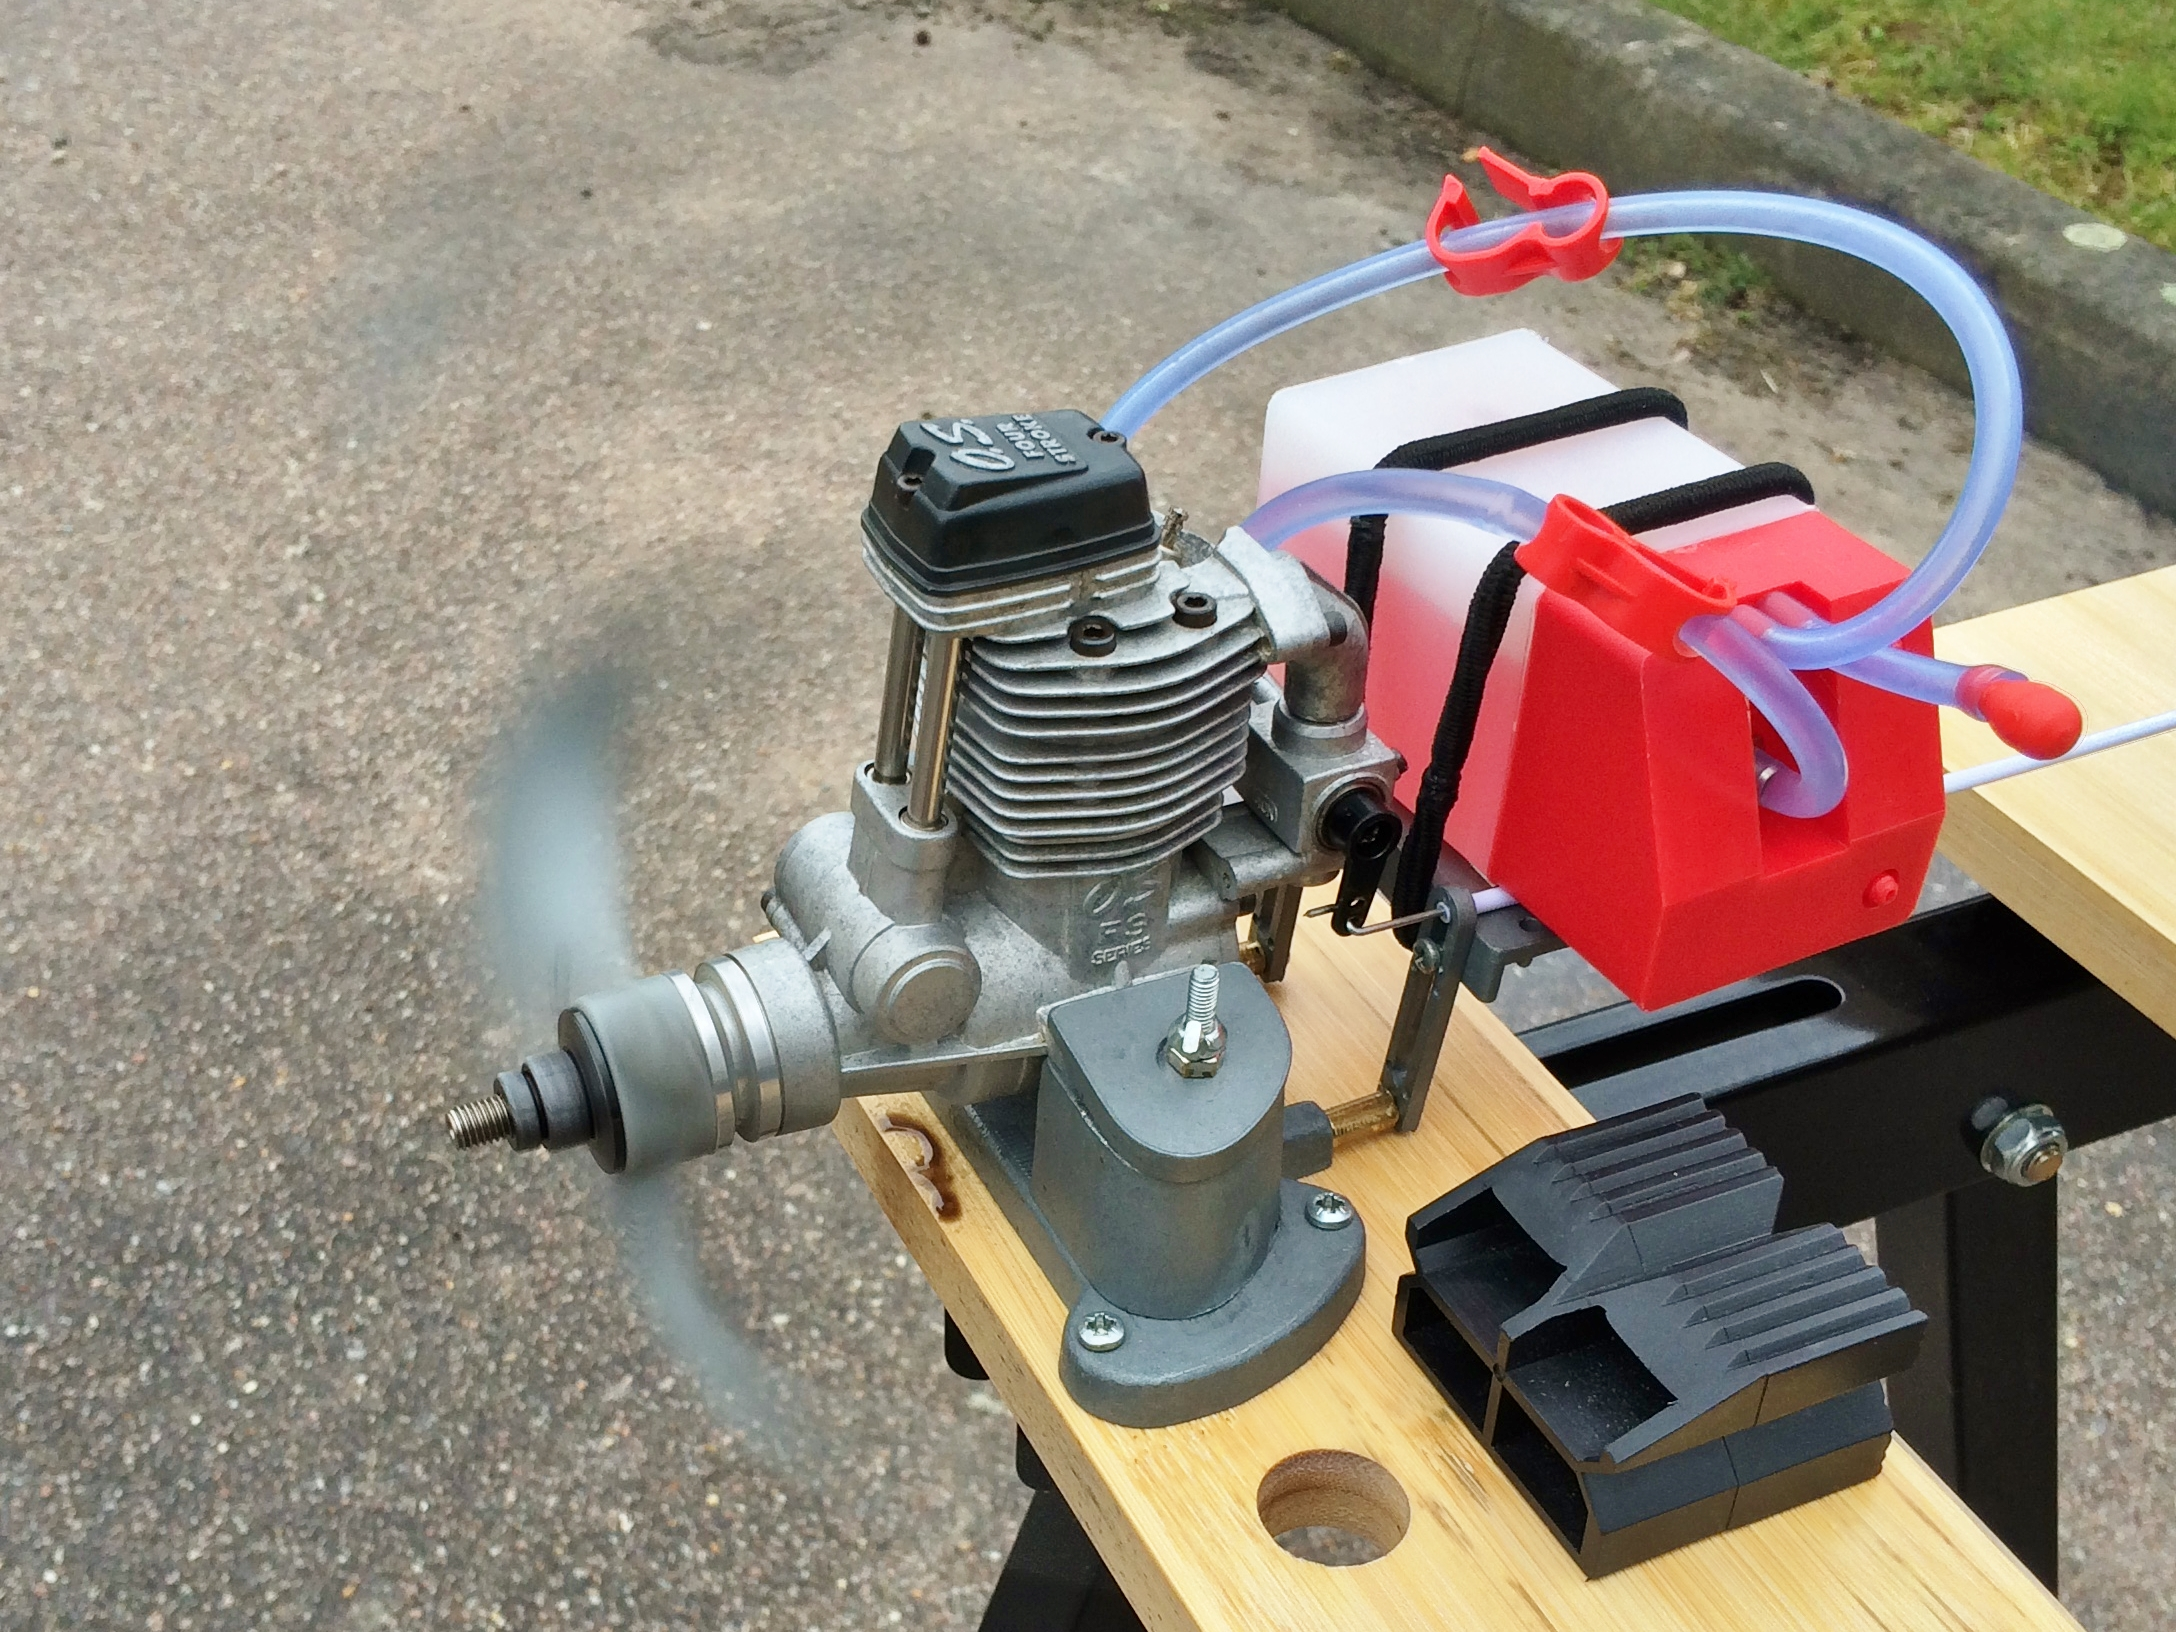
Reassembled and ready for action.
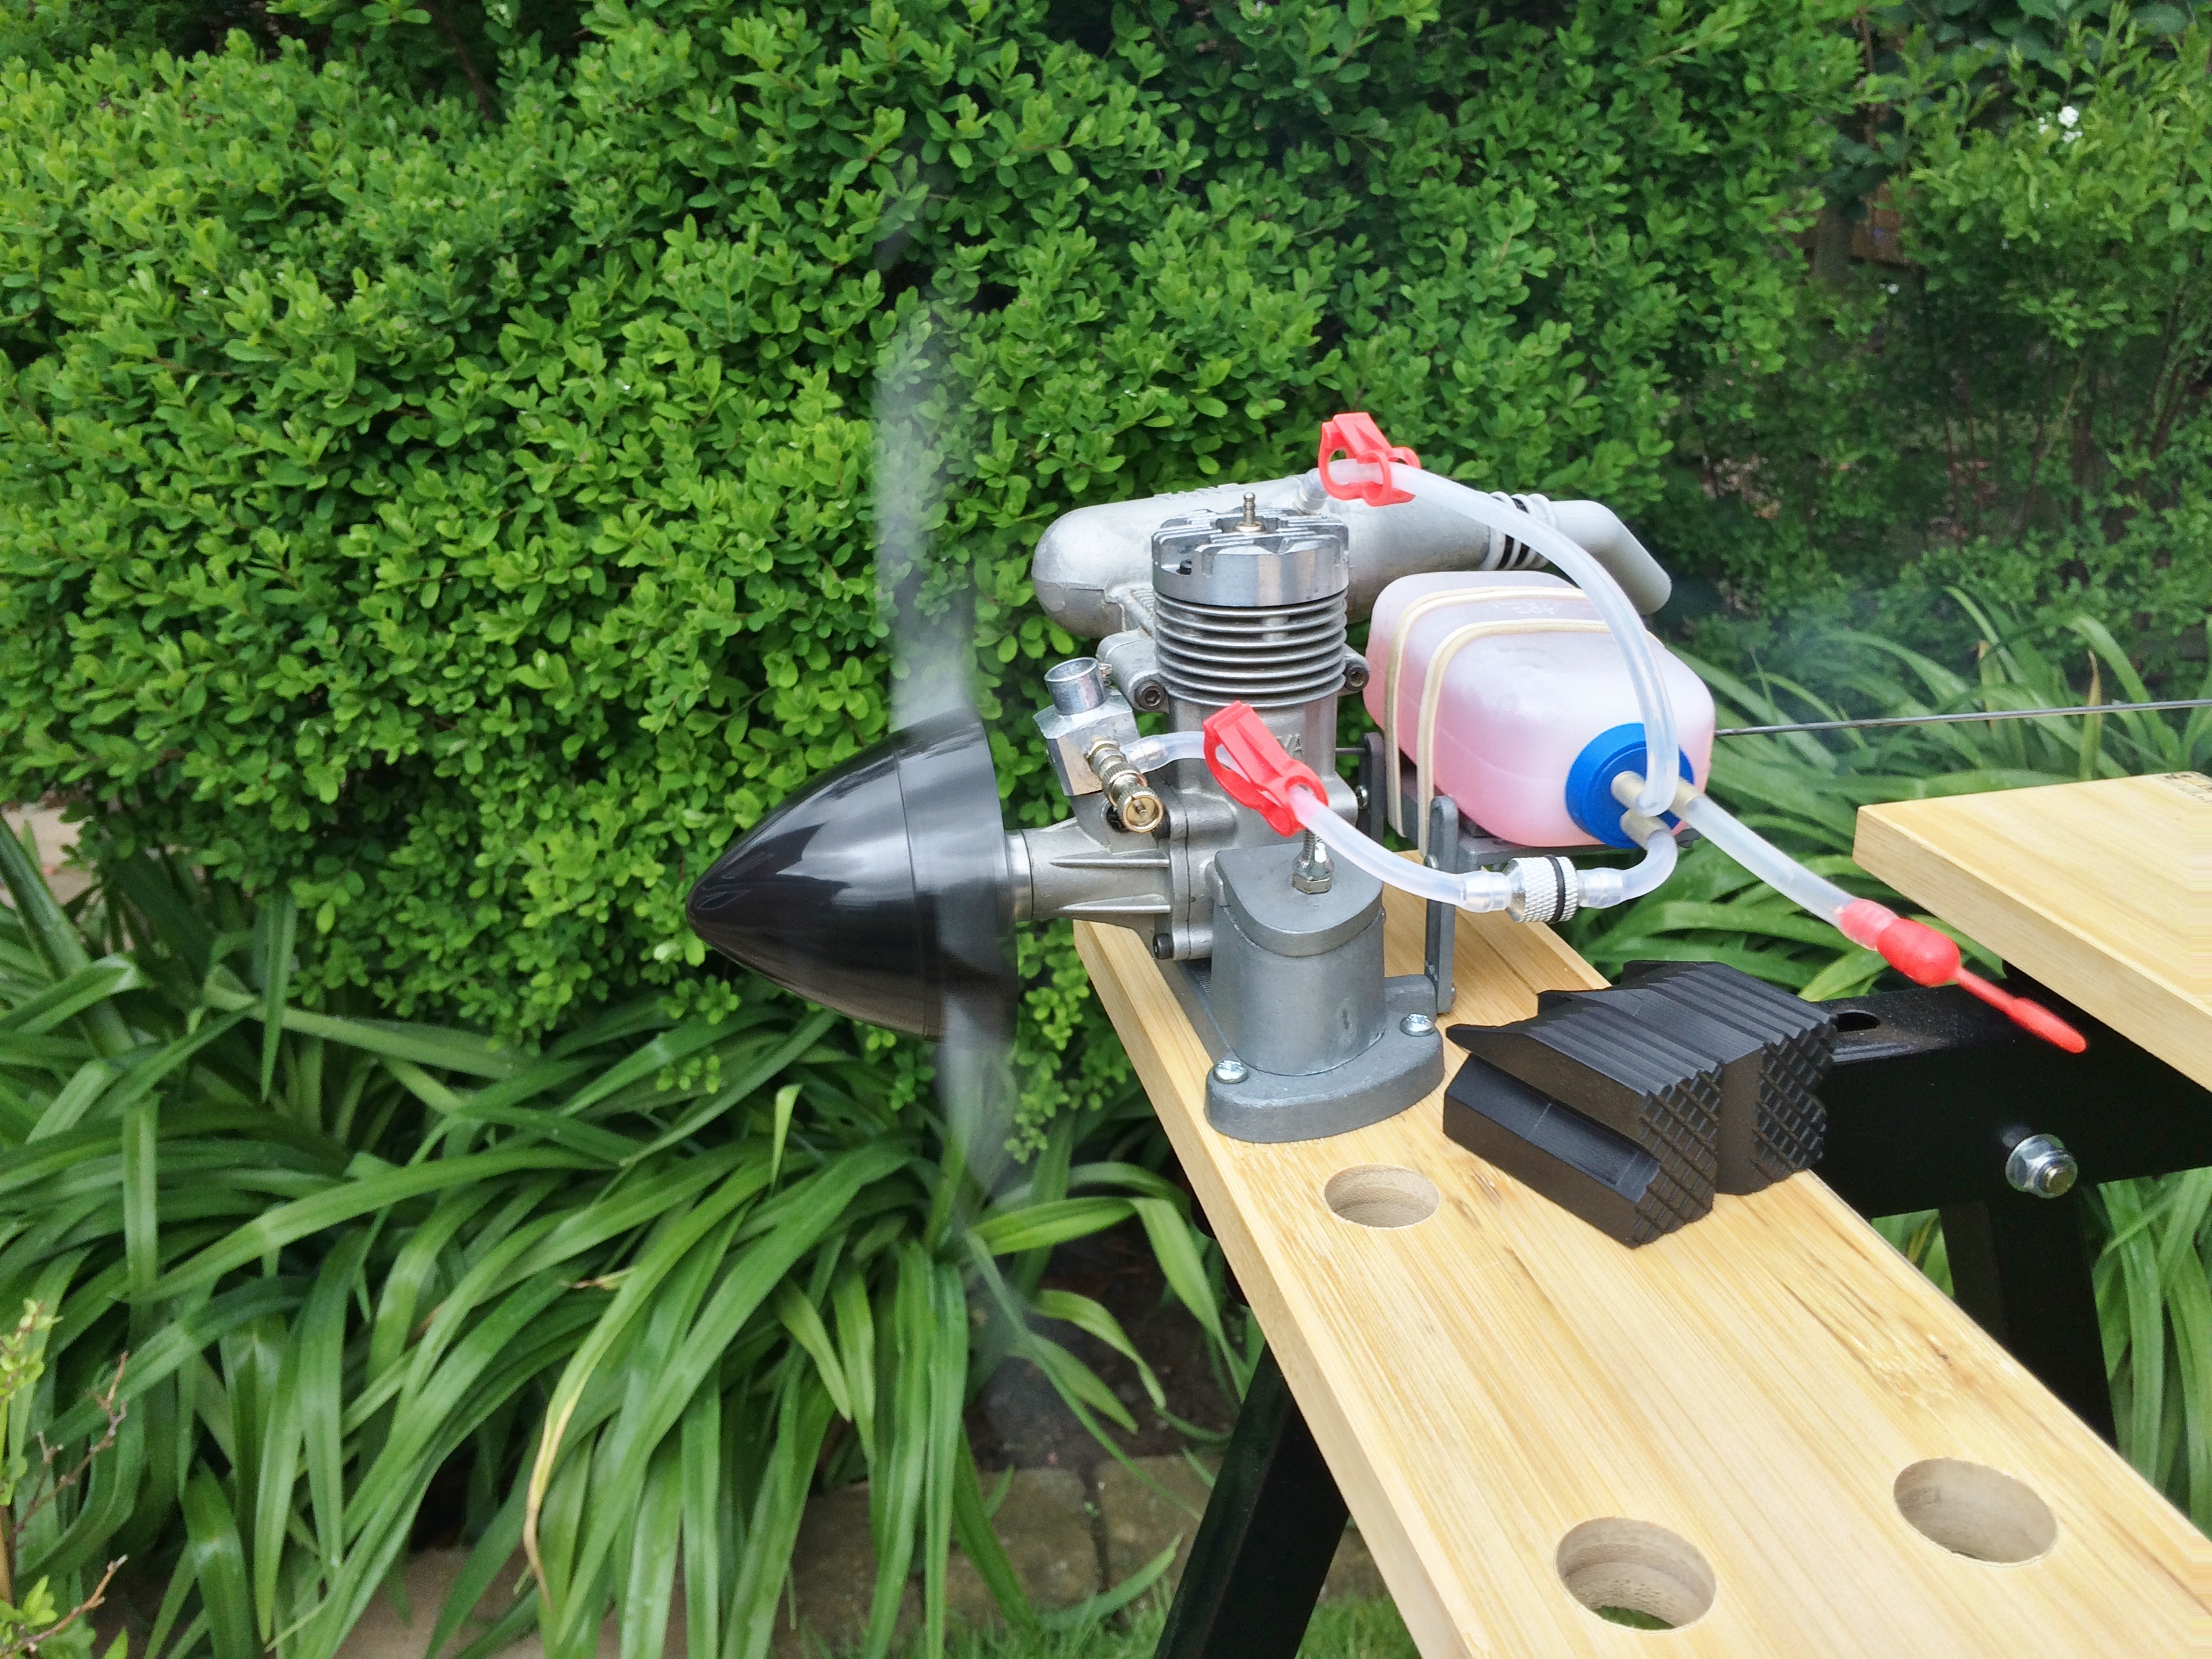
And here she is purring like a kitten on Optimix fuel. On a fully synthetic fuel like Optifuel the engine will stay looking like this.
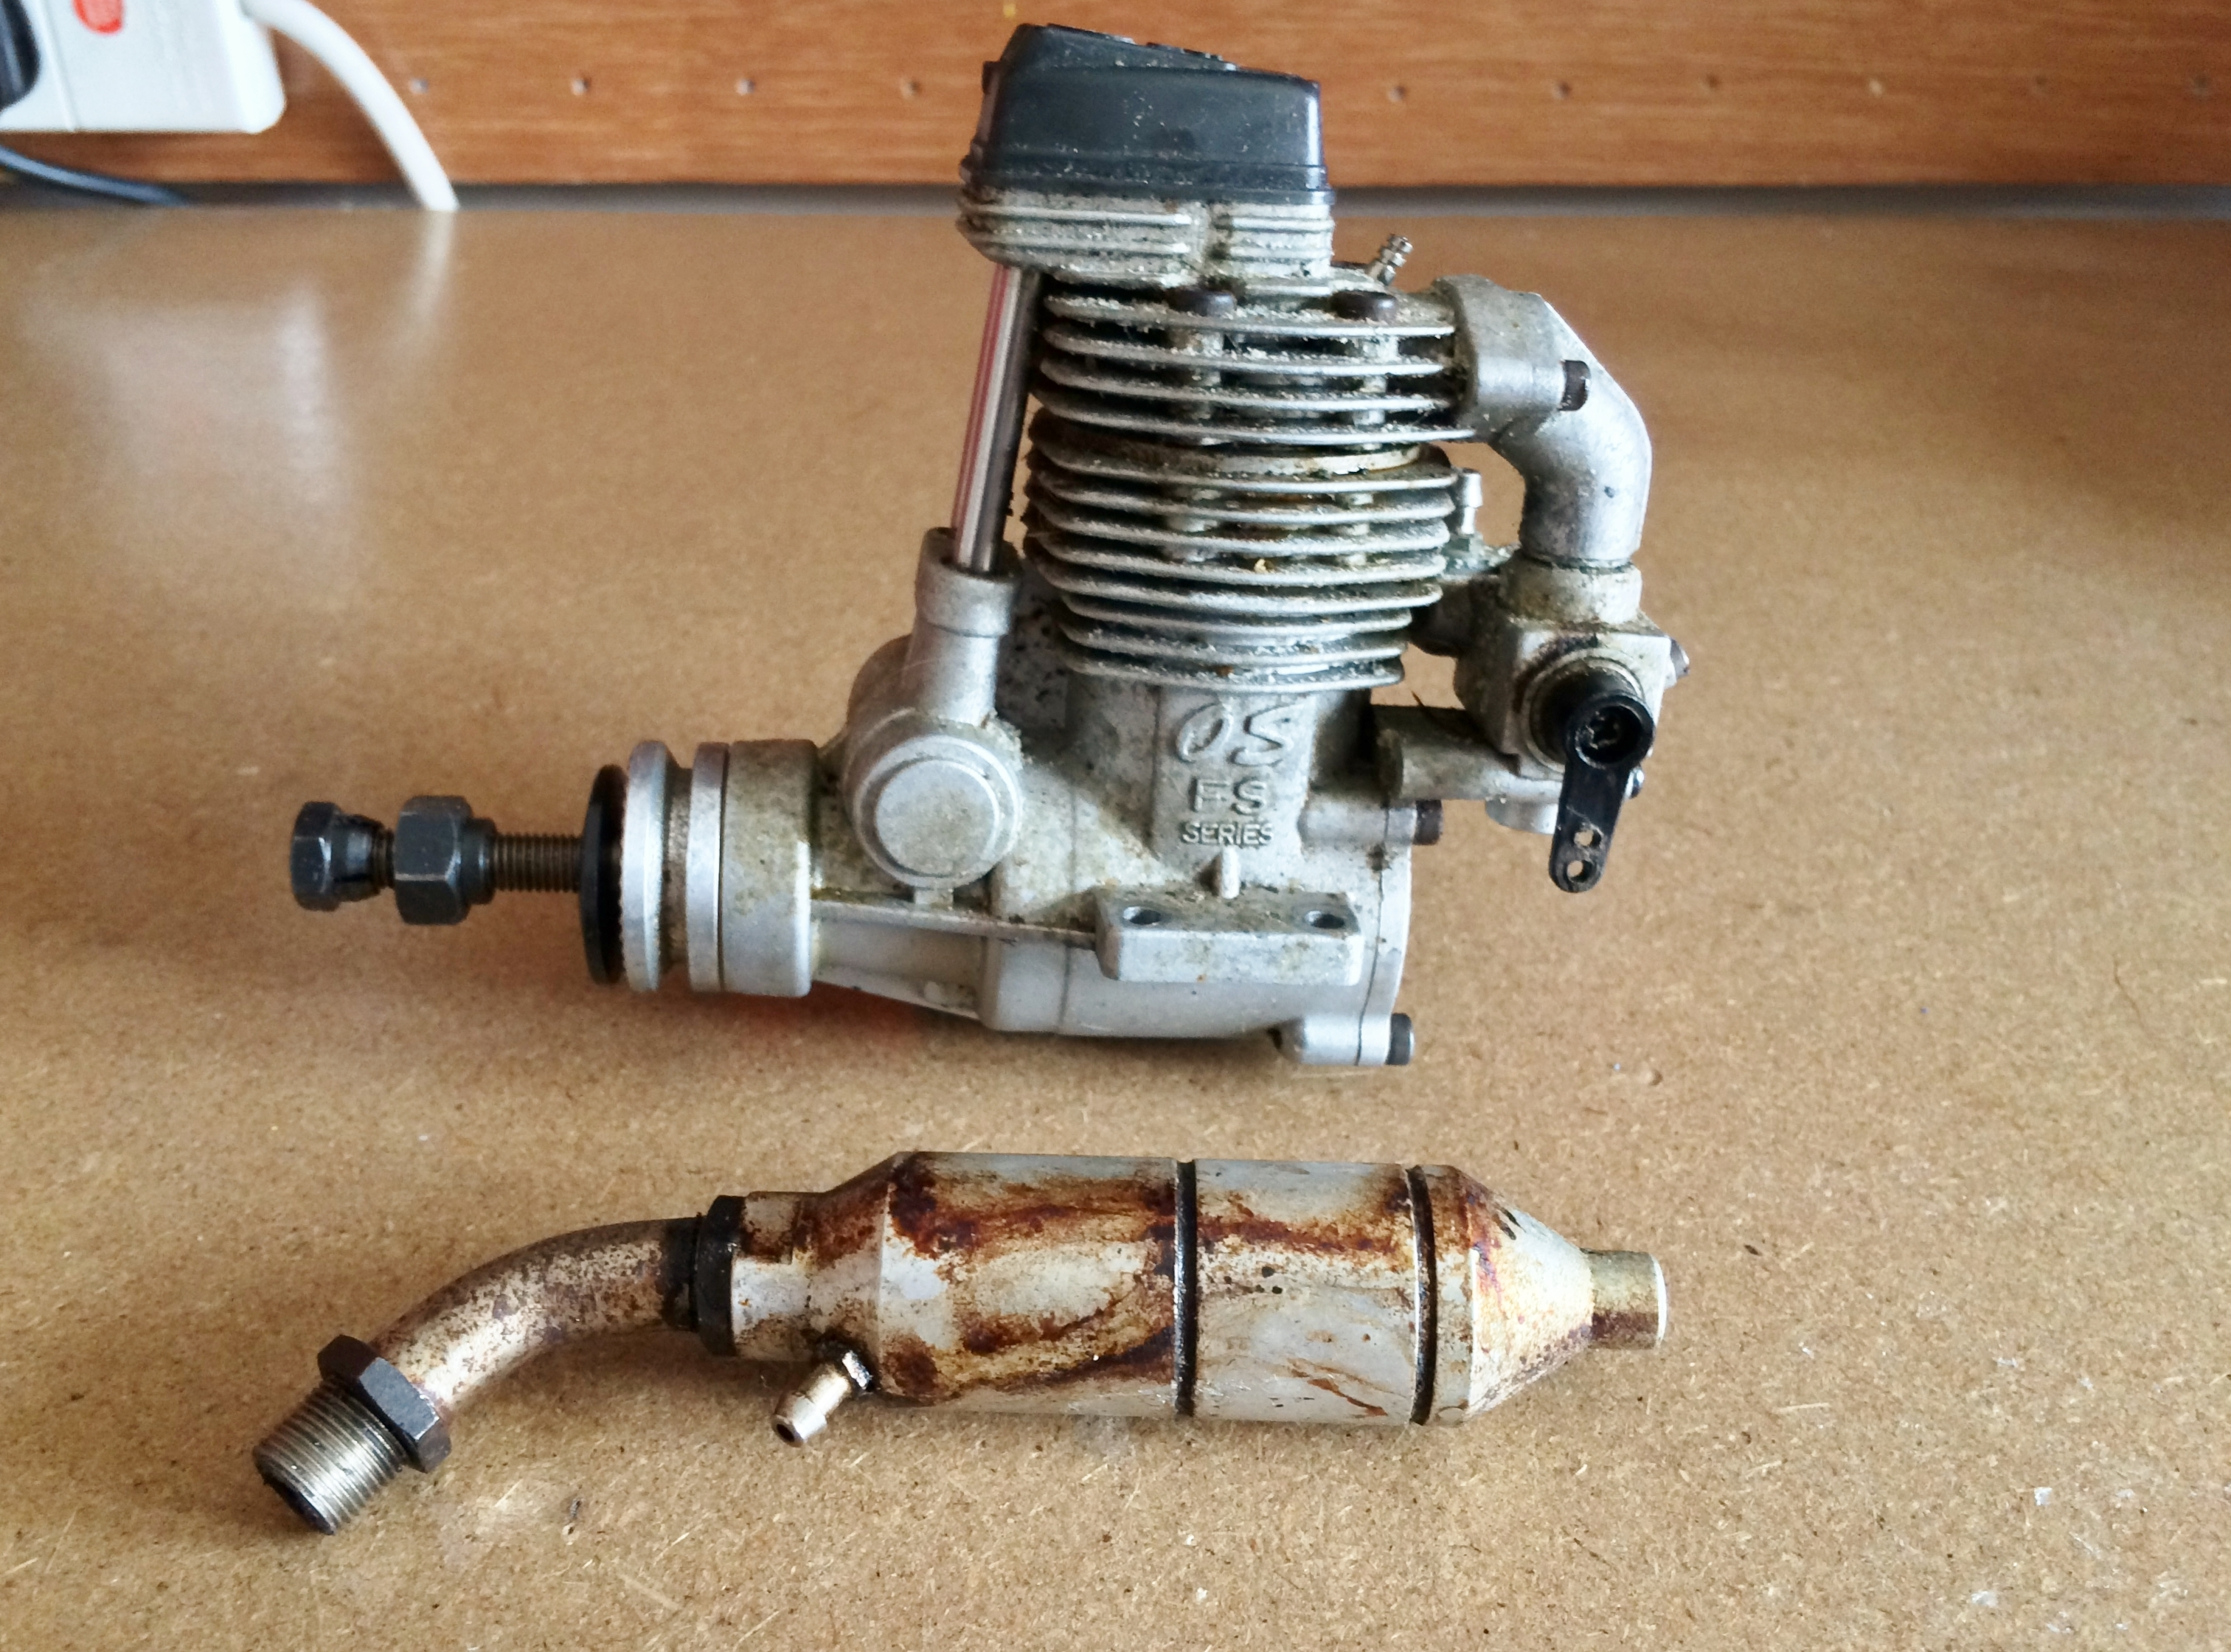
Example 2: Here, and looking very sorry for itself, is an OS FS52 Surpass; a recent eBay purchase. Aside from clear evidence of castor oil in the fuel this engine has evidently been left to mould in a damp and dusty garage. While I can (just about) understand an owner failing to look after a common 2-stroke, when it comes to hundreds of pounds worth of OS 4 stroke it ceases to be amusing…… In this case the abuse has resulted in corrosion to the surface anodising, the valves were black with burnt on carbon deposits and the rockers were struggling to move within gummed up castor. The only good thing I could find was that some after-run oil must have been added at some point as the bearings were clean. If it wasn’t for the reasonable price I had paid I would seriously have considered asking for my money back!
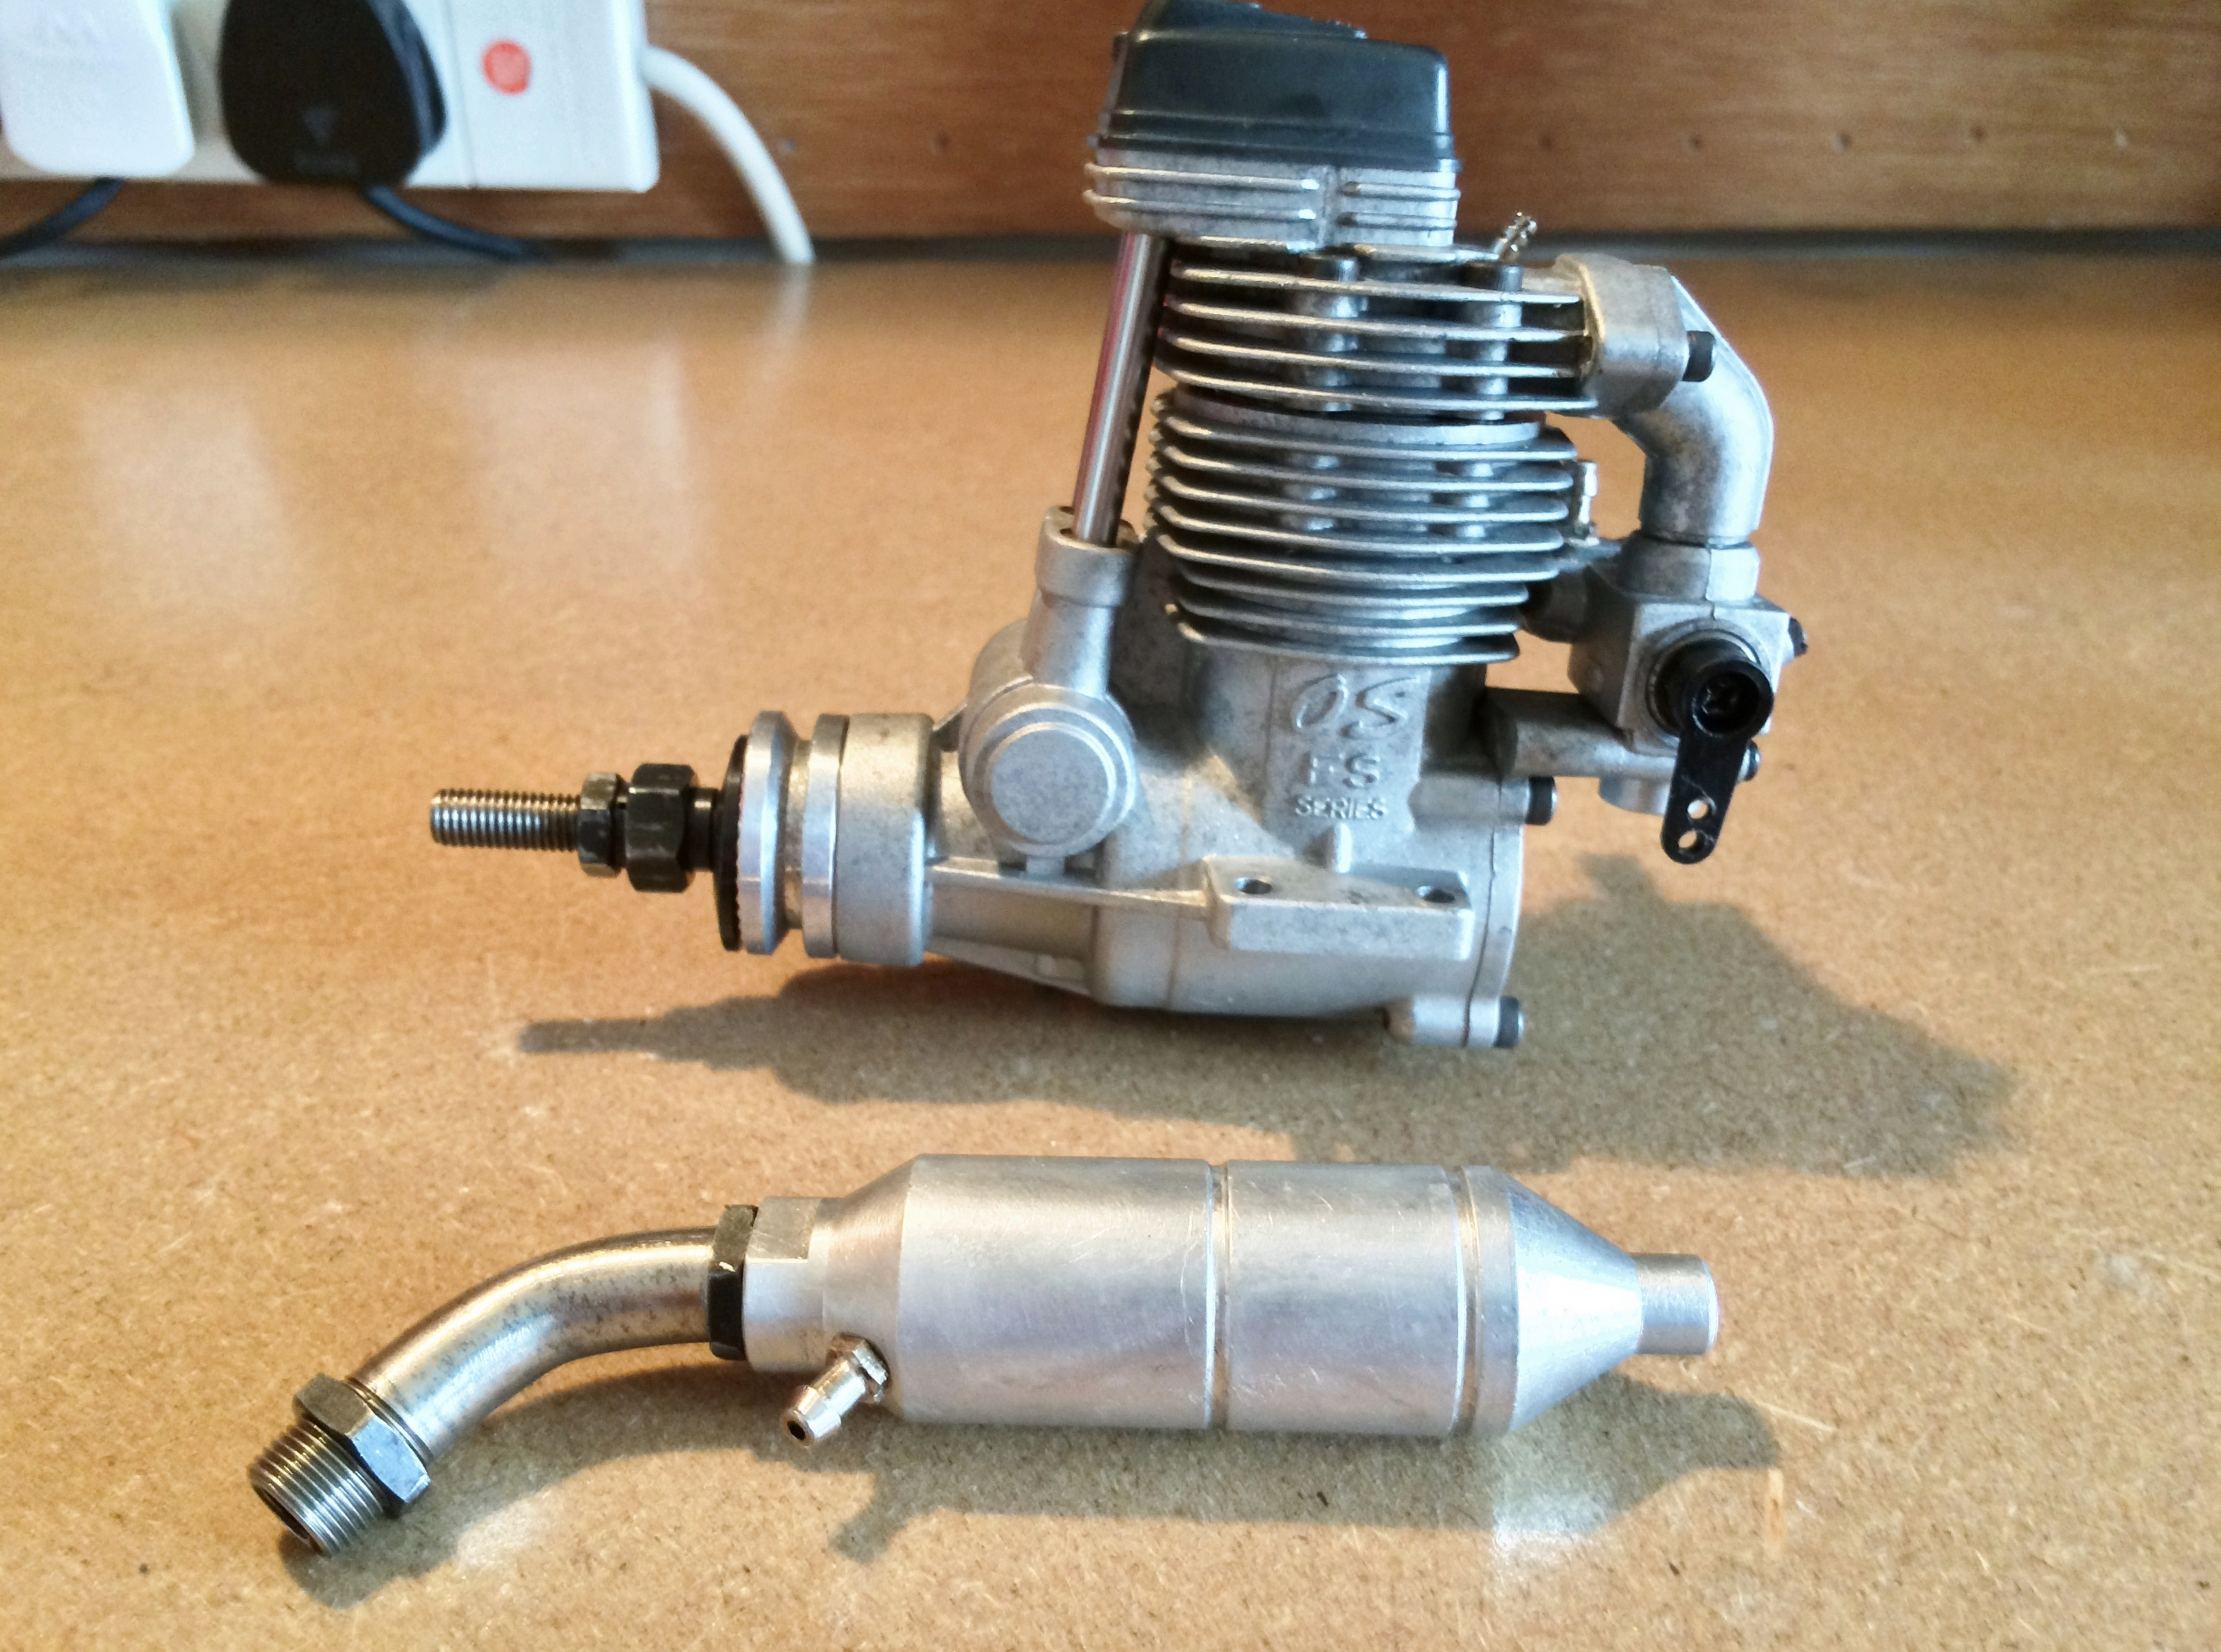
Unfortunately no amount of cleaning will remove staining to the anodizing caused by corrosion. Still a 100% improvement in appearance from when I received it!
All’s well that ends well, she sounds oh so sweet on a 12×6 prop.

Example 3: A sticky Super Tigre GS45. This is no way to treat an Italian thoroughbred!
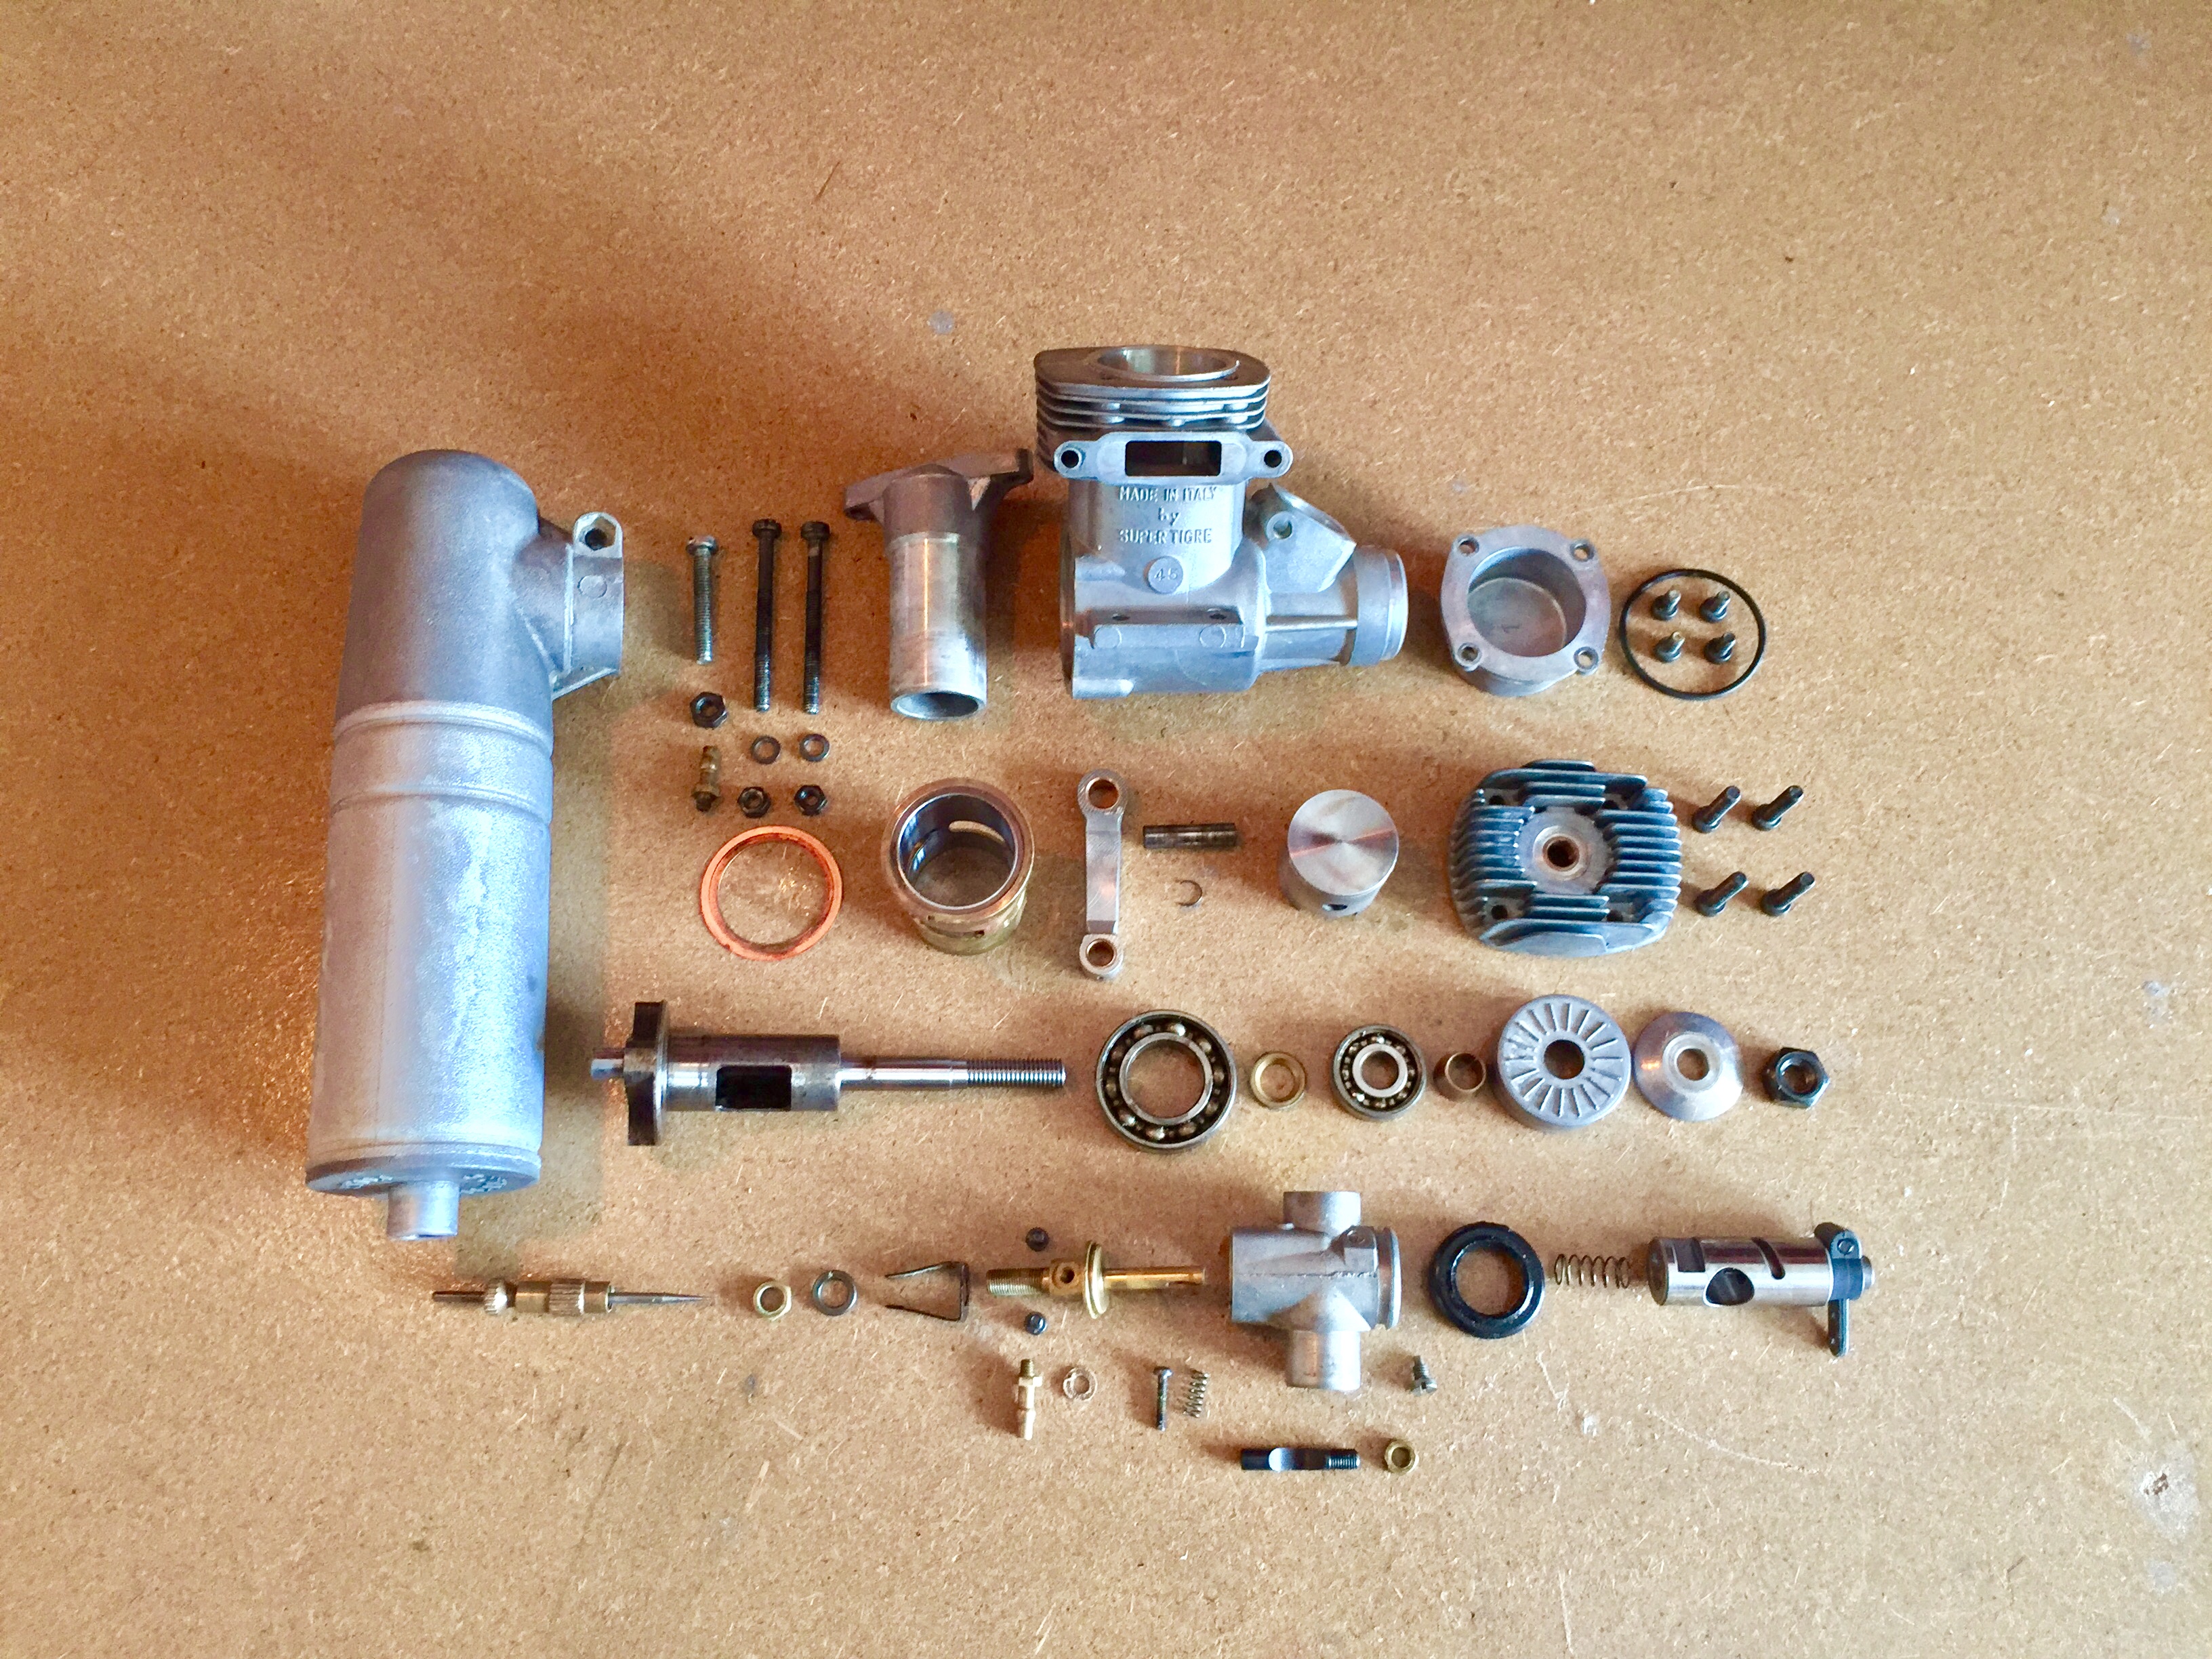
Parts gleaming and ready for reassembly.
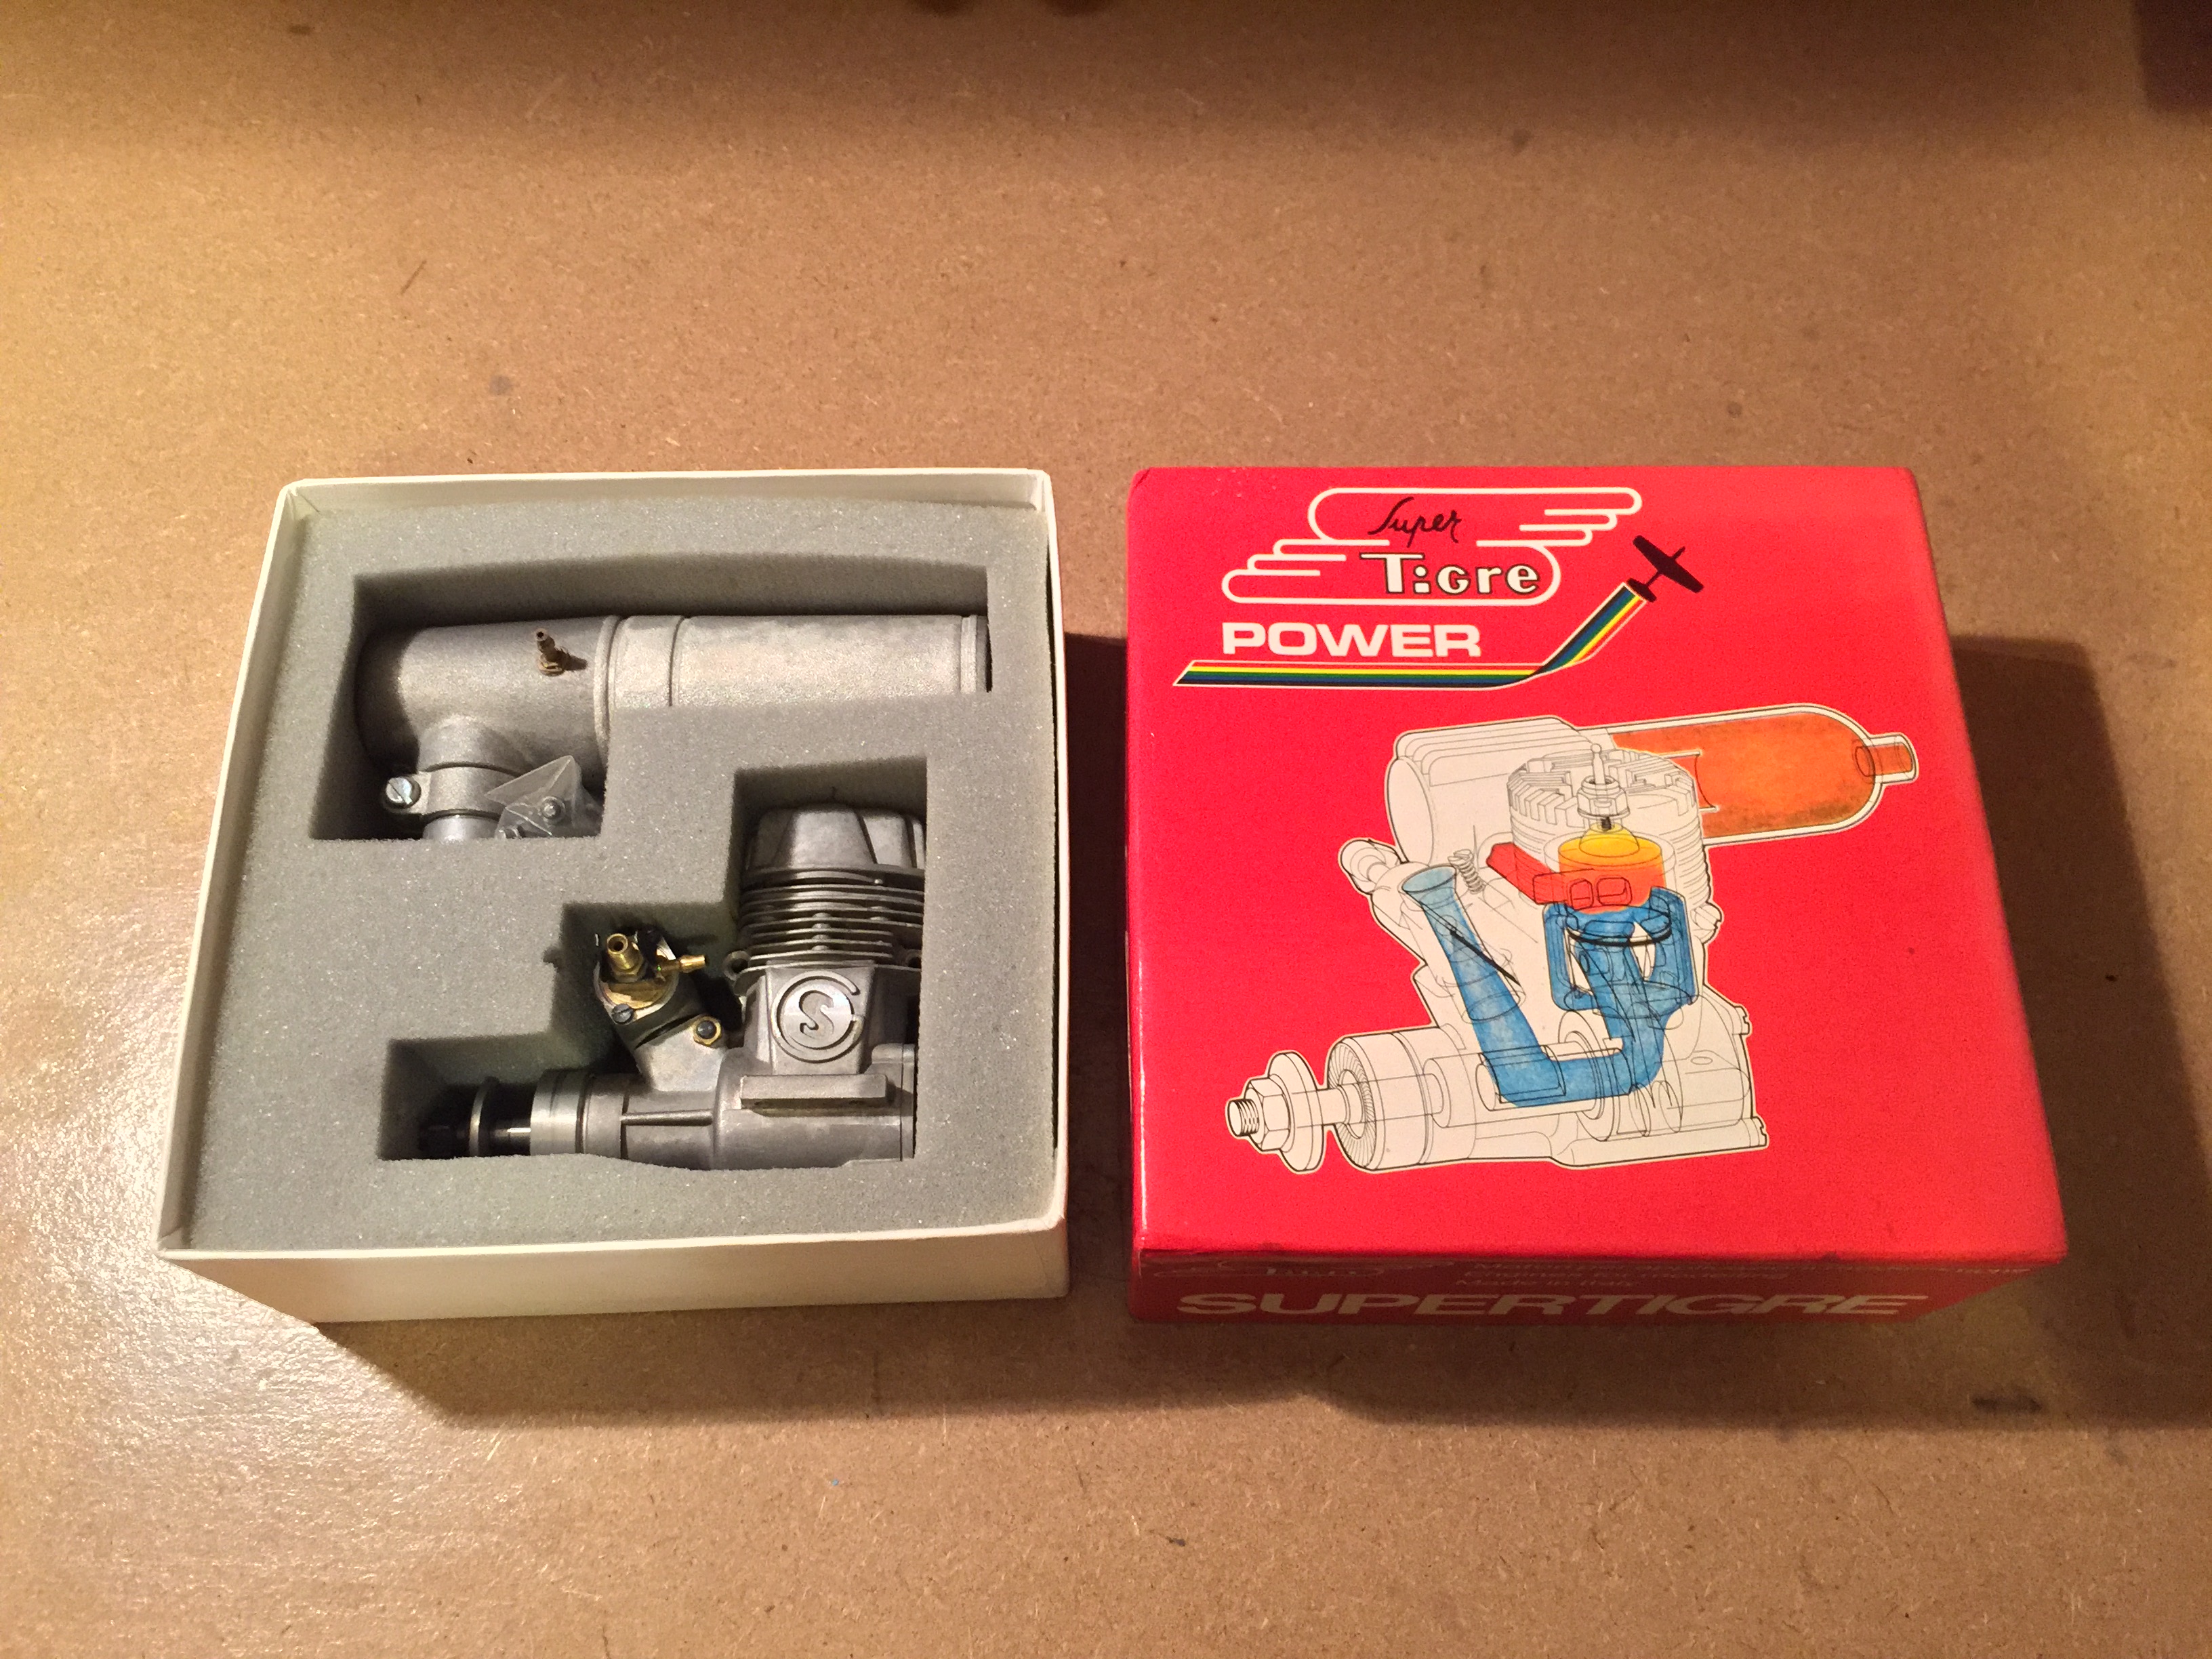
Boxed up and looking as good as new. On synthetic based fuel it will stay looking this way.

Pingback: London Calling: Time to get Extra Slim! | extreme3d
Pingback: 31: Binary Star – The BillKits Twinkle | extreme3d