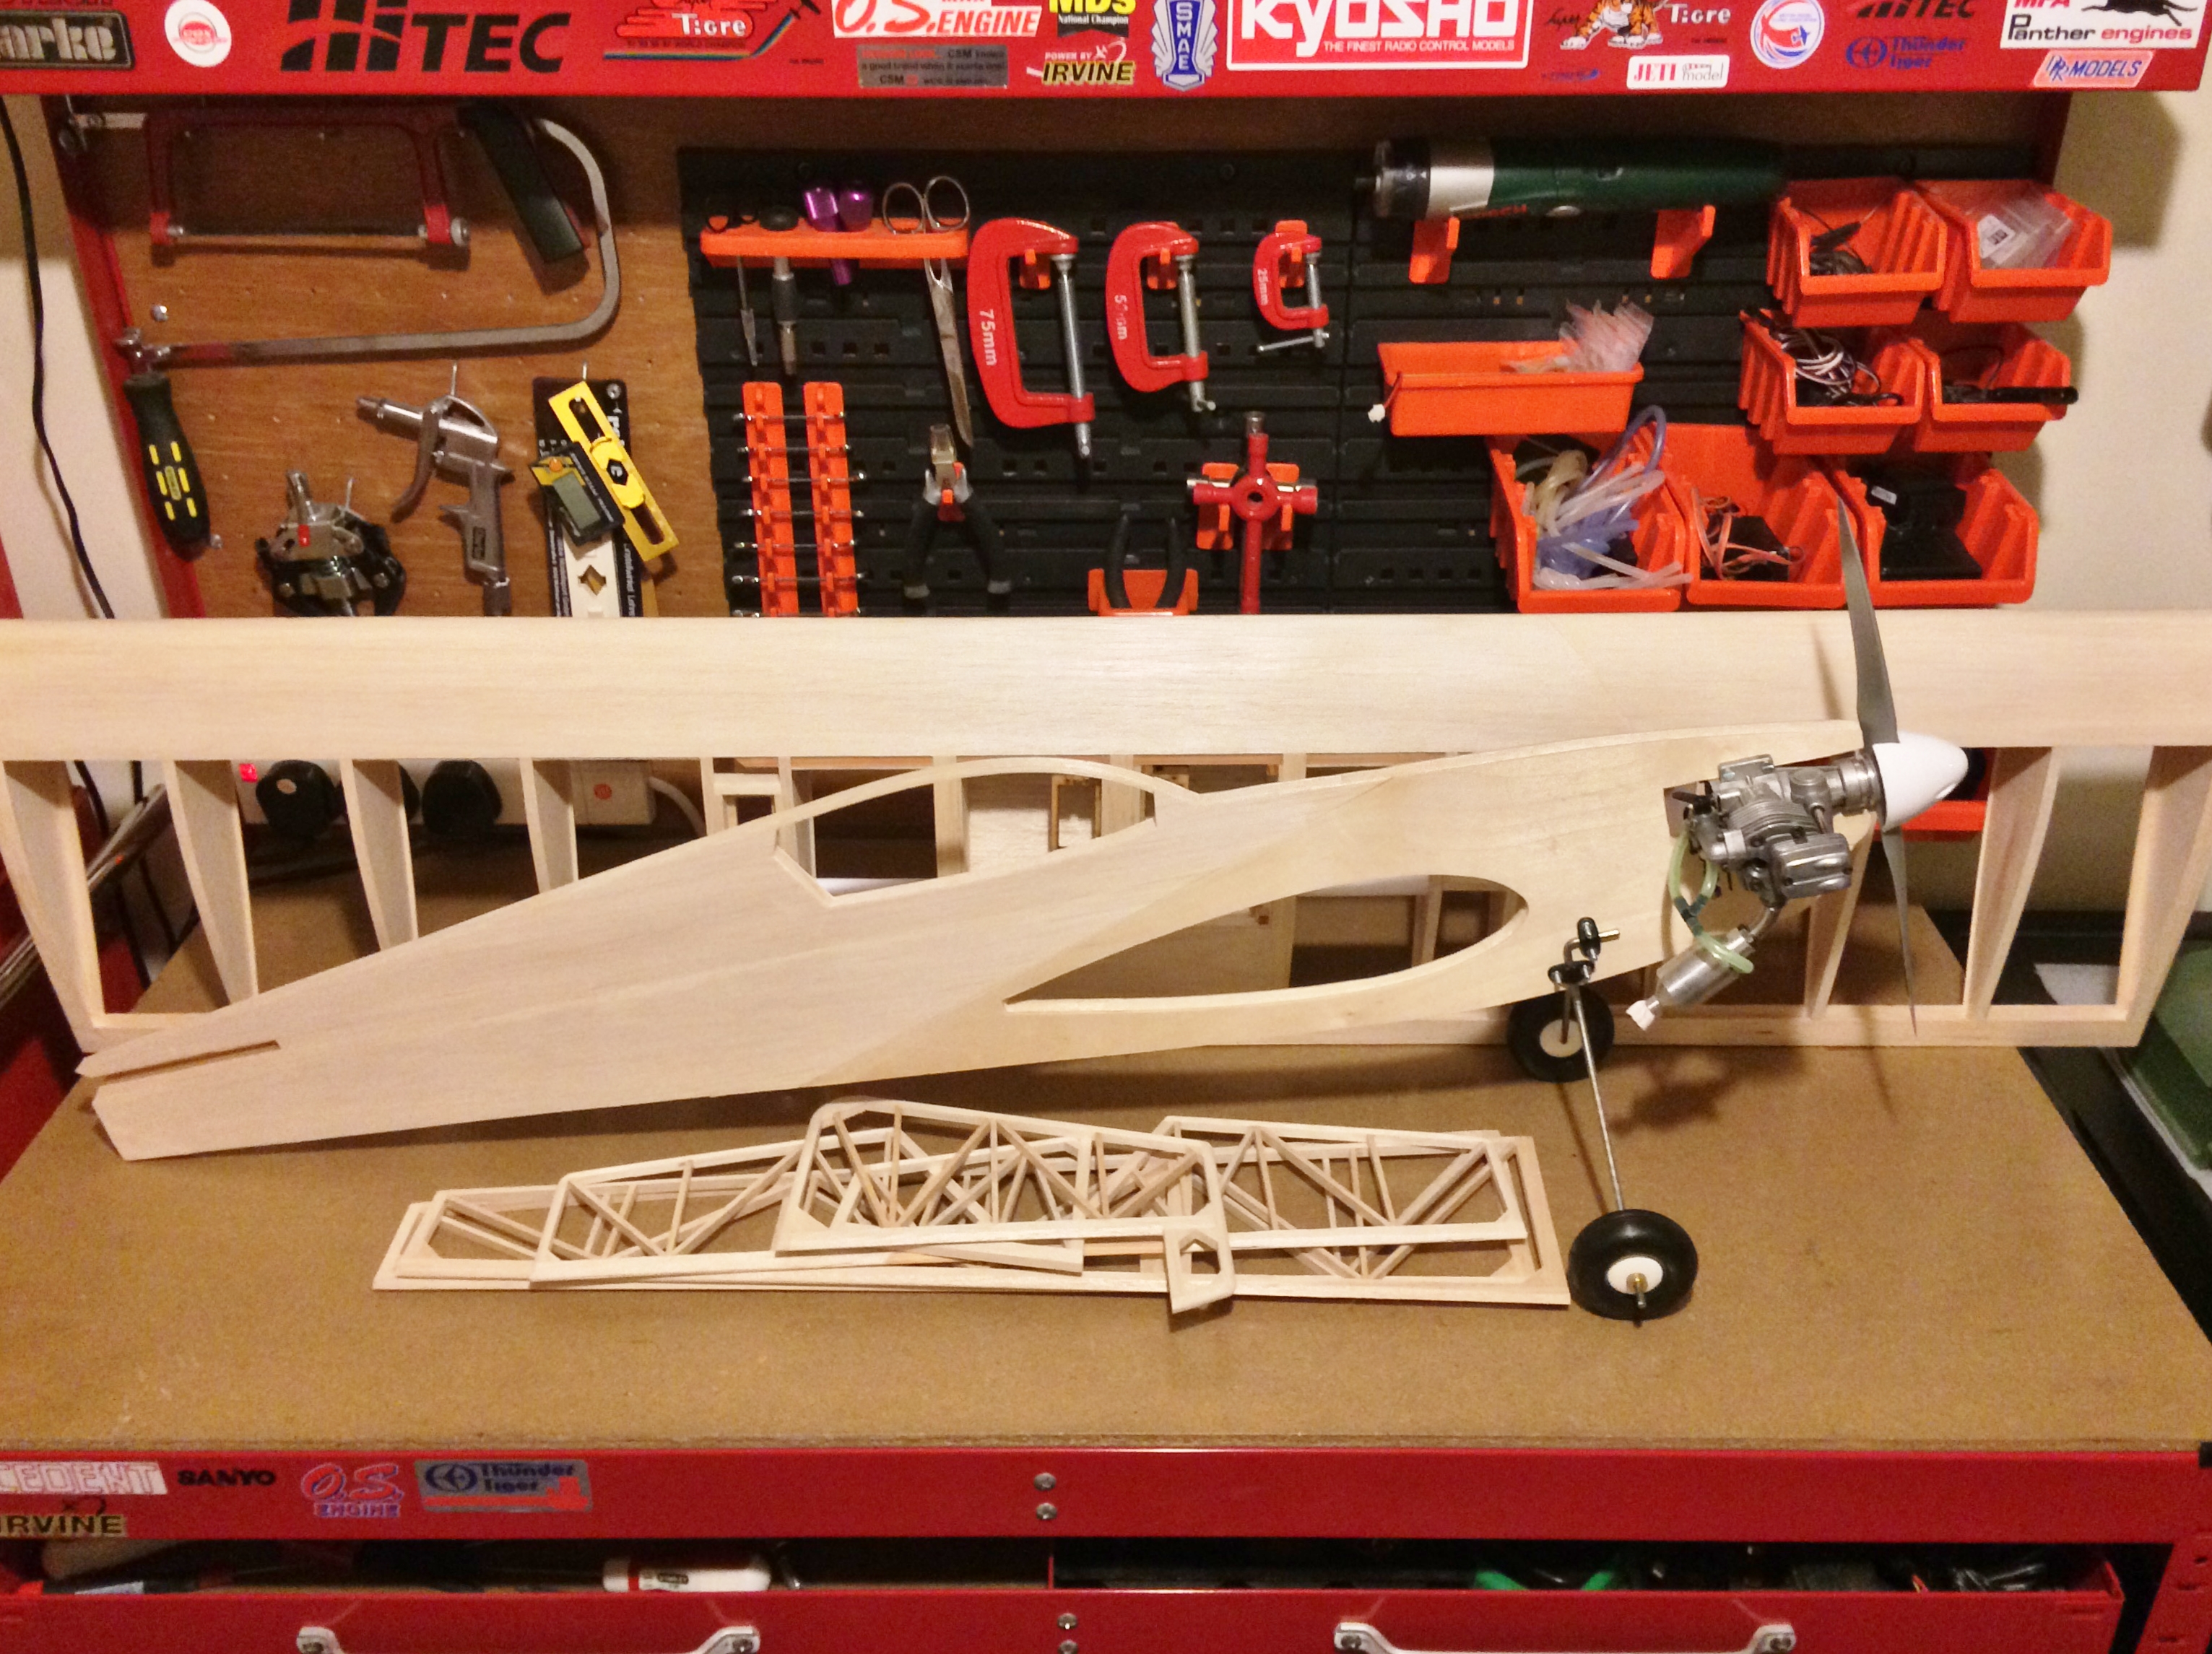
The BillKits Twinkle is based on the single engined Fun Fly 15 hence the short moment arm and thick wing section.
The BillKits Twinkle
Aeroplane kits seem to be coming back into fashion! For me what is even better is that many of these are predominantly engine powered. I guess a diet of soulless electric foamies can only be taken so far. Instant gratification and stunning looks yes, but no real sense of achievement; a bit like owning an electric guitar yet not actually knowing how to play it. A lot of the current ARTF manufacturers are now offering unbuilt versions of their range including the ever expanding range of HobbyKing laser cut kits. Many older manufacturers are reintroducing kits of old e.g. Great Planes, Carl Goldberg Classics, Cambrian and Slec; of which see more anon. Finally there are some who have been producing kits as a side line all along.
Which brings me back to this build. BillKits were very popular back in the late 1990’s and coined (read: own the legal rights to) the term ‘fun-fly’ aeroplane. A cursory glance at any recent BMFA news will still reveal their enduring subtle yellow rectangular advert.

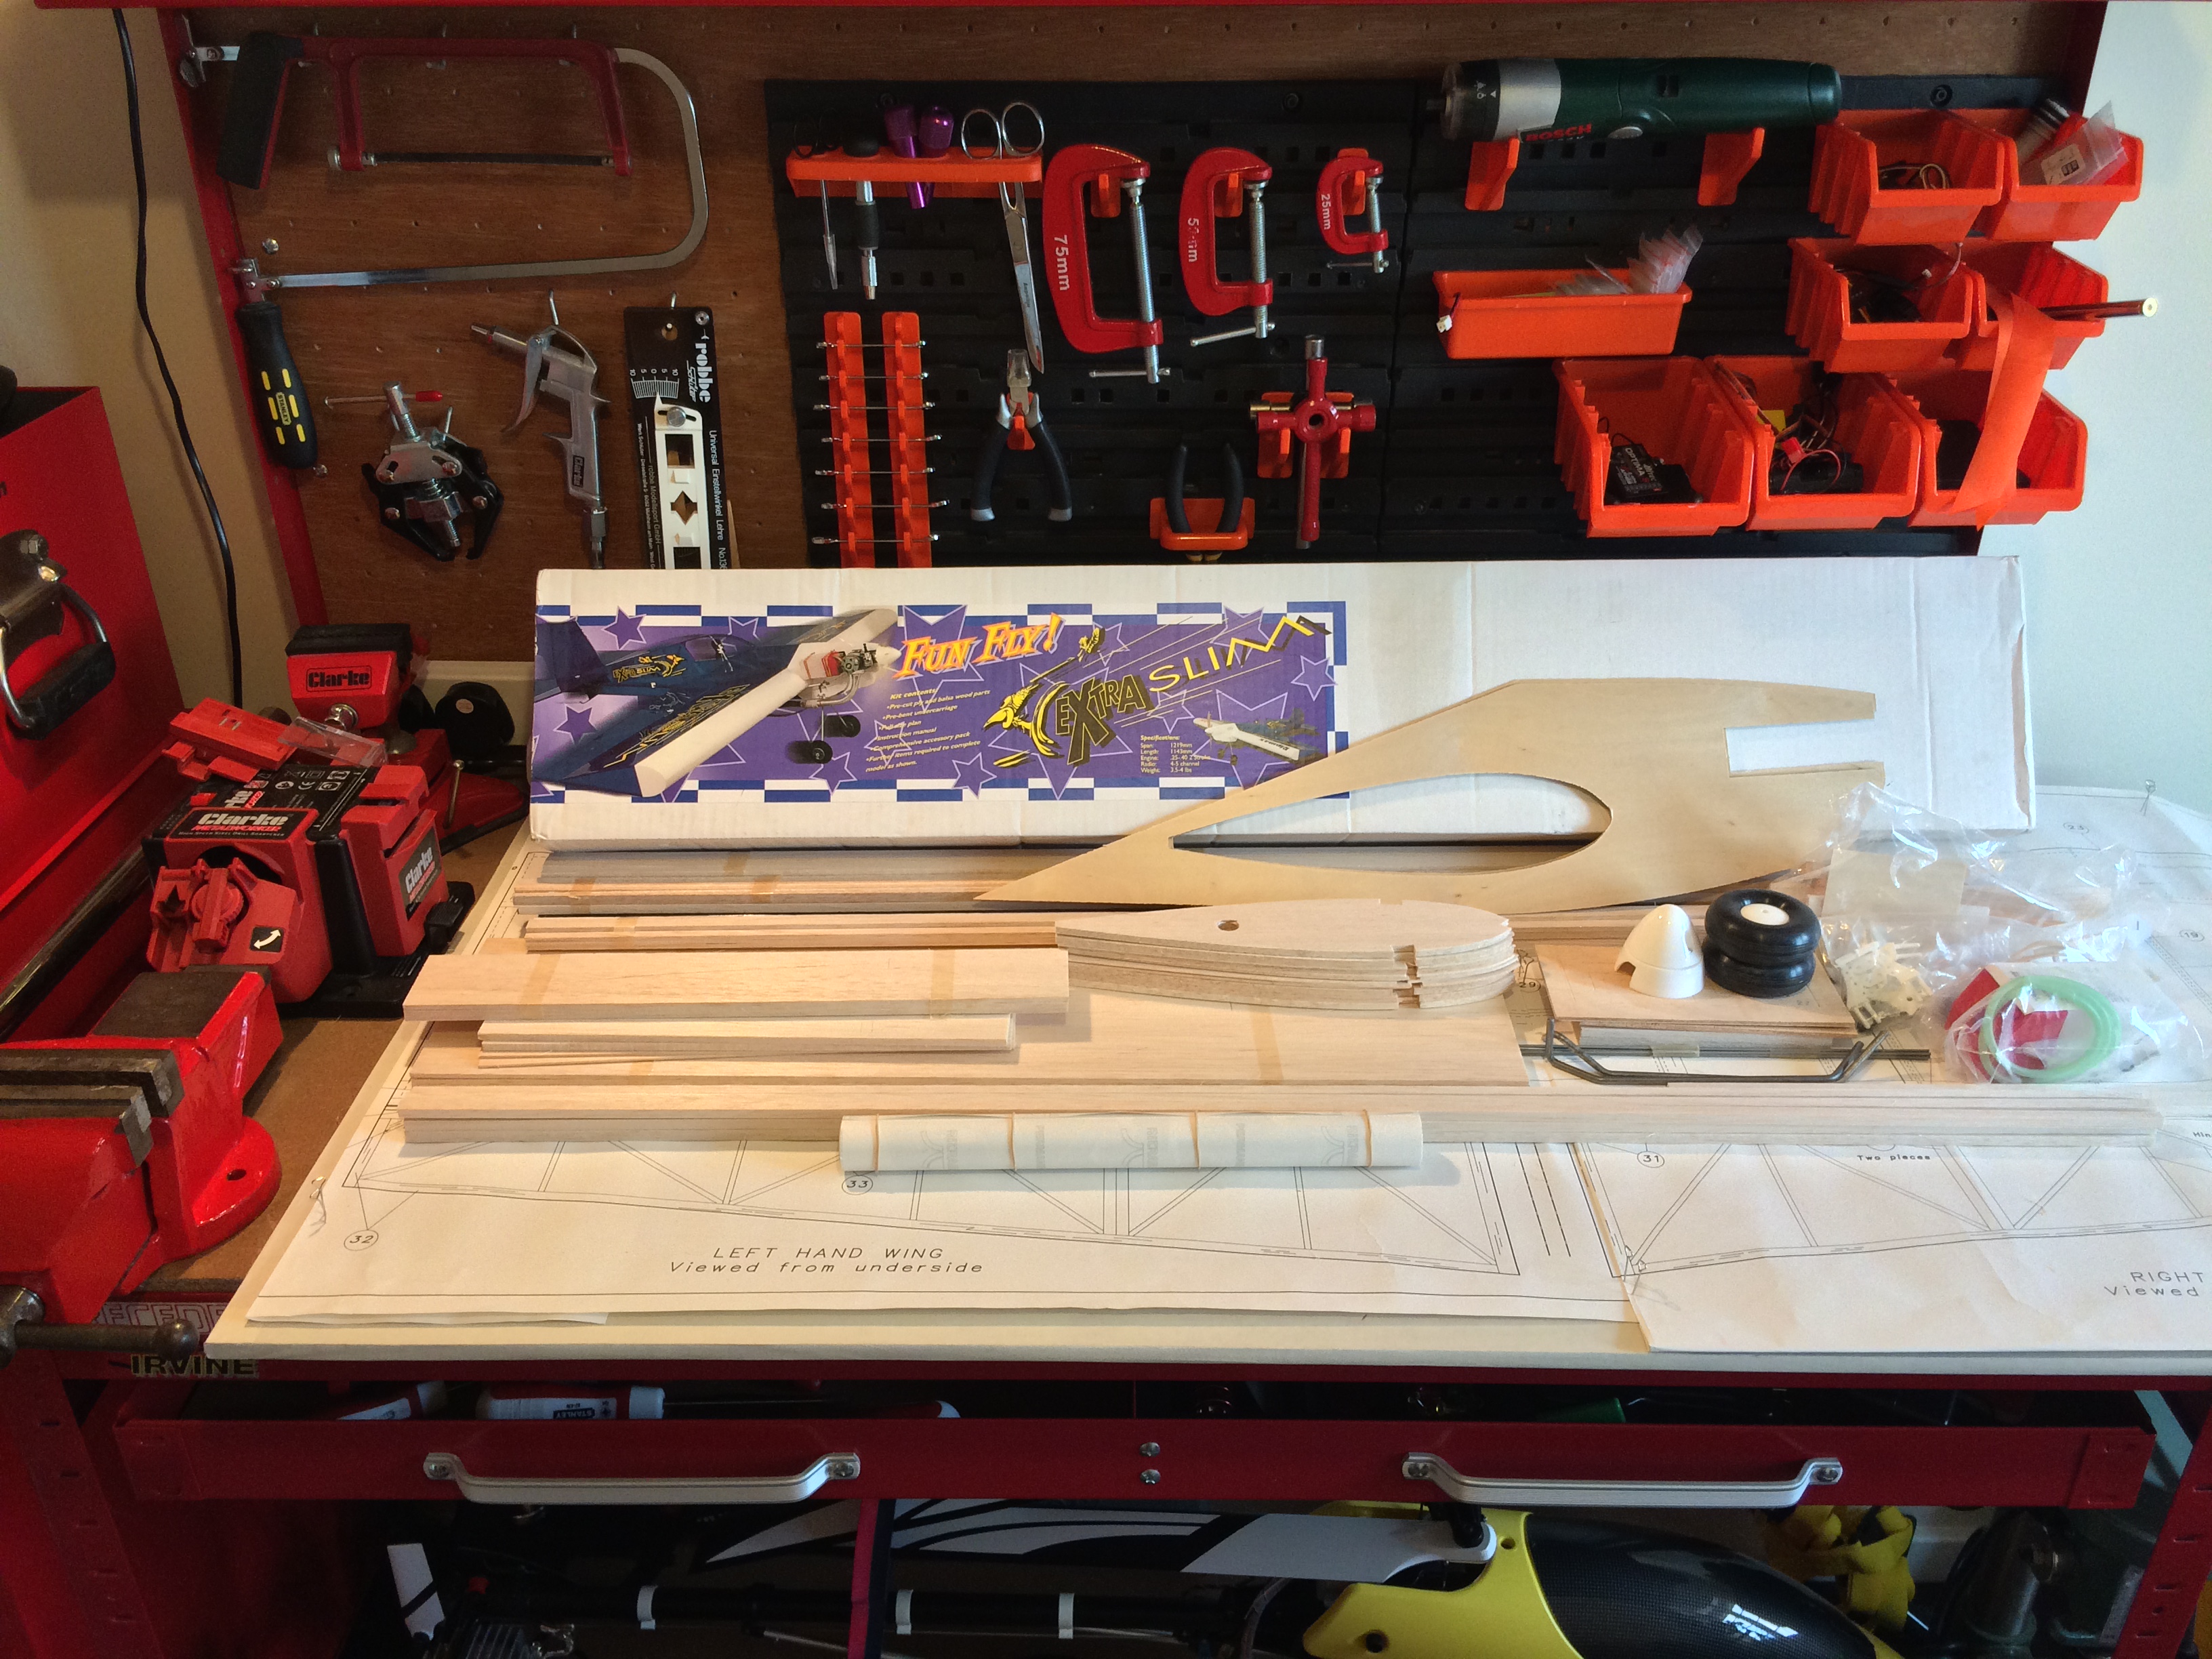
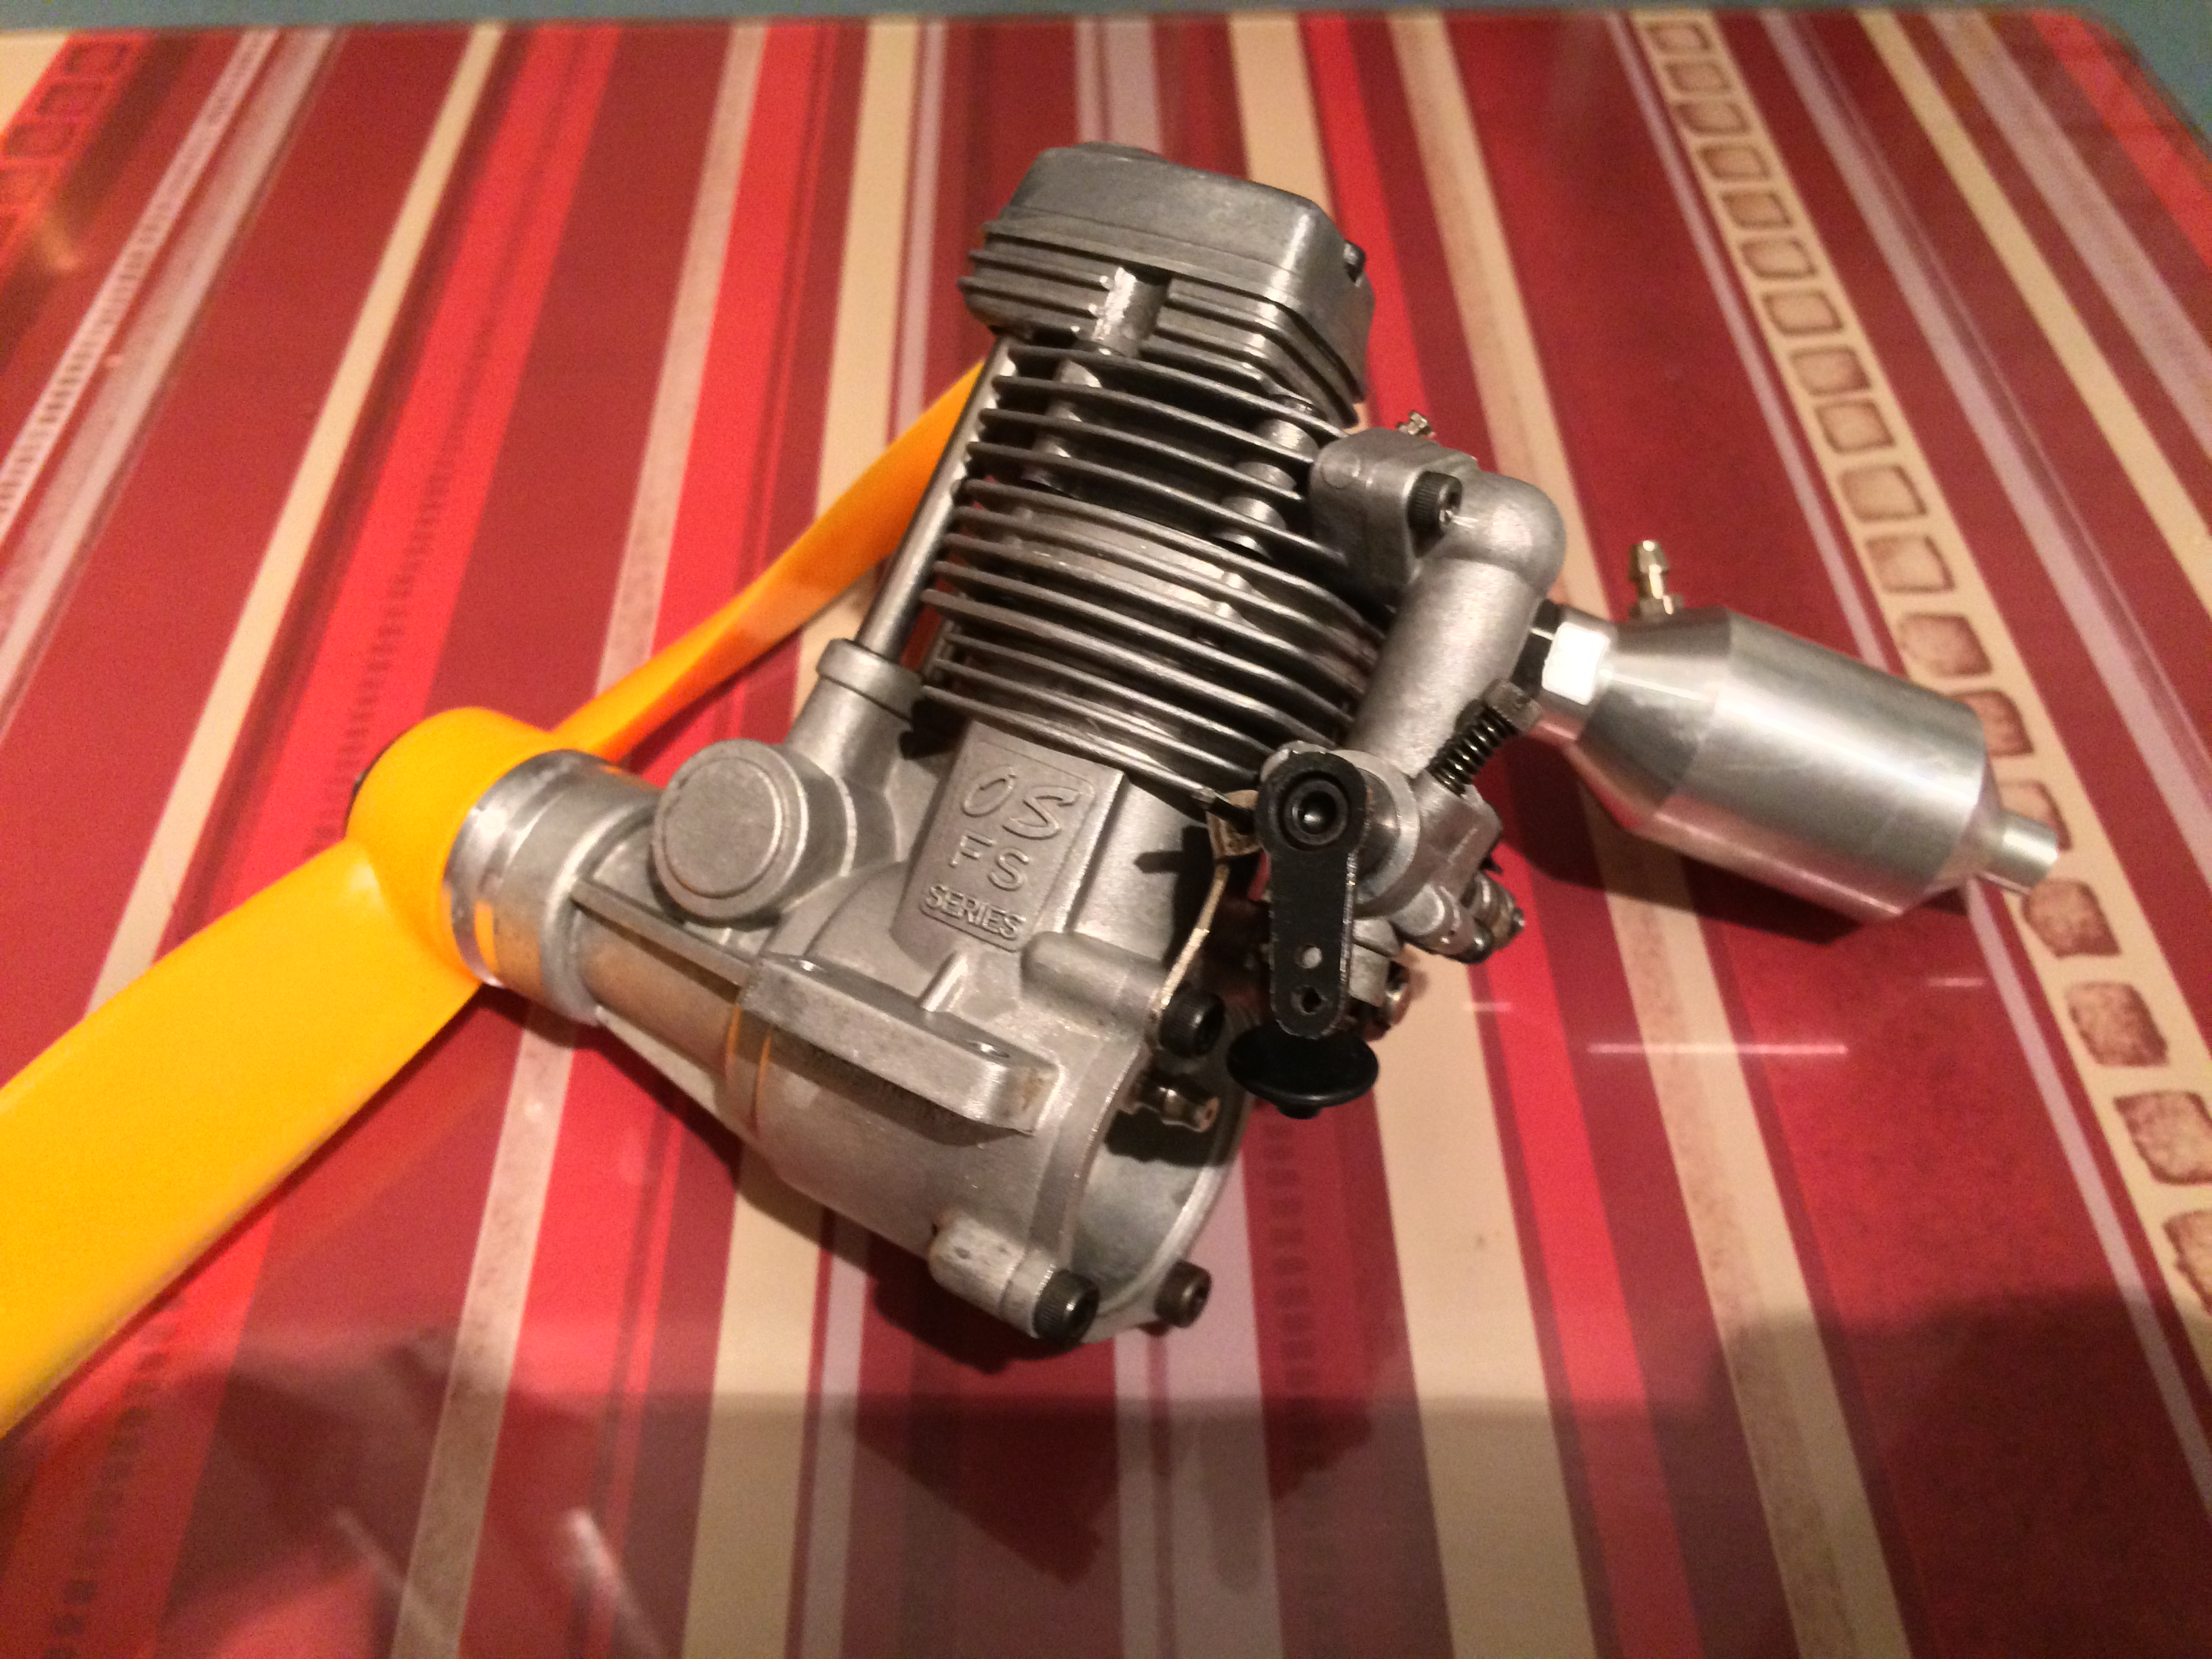
Two mounts, two spinners and two tanks – you can already tell this kit is going to be a little different from the norm!
This is without a doubt a traditional ‘British’ kit. Forget those perfectly aligned laser cut parts and comprehensive pictorial step-by-step instructions typical of USA-style kits. Instead expect text-only instructions, balsa parts that are roughly cut to shape and lots of incidences of ‘measure twice – cut once’. To many, myself included, the necessary carpentry is a thing to relish. Building model aeroplanes didn’t use to be called ‘balsa-bashing’ for nothing. If this is your first old-school style kit you might want to get a few more builds under your belt first.
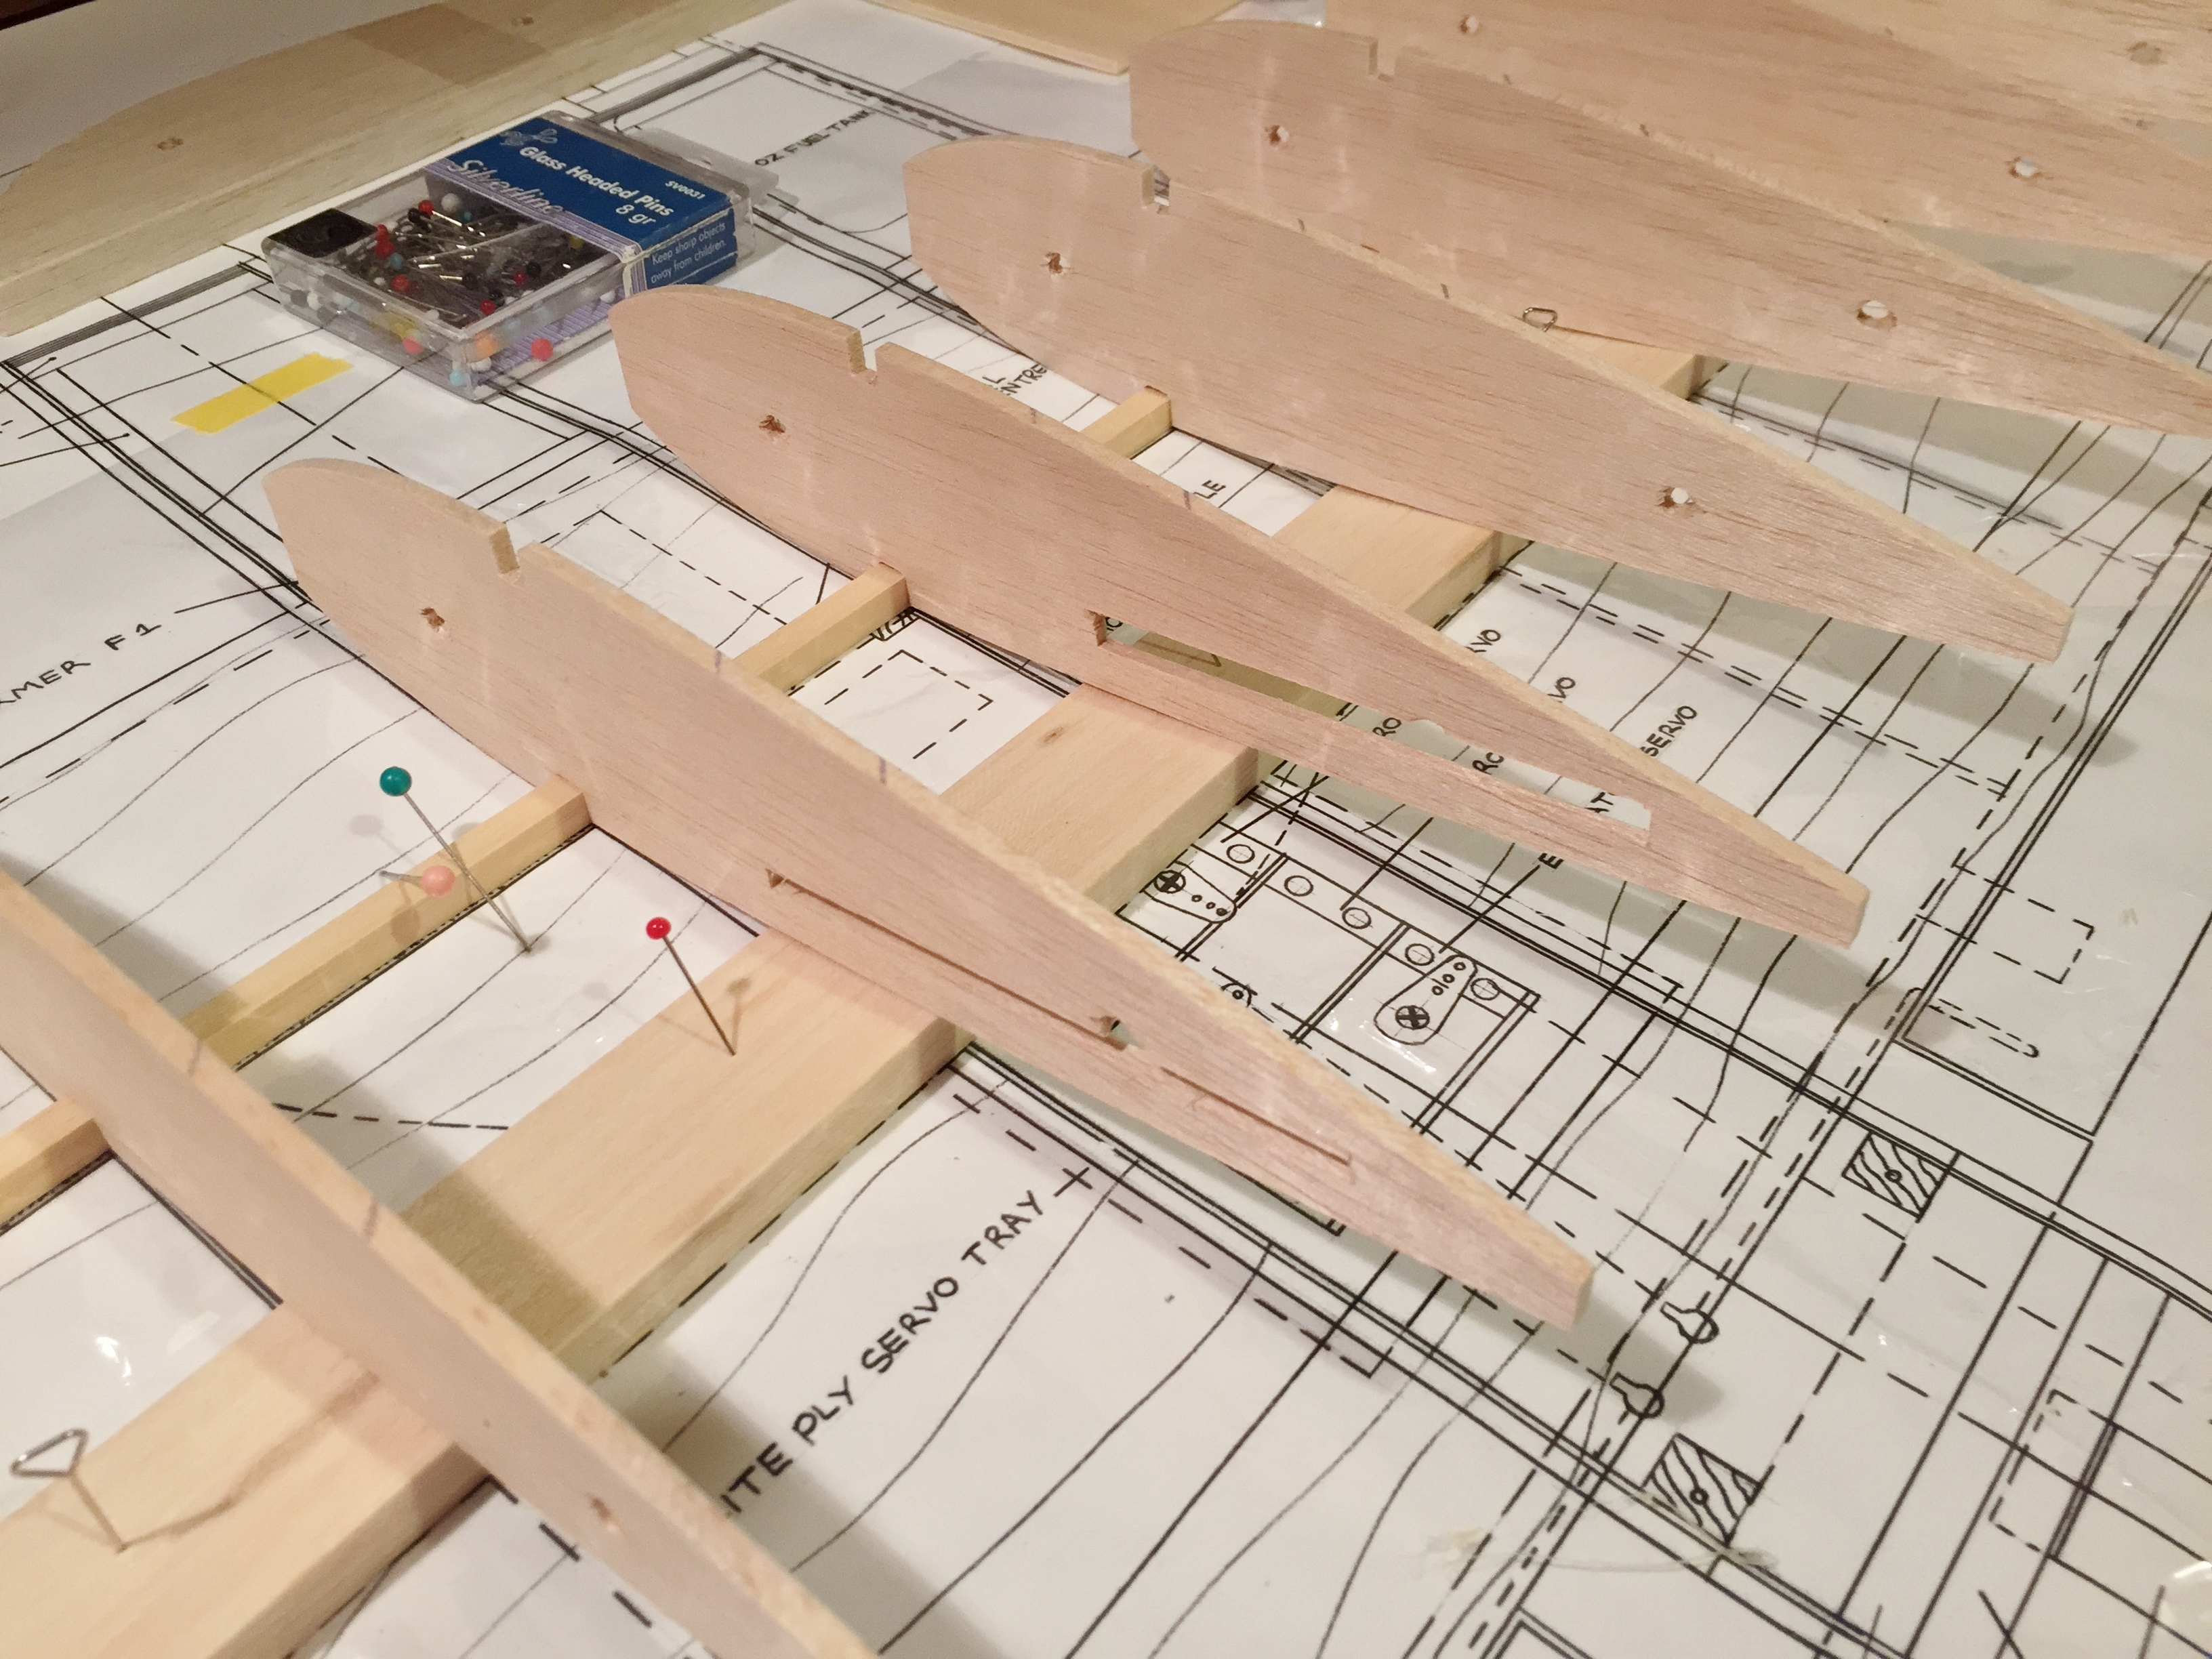
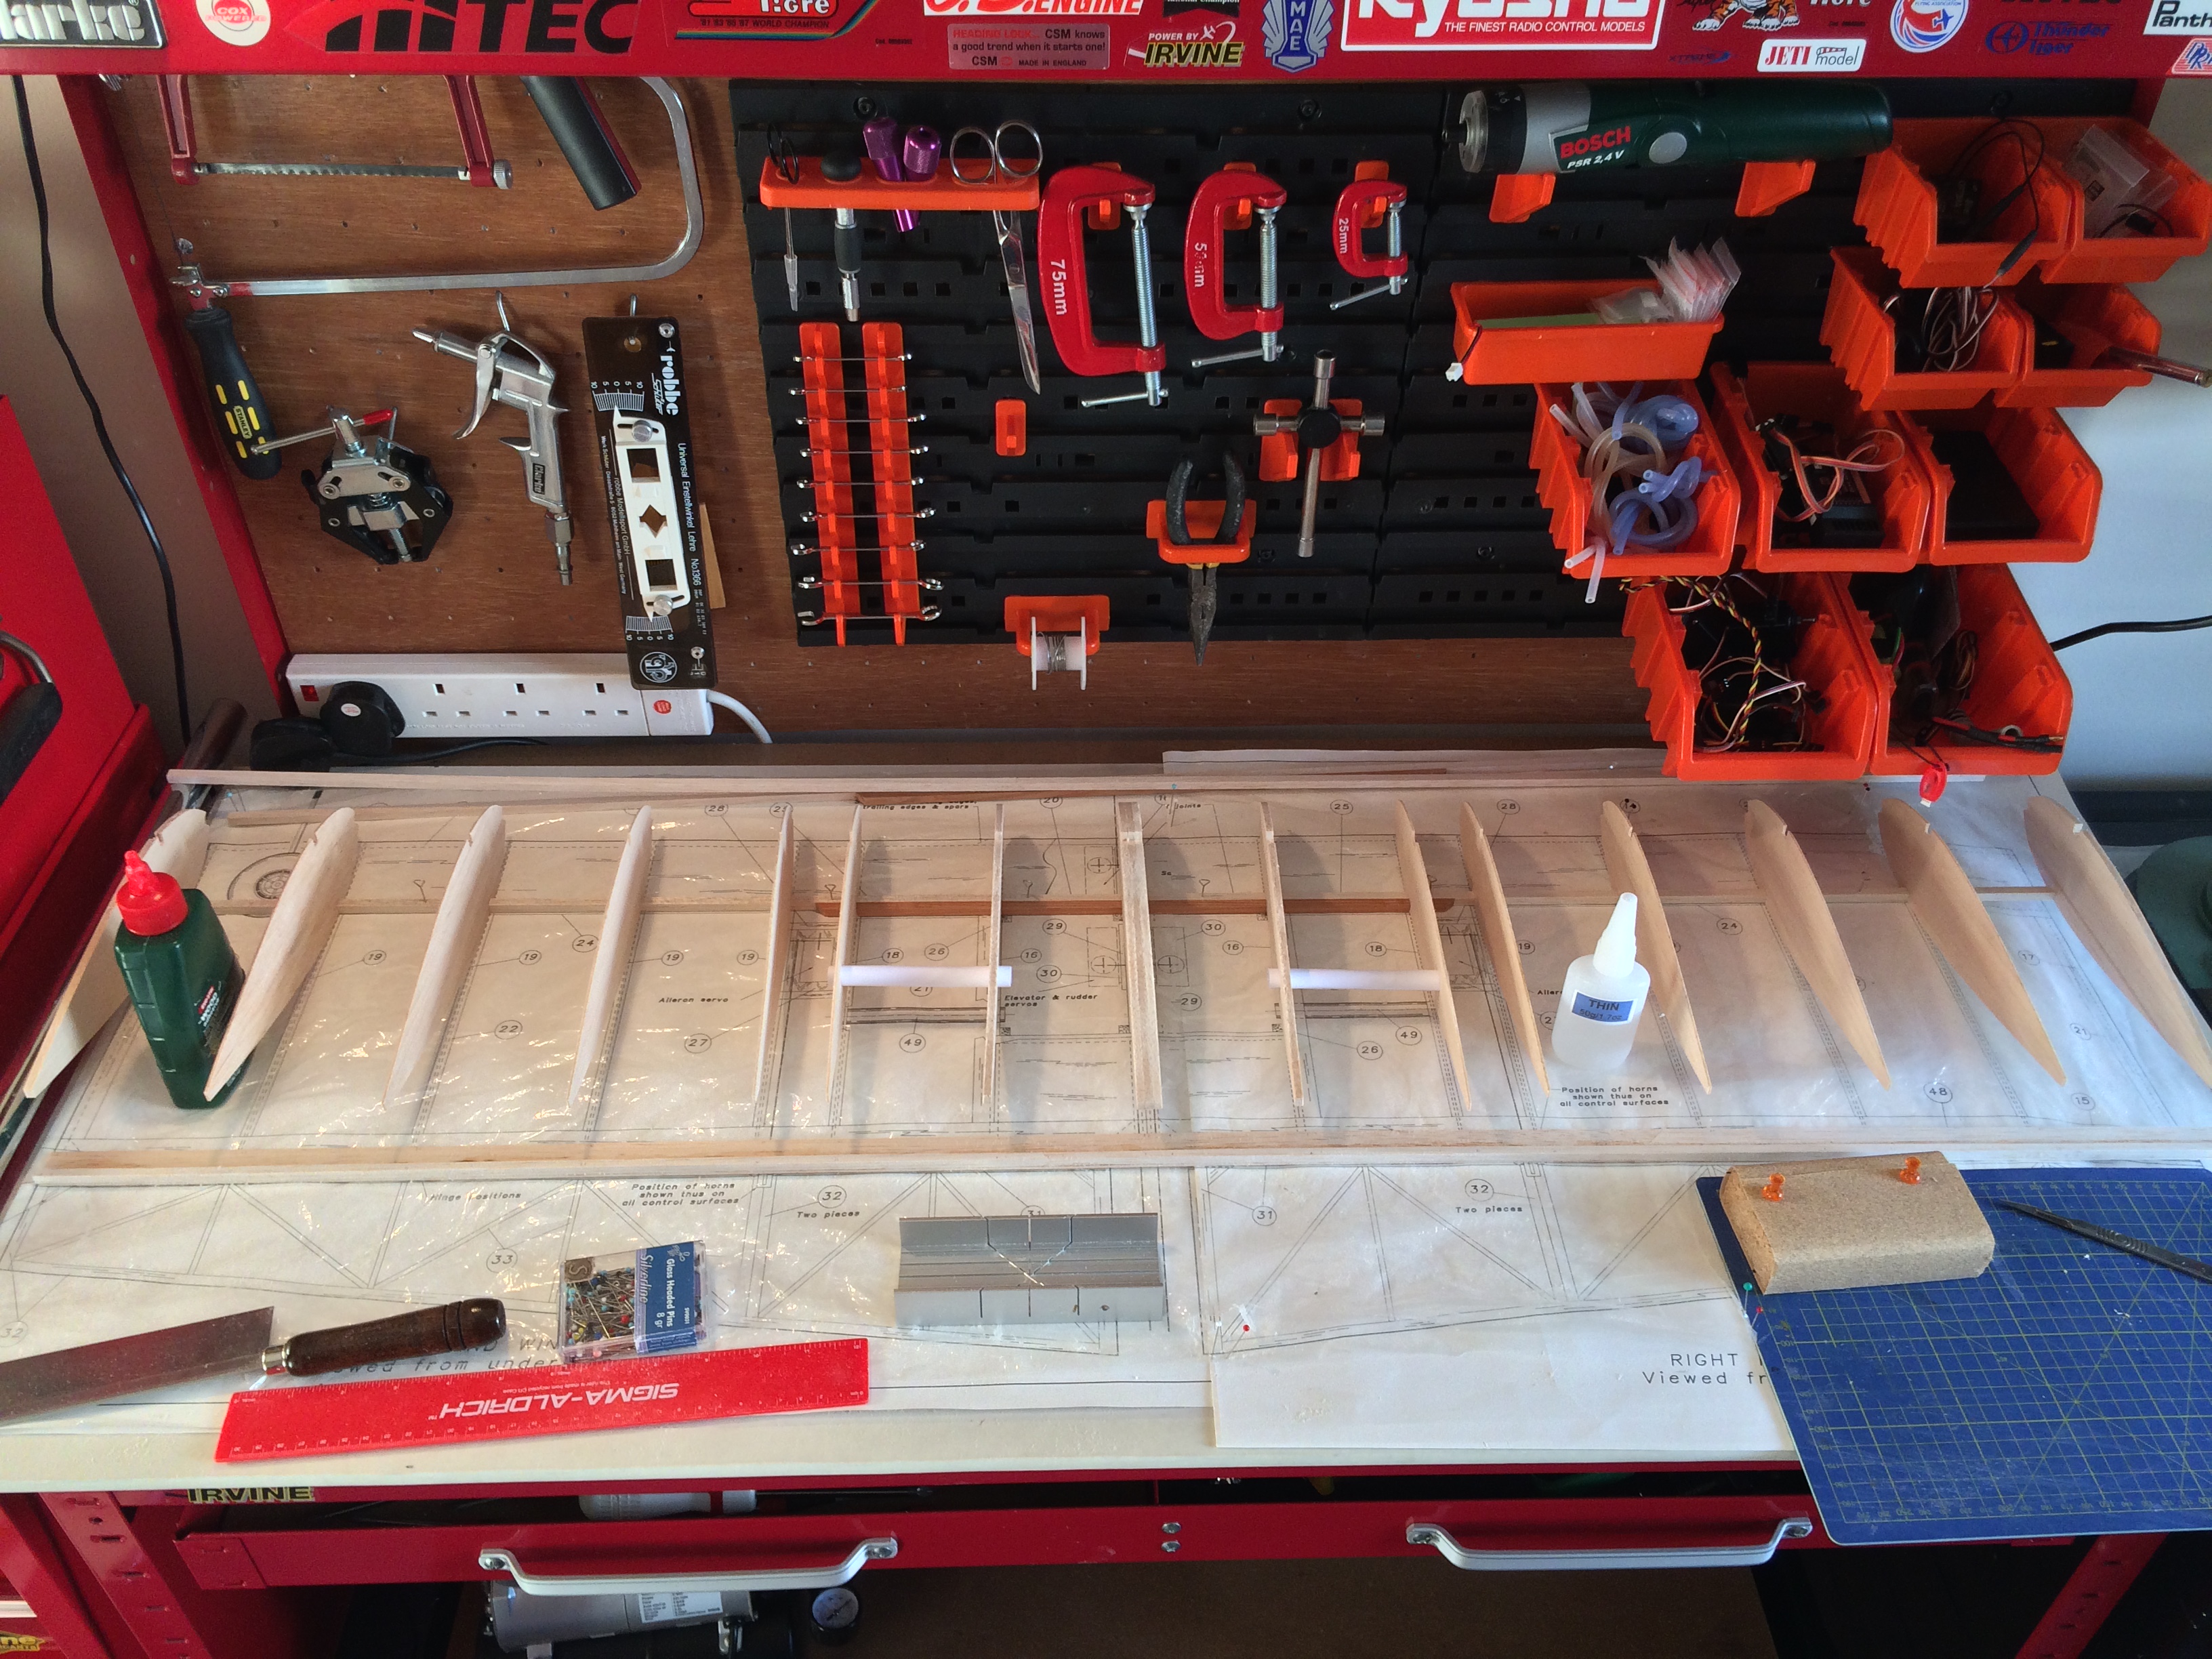
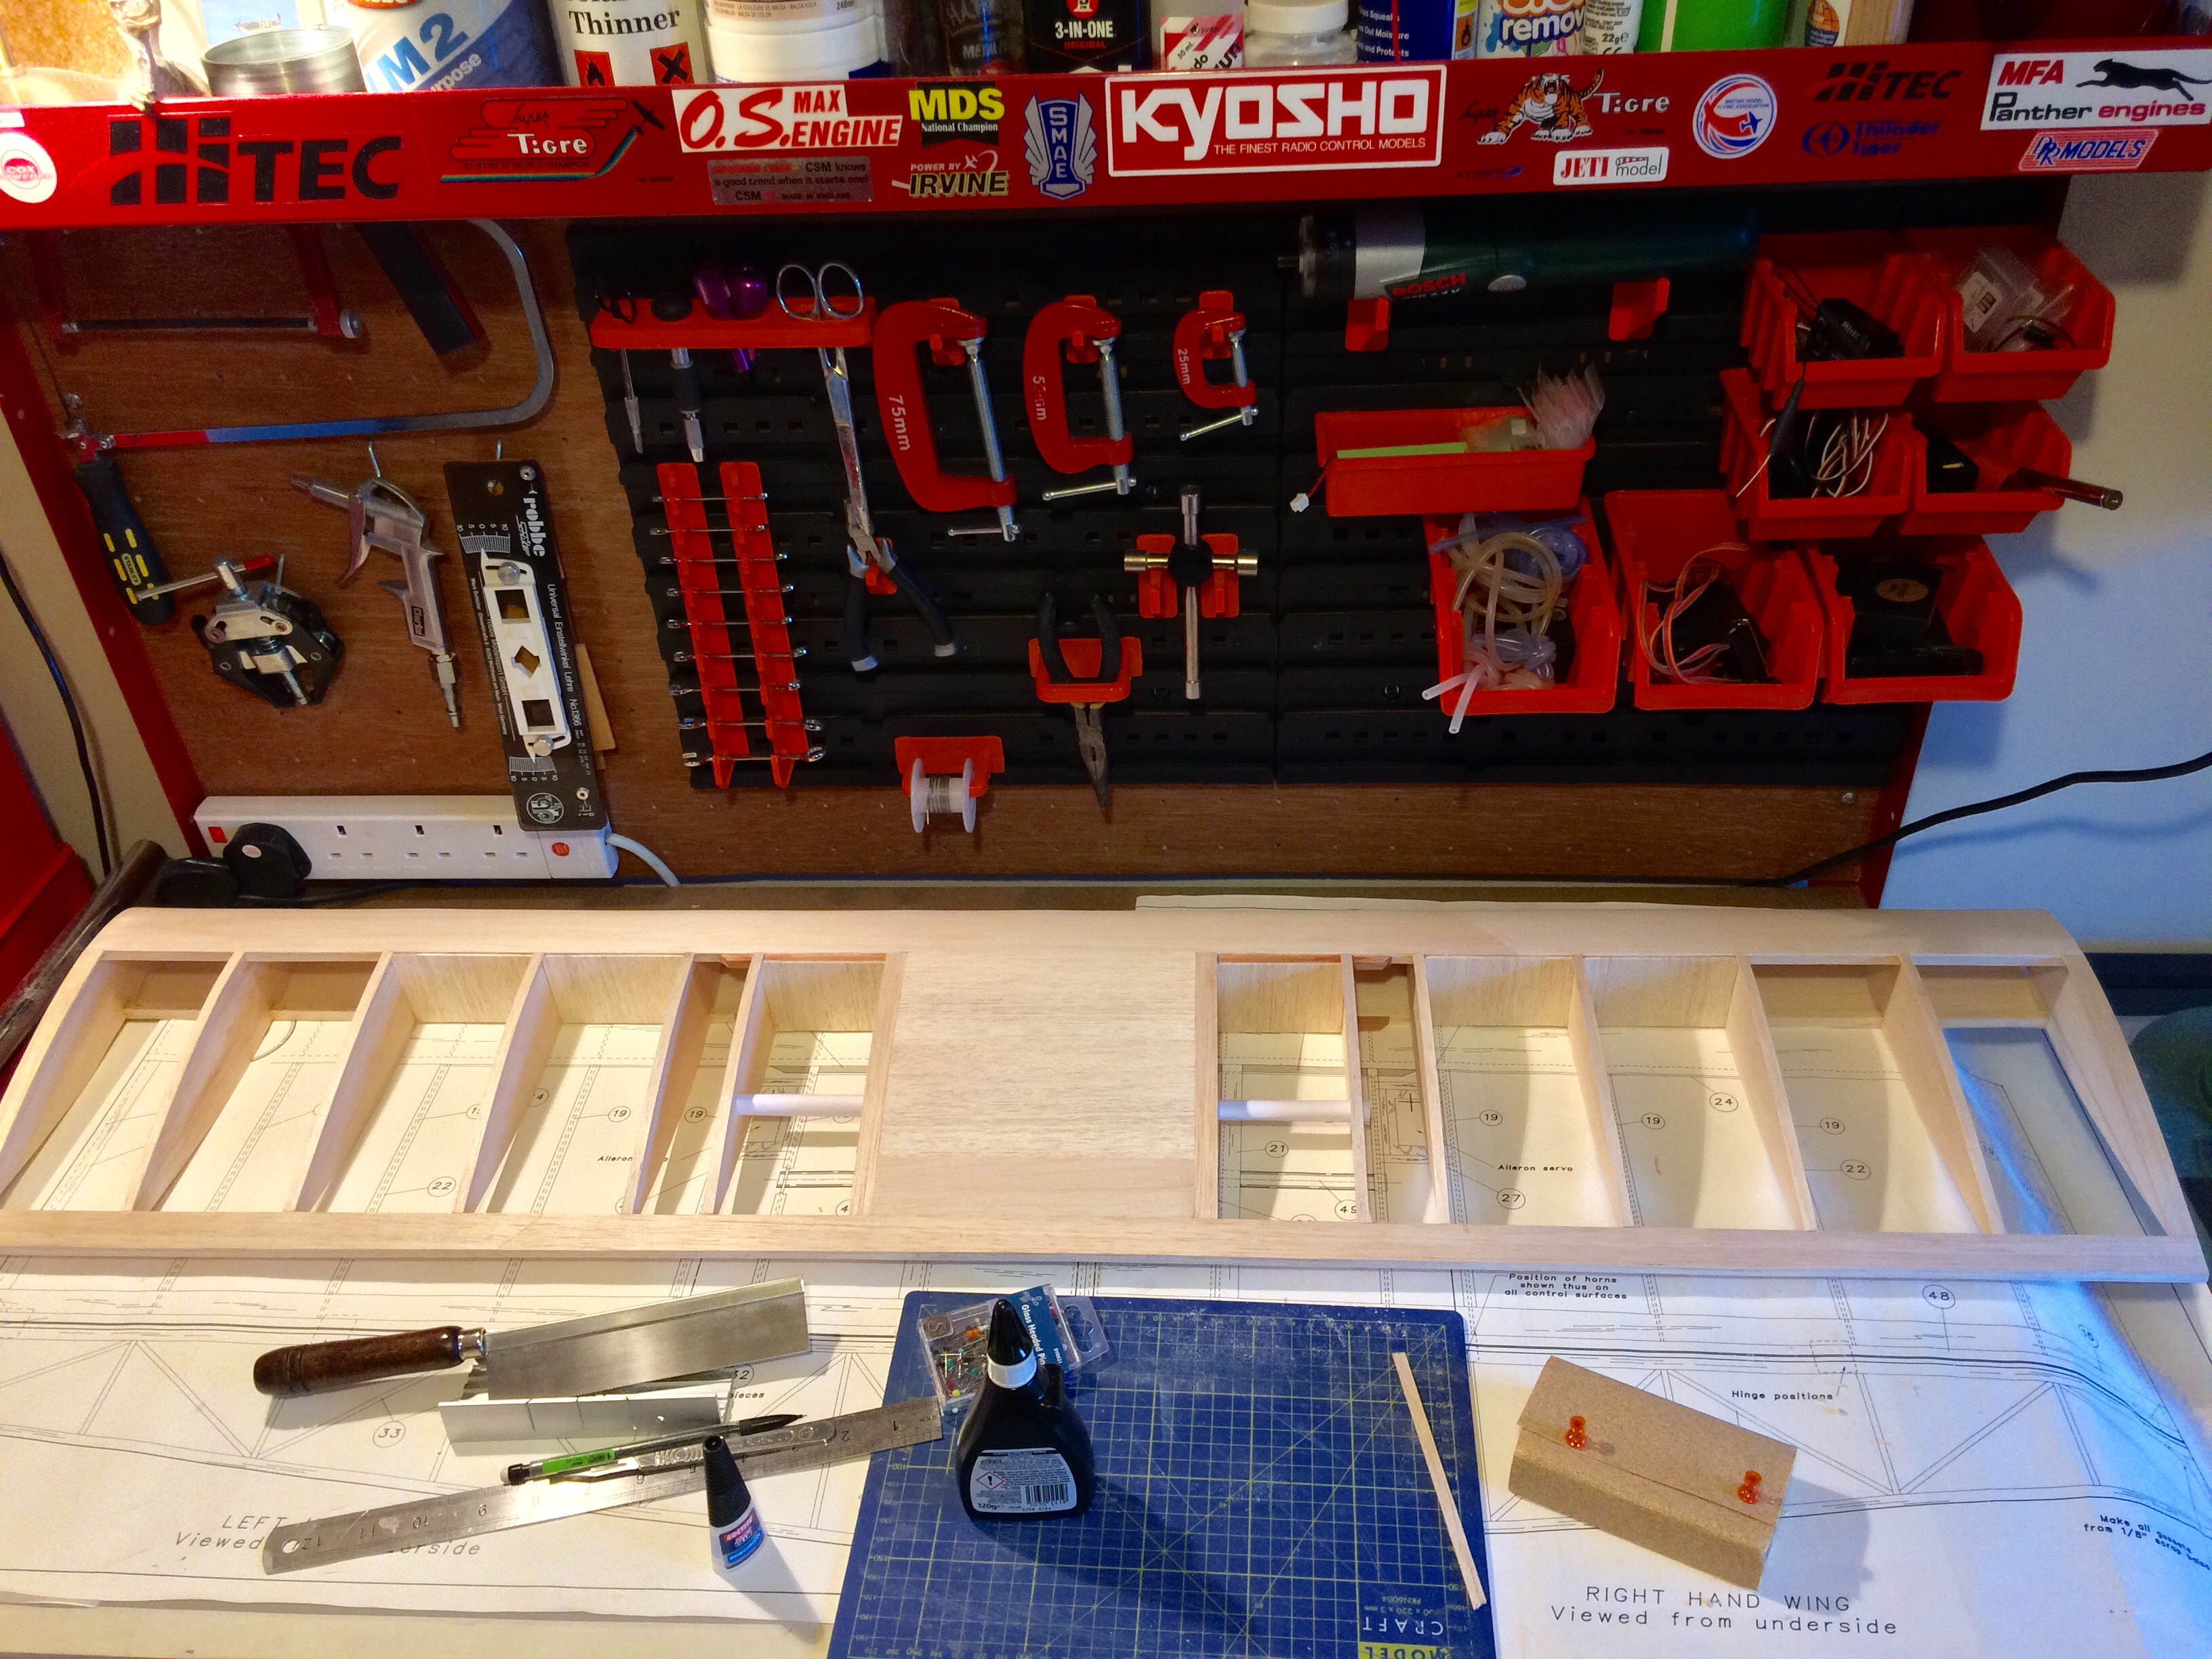
The centre ribs are slotted at an angle to hold the servo tray. There is plenty of room for standard servos and while a little weight could no doubt be saved with mini servos, do ensure they are metal geared. This is not a lightweight electric foamie and the stresses on the control surfaces will be high.
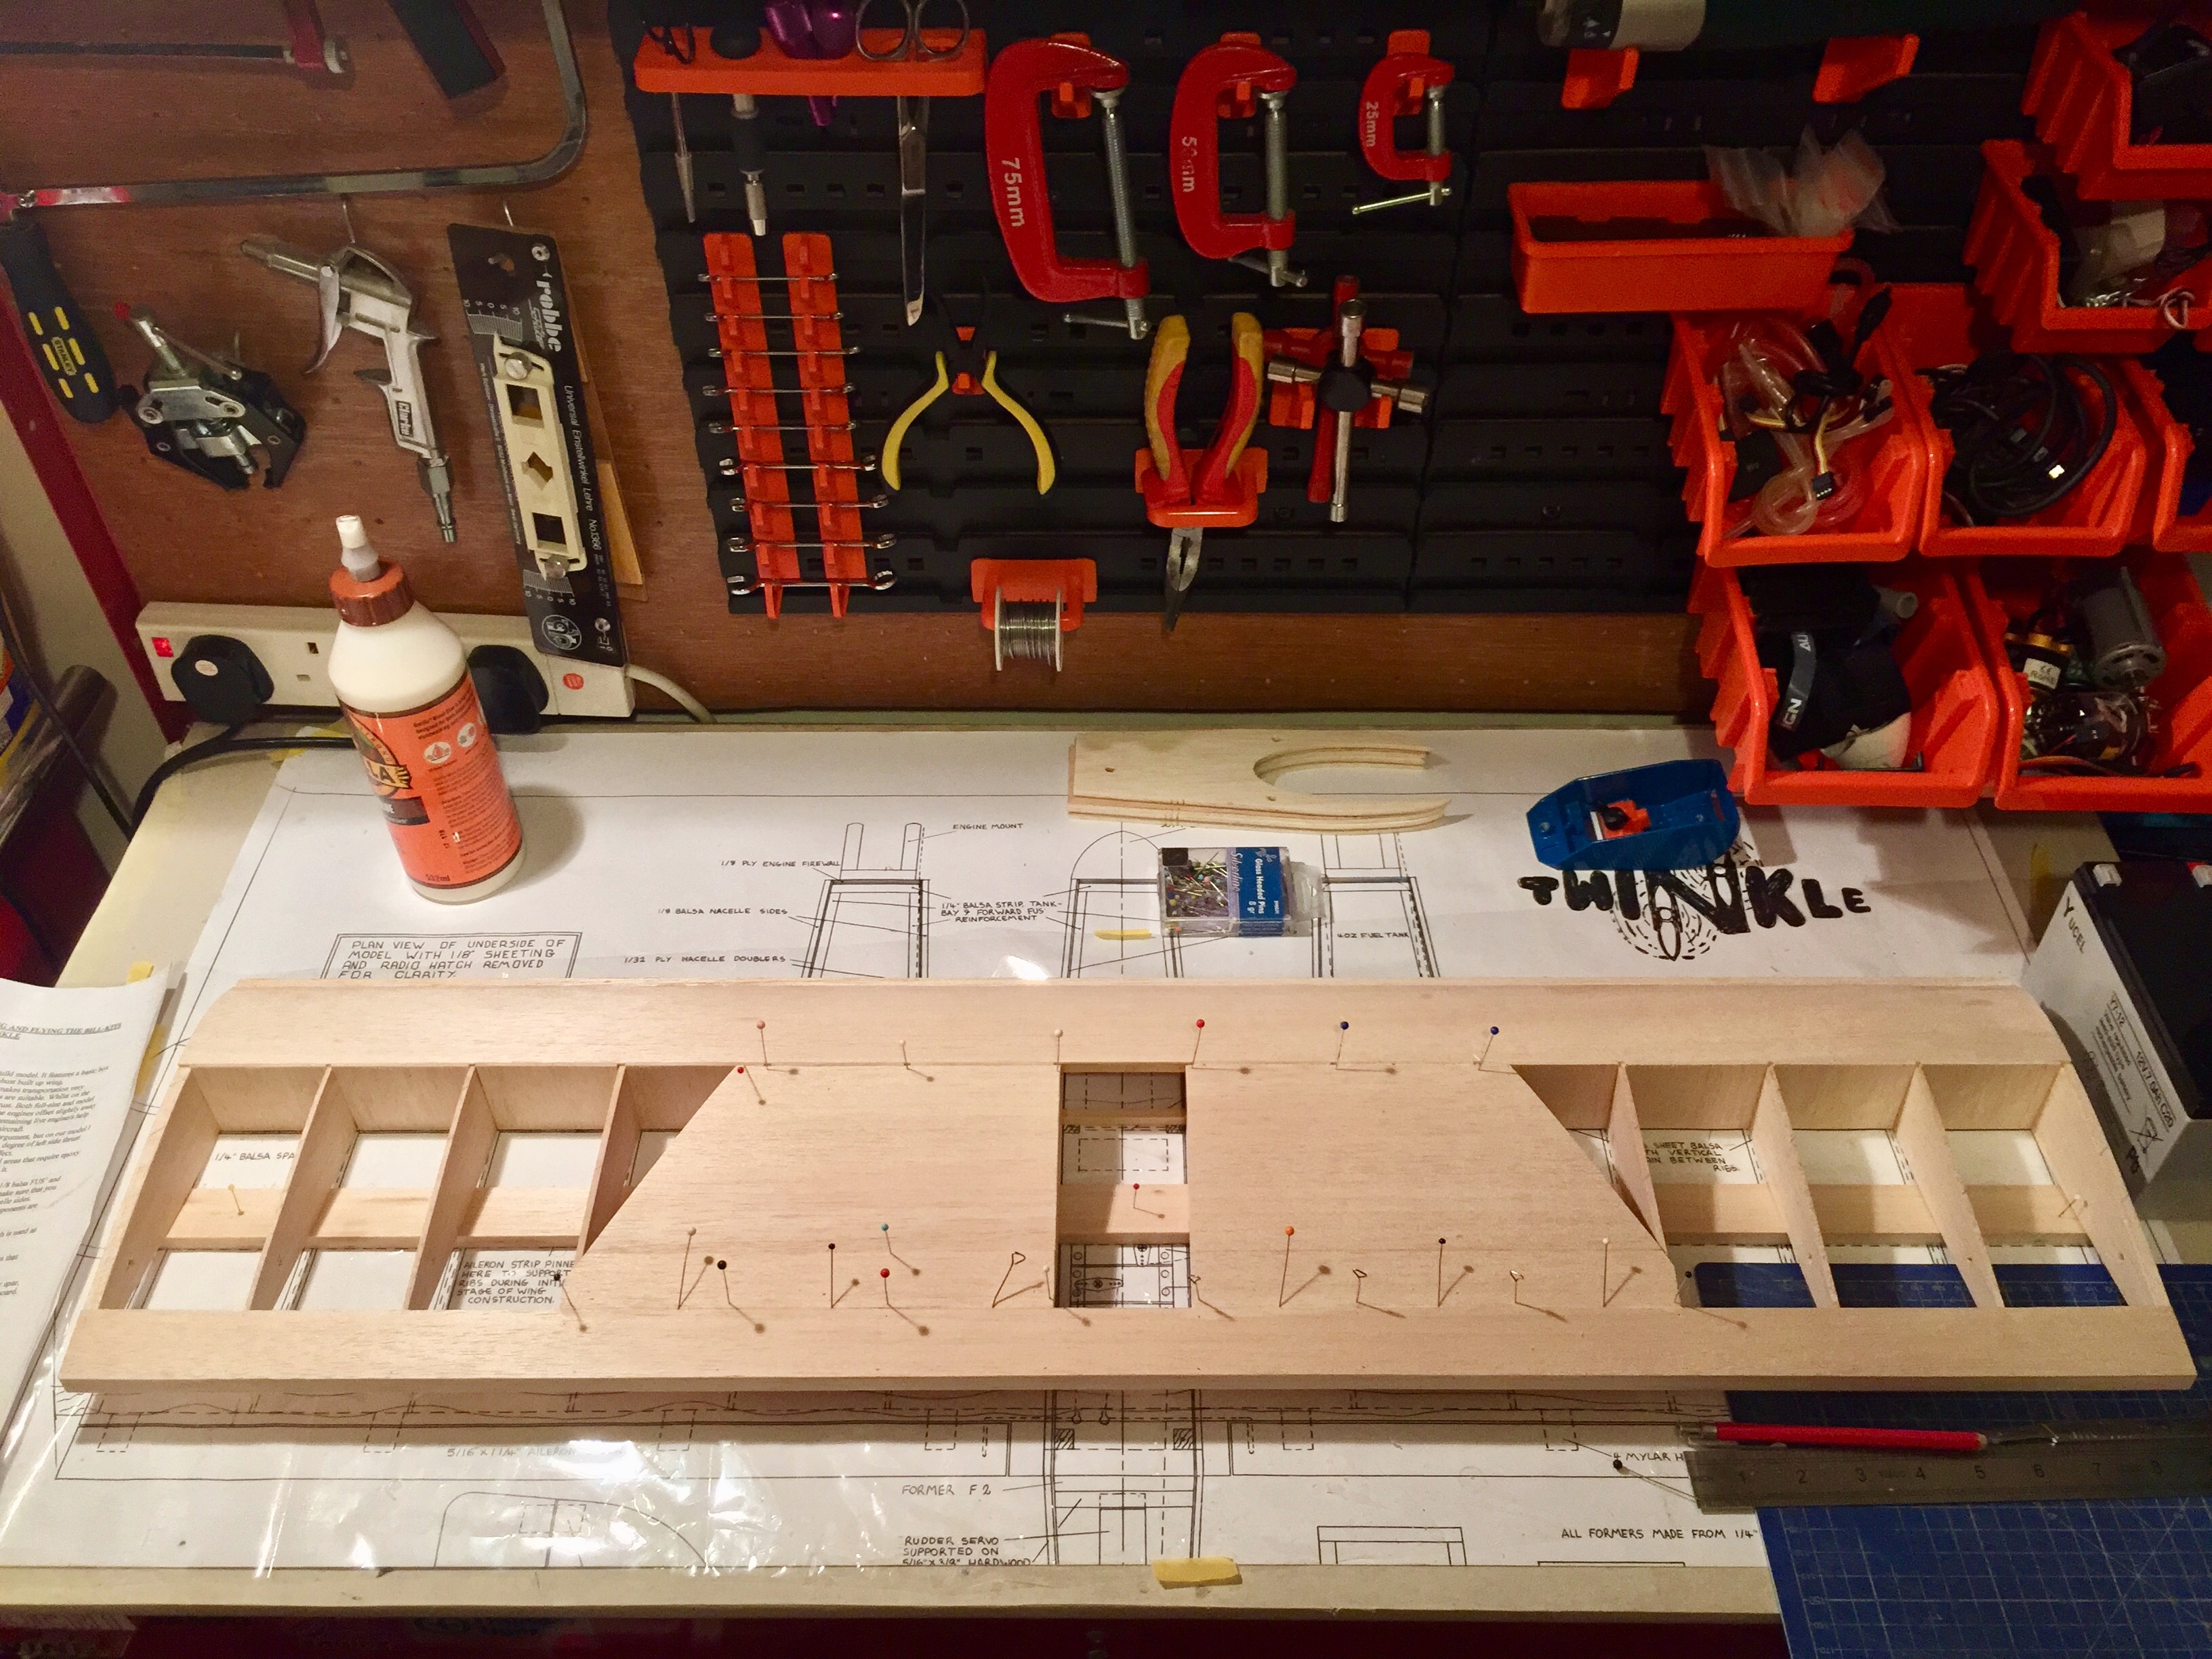
The wing is built first as one piece from tip to tip and follows a standard D-box section format. One side is sheeted first before the wing is turned over and the reverse side sheeted. Remember to leave the radio tray area uncovered!
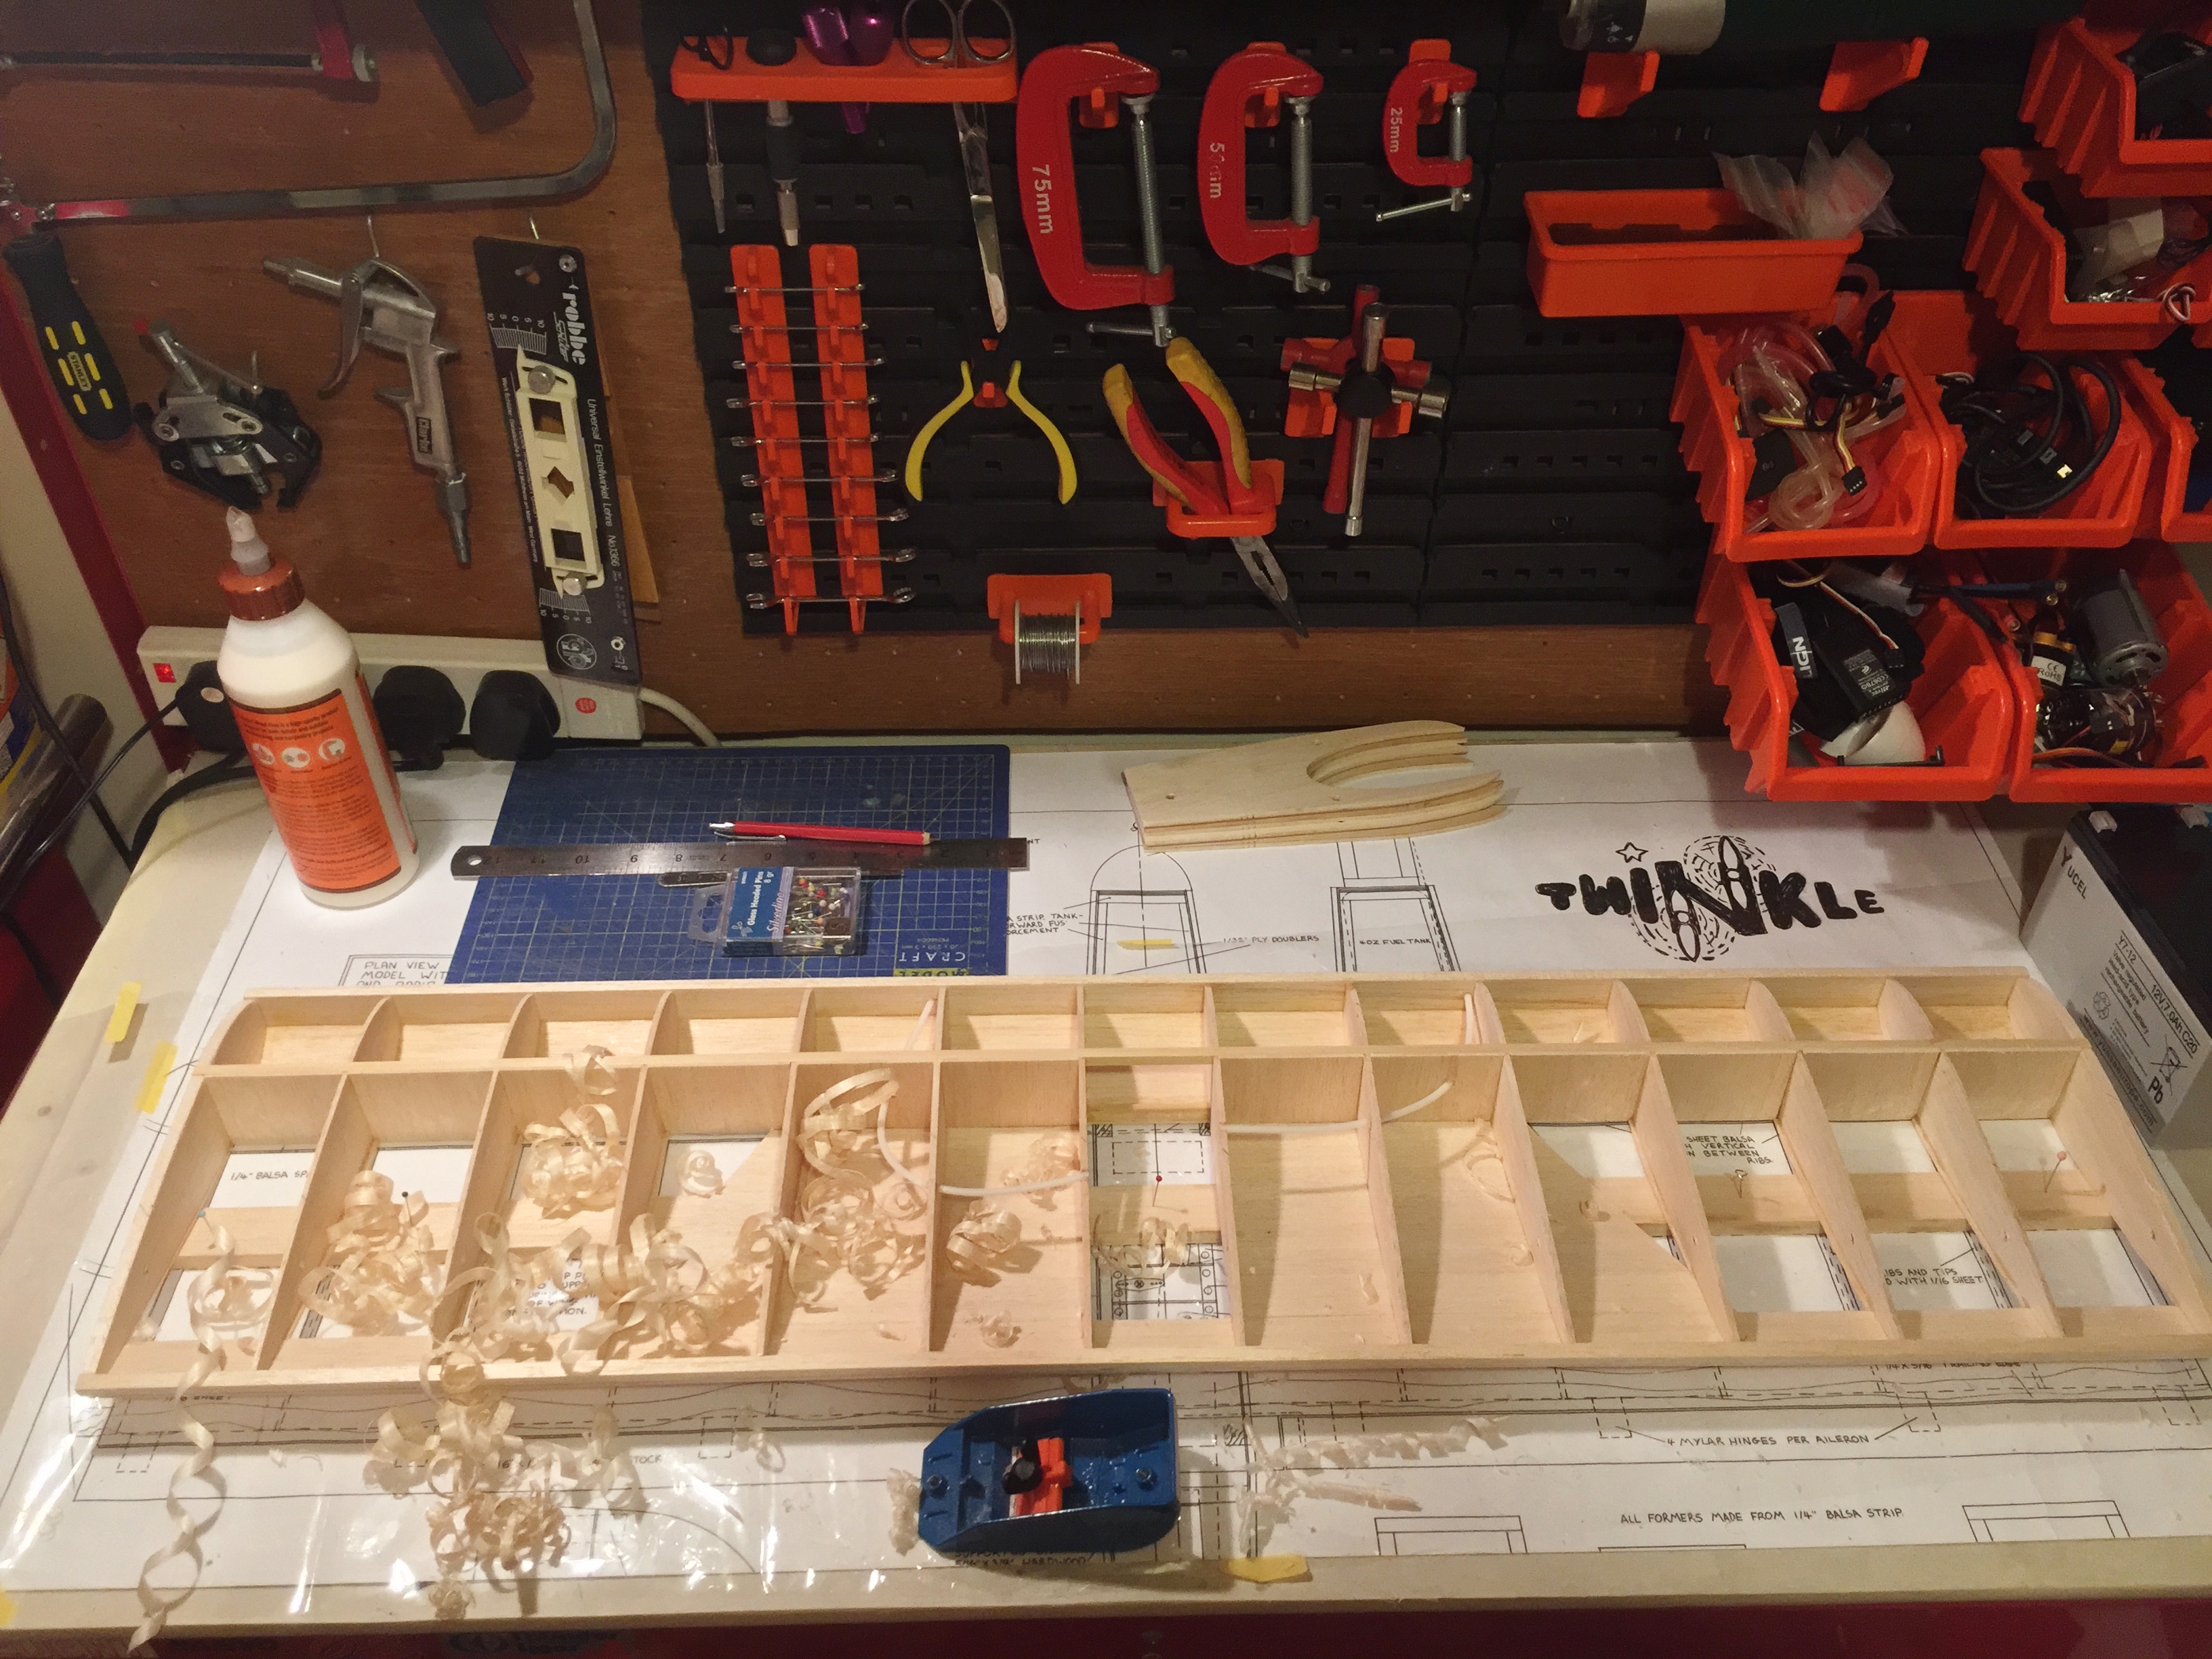
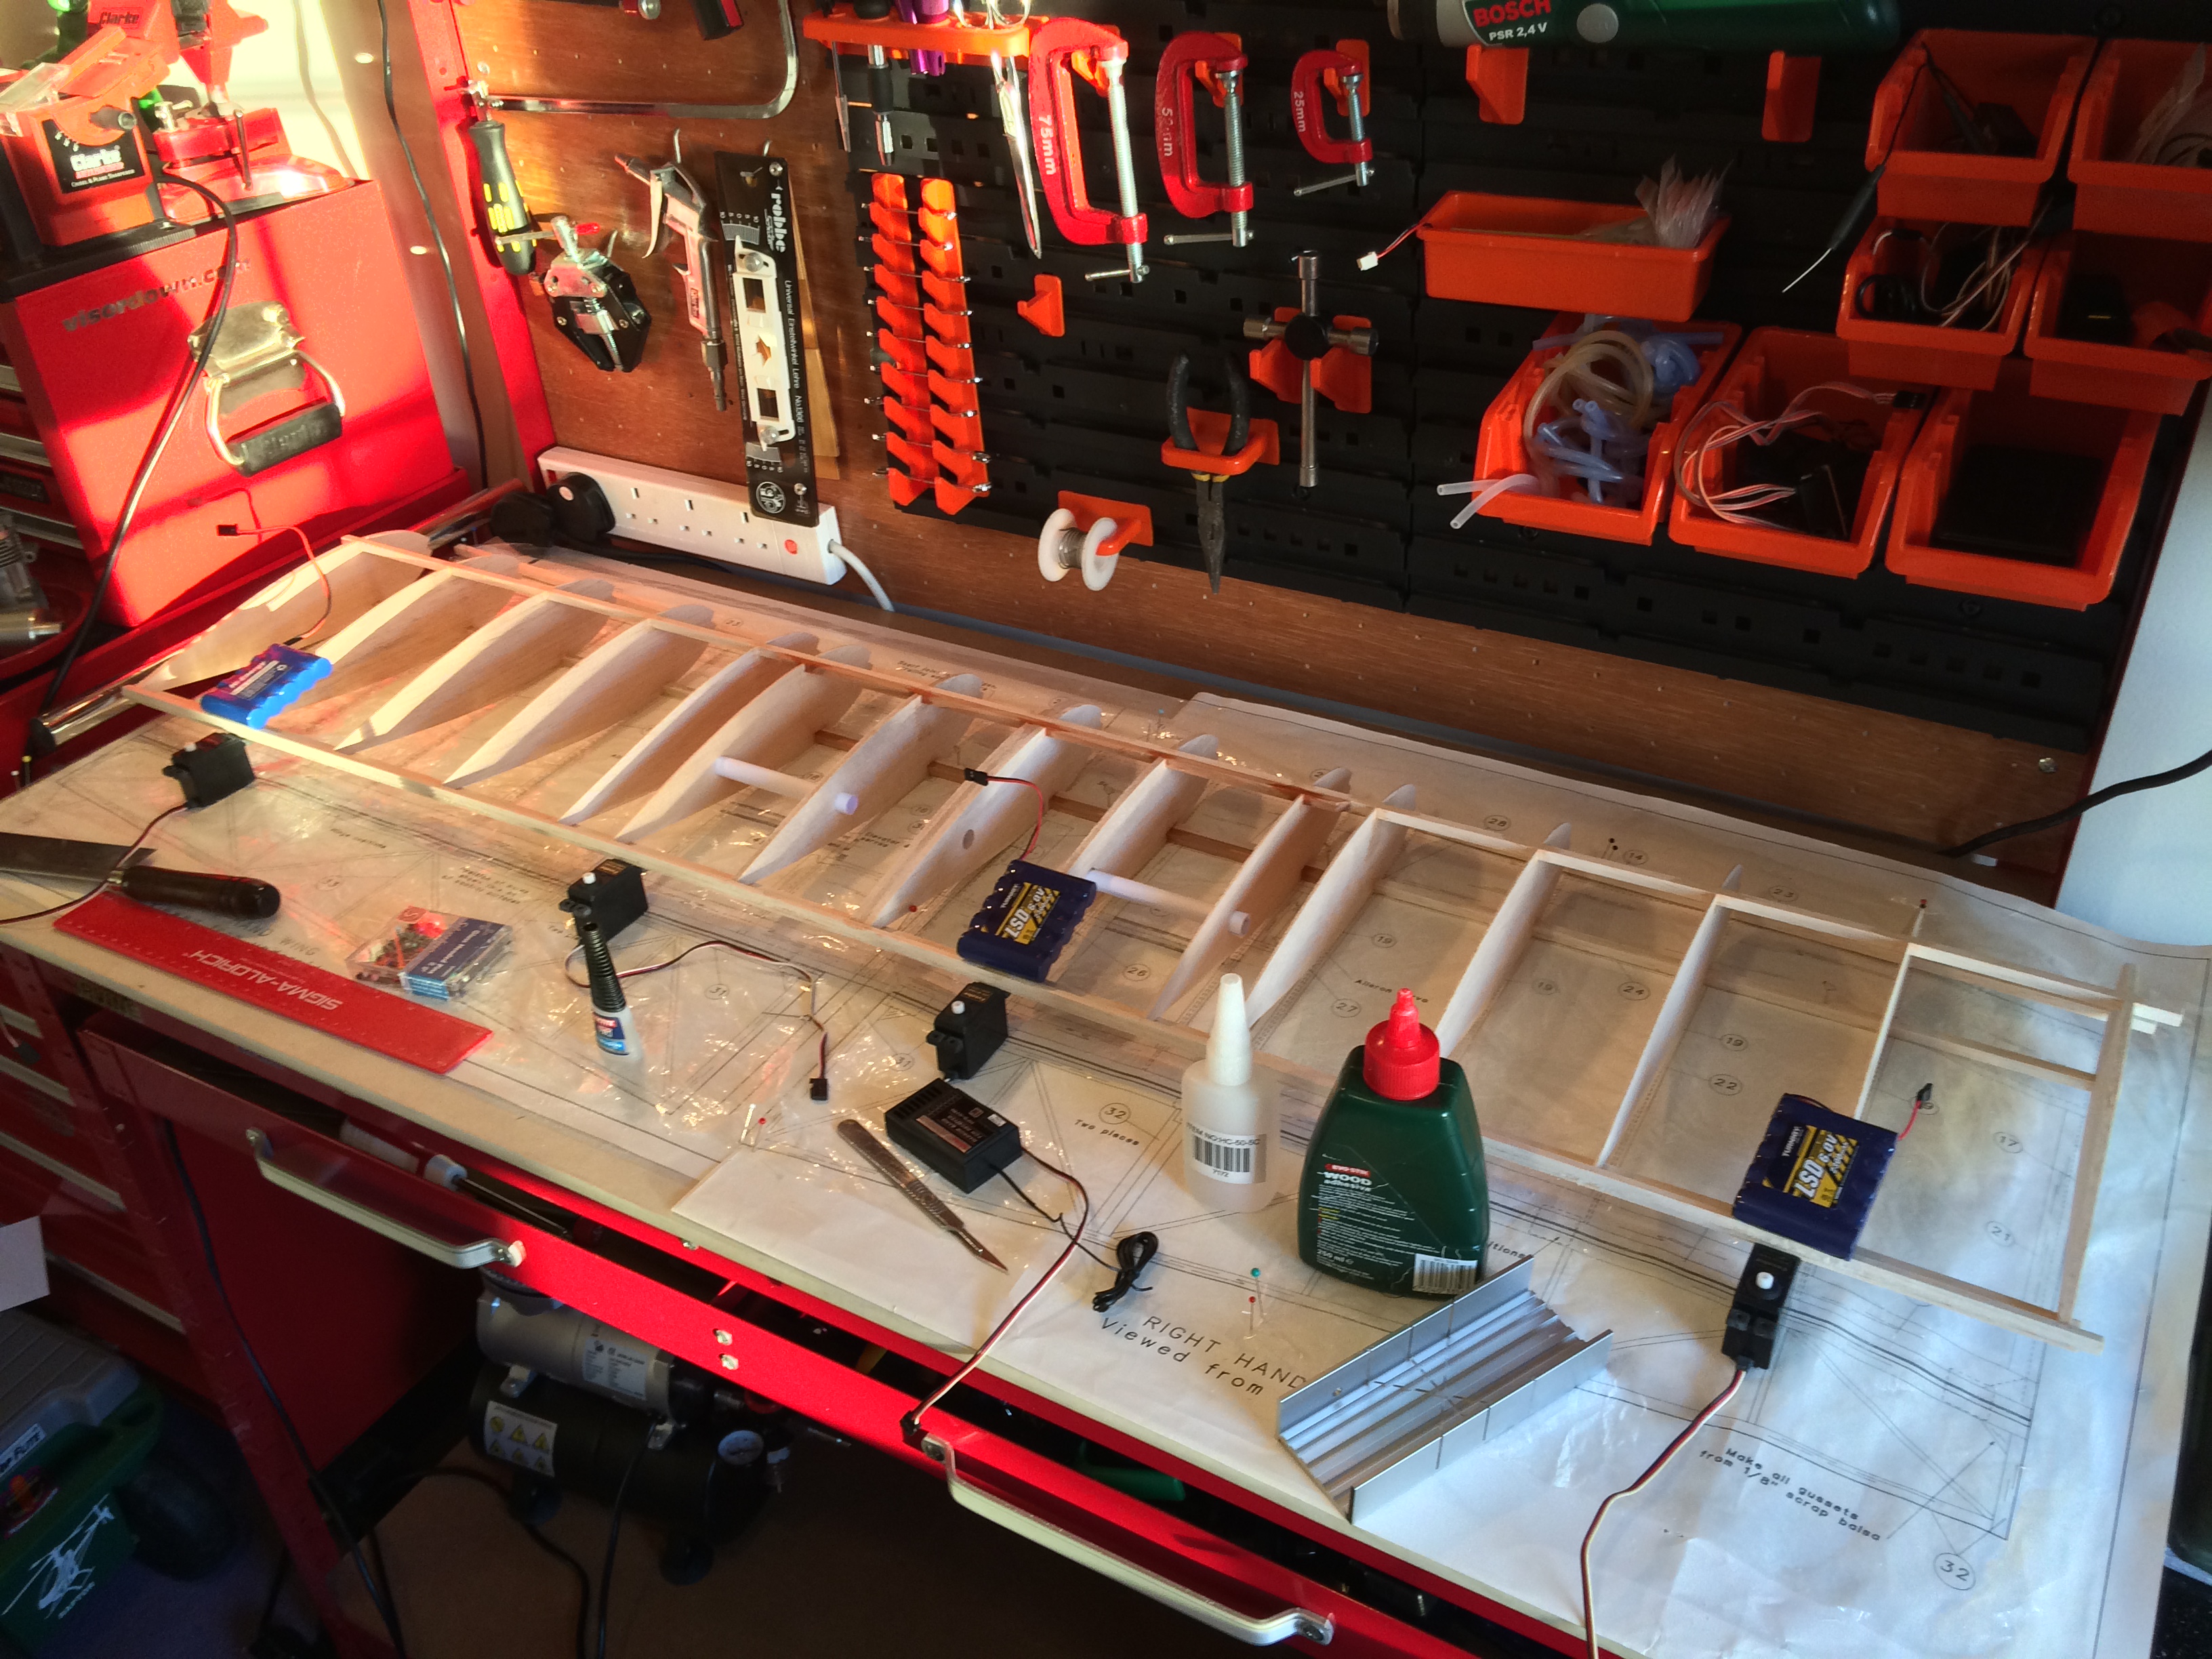
Time to get out the wood planer and shape the reverse side ready for sheeting.
The wing section is fully symmetrical, but a bit of forward thinking was required when installing the throttle cables and slotting the central ribs that hold the radio tray to ensure that it has a ‘top’ side. I elected to mount my engines inverted to maintain a sleeker look when on the ground and so the Bowden cables needed to be routed to exit as a mirror image to that shown on the plan (where the engines are assumed to be upright). Of course, micro 9g servos or similar could easily fit in the nacelles if preferred although room is tight even for these. The completed wing is slid through the completed fuselage and glued in place. The instructions recommend a variety of glues at different stages of construction. I elected to predominantly use white (wood) glue because, being water soluble, it’s easy to wipe away overspill and achieve a neat looking joint. However, unless you want a balsa banana, don’t substitute impact adhesive for gluing the ply doublers to the fuselage and nacelle sides.
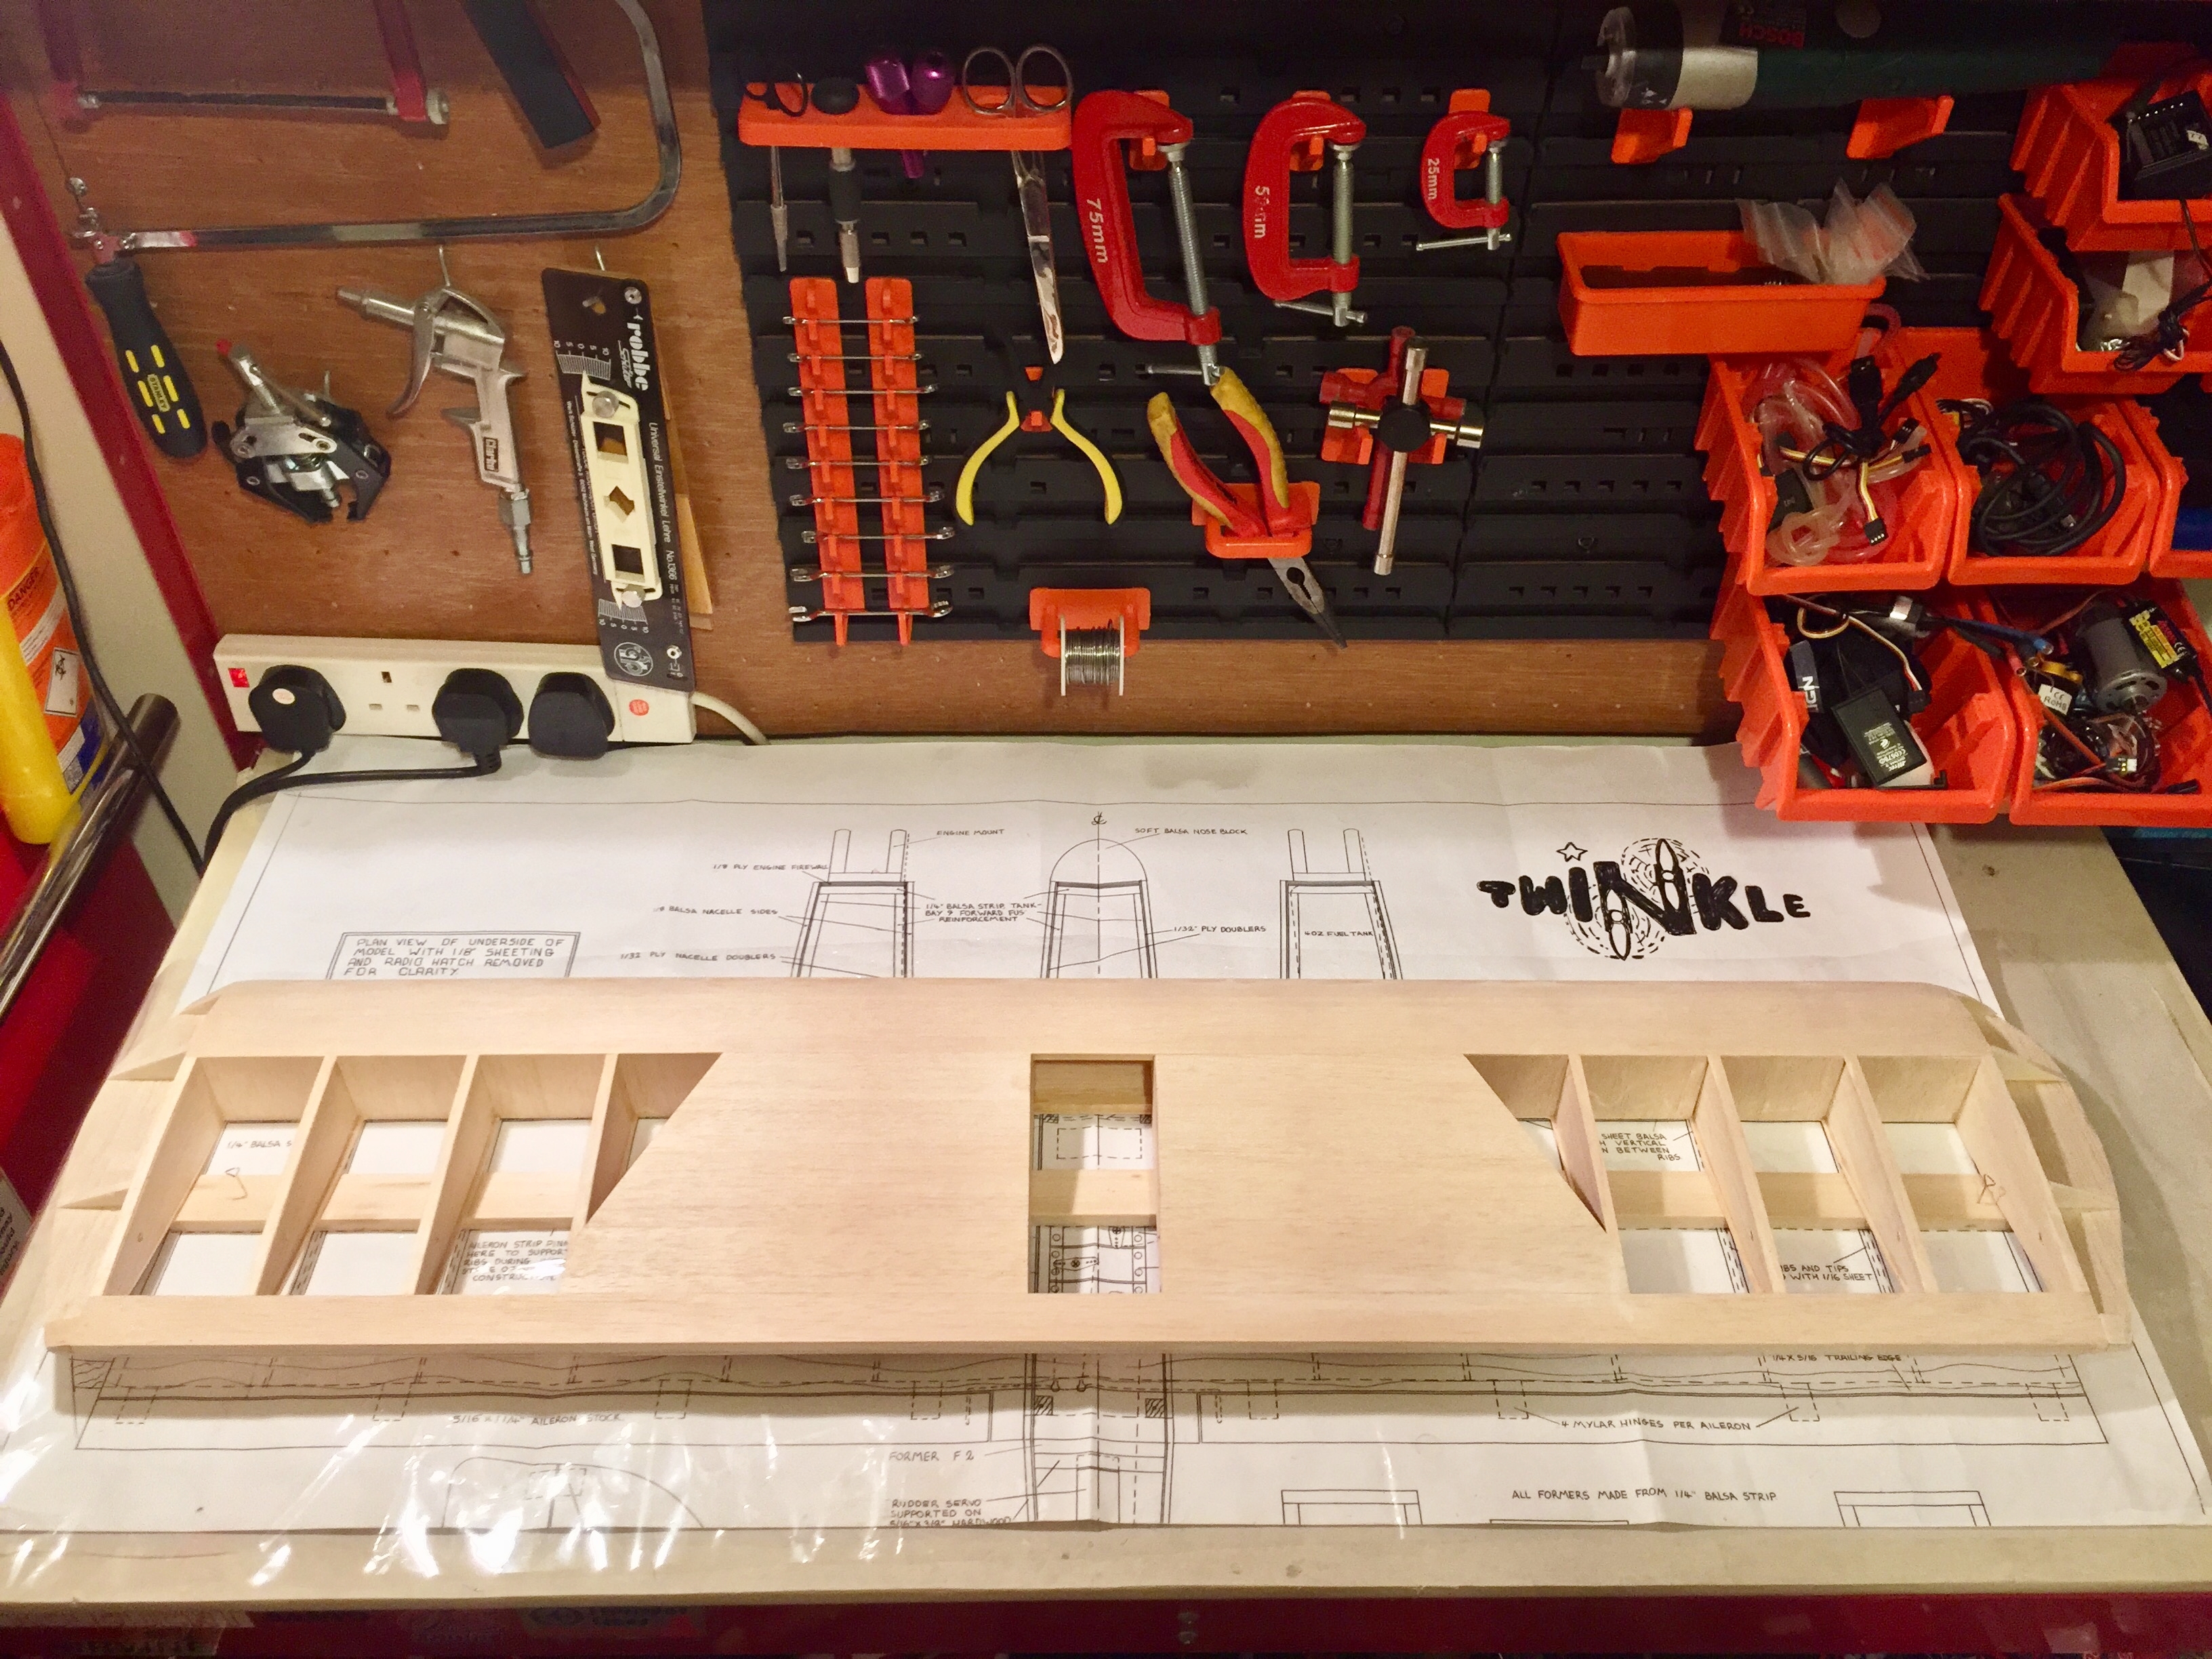
The completed wing: light and very strong.
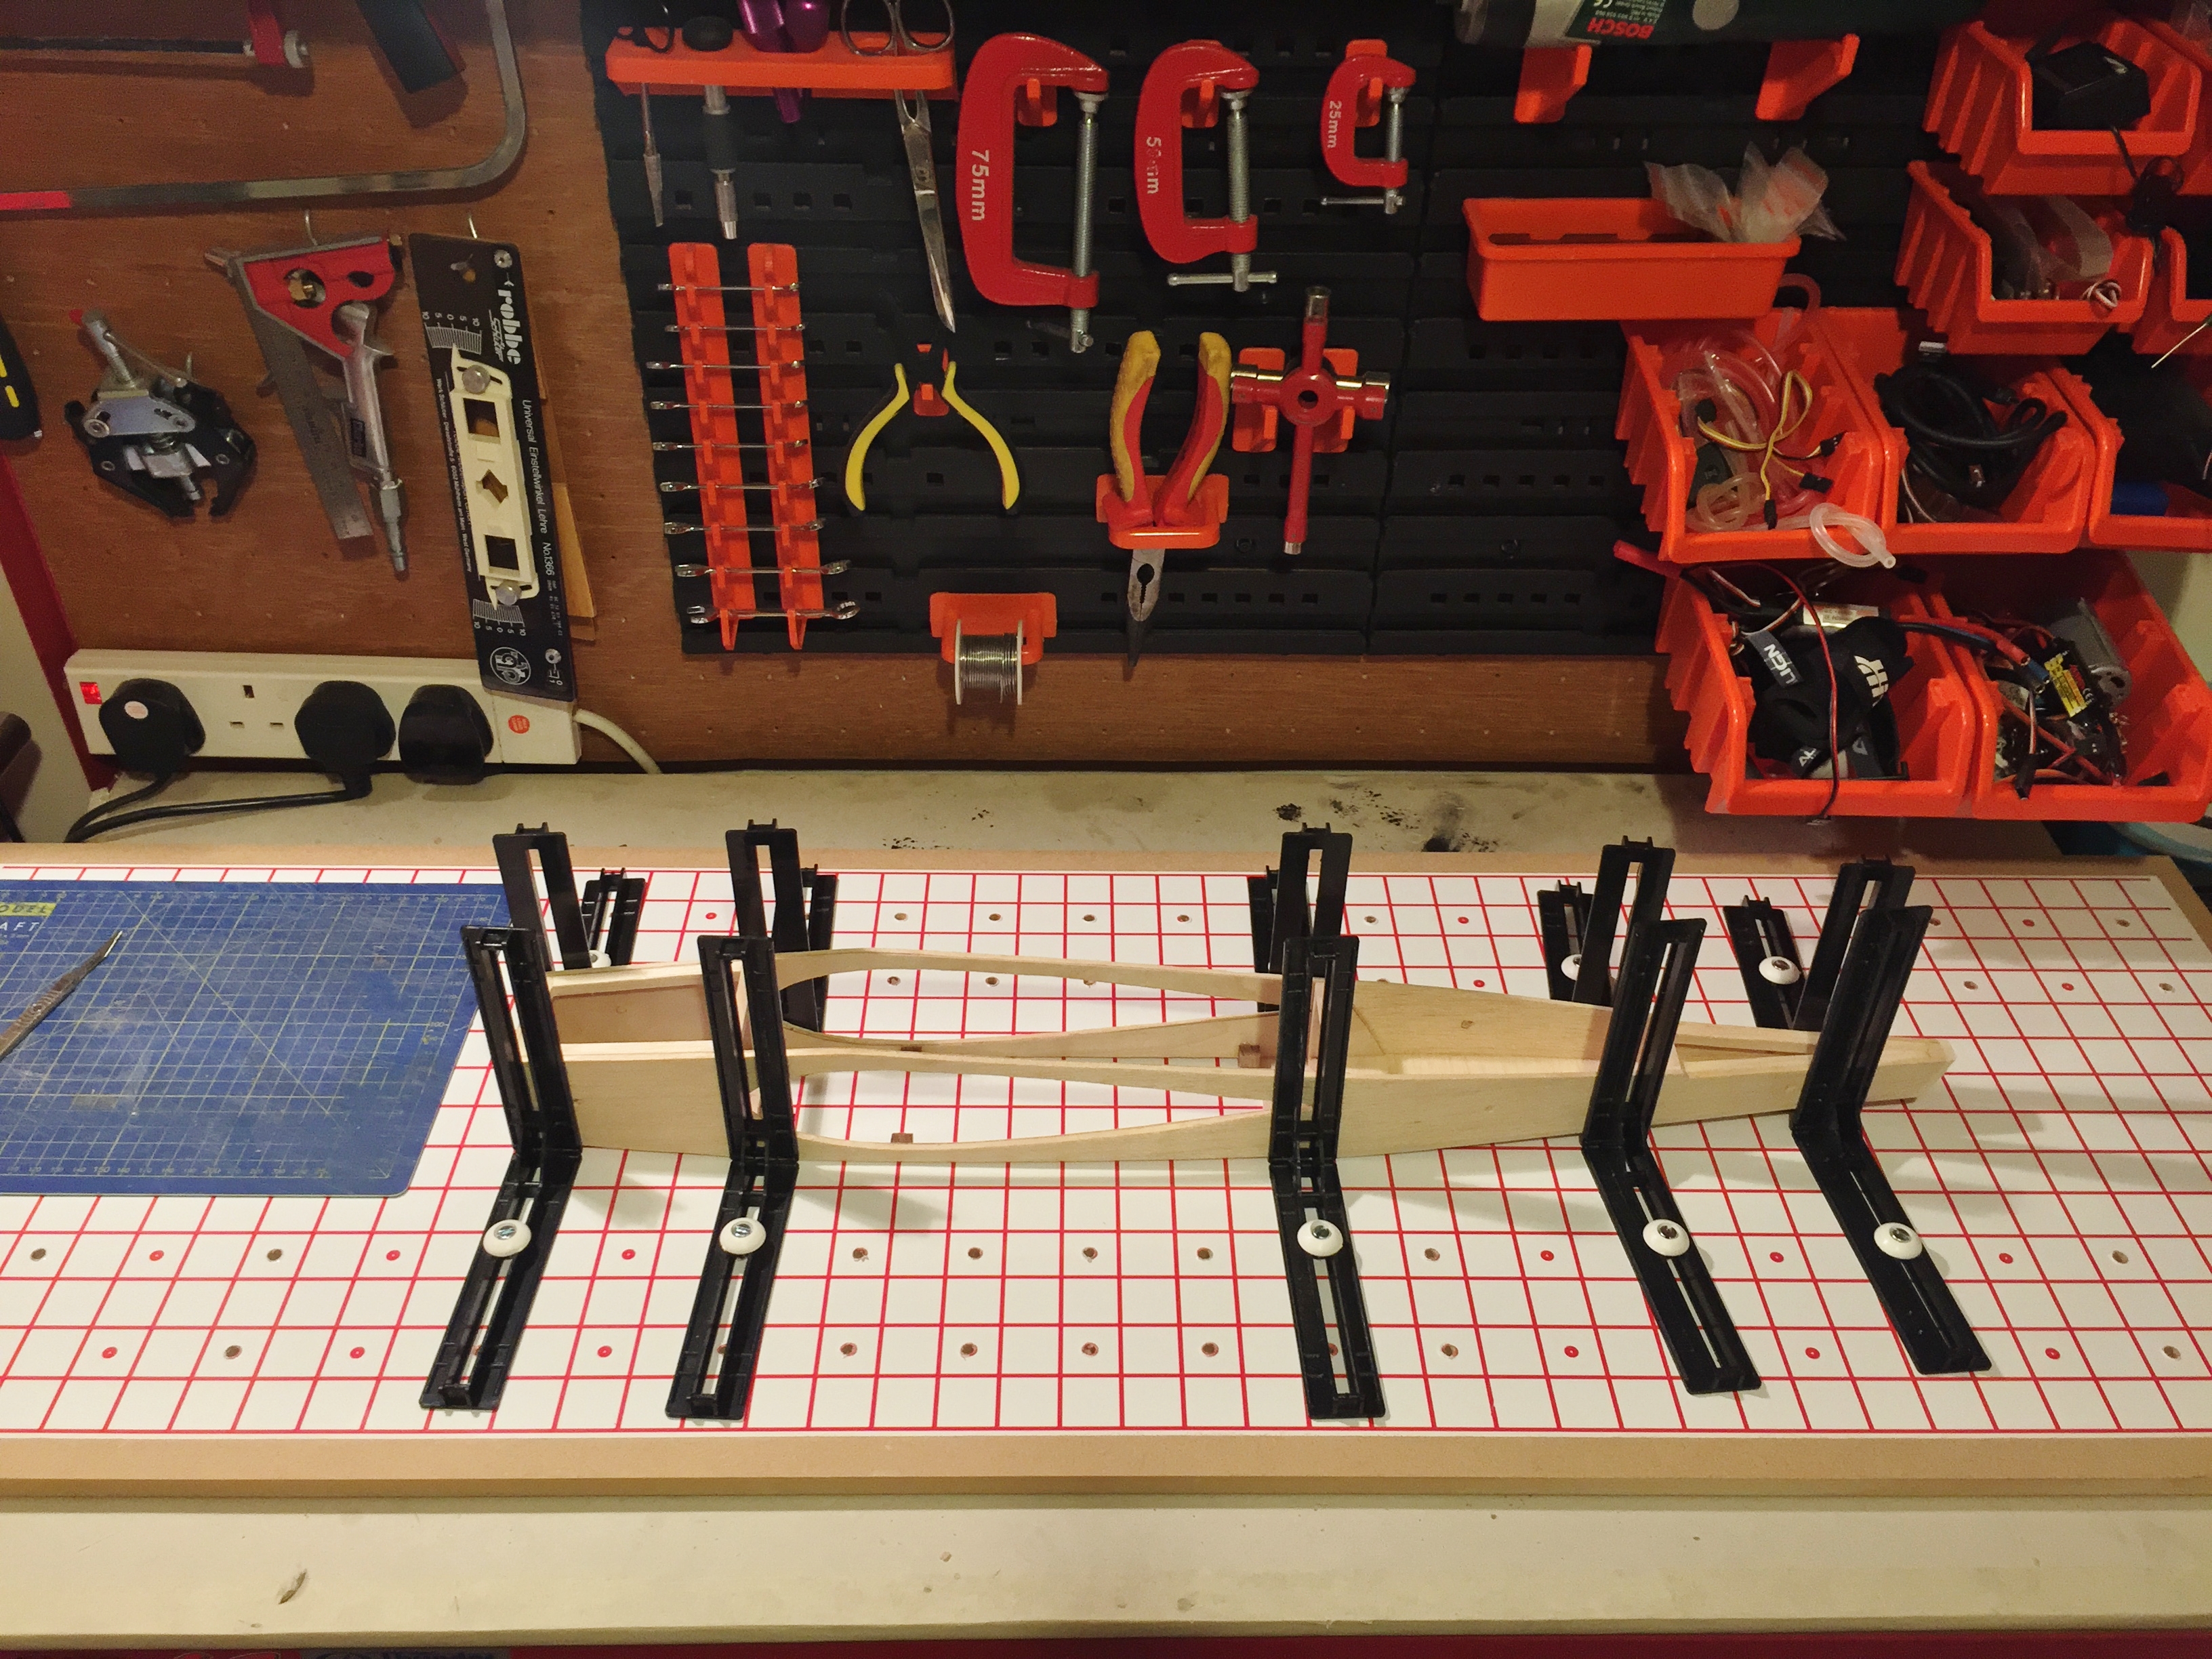
The fuselage and nacelles are simply box section structures and quickly took shape using my trusty building jig.
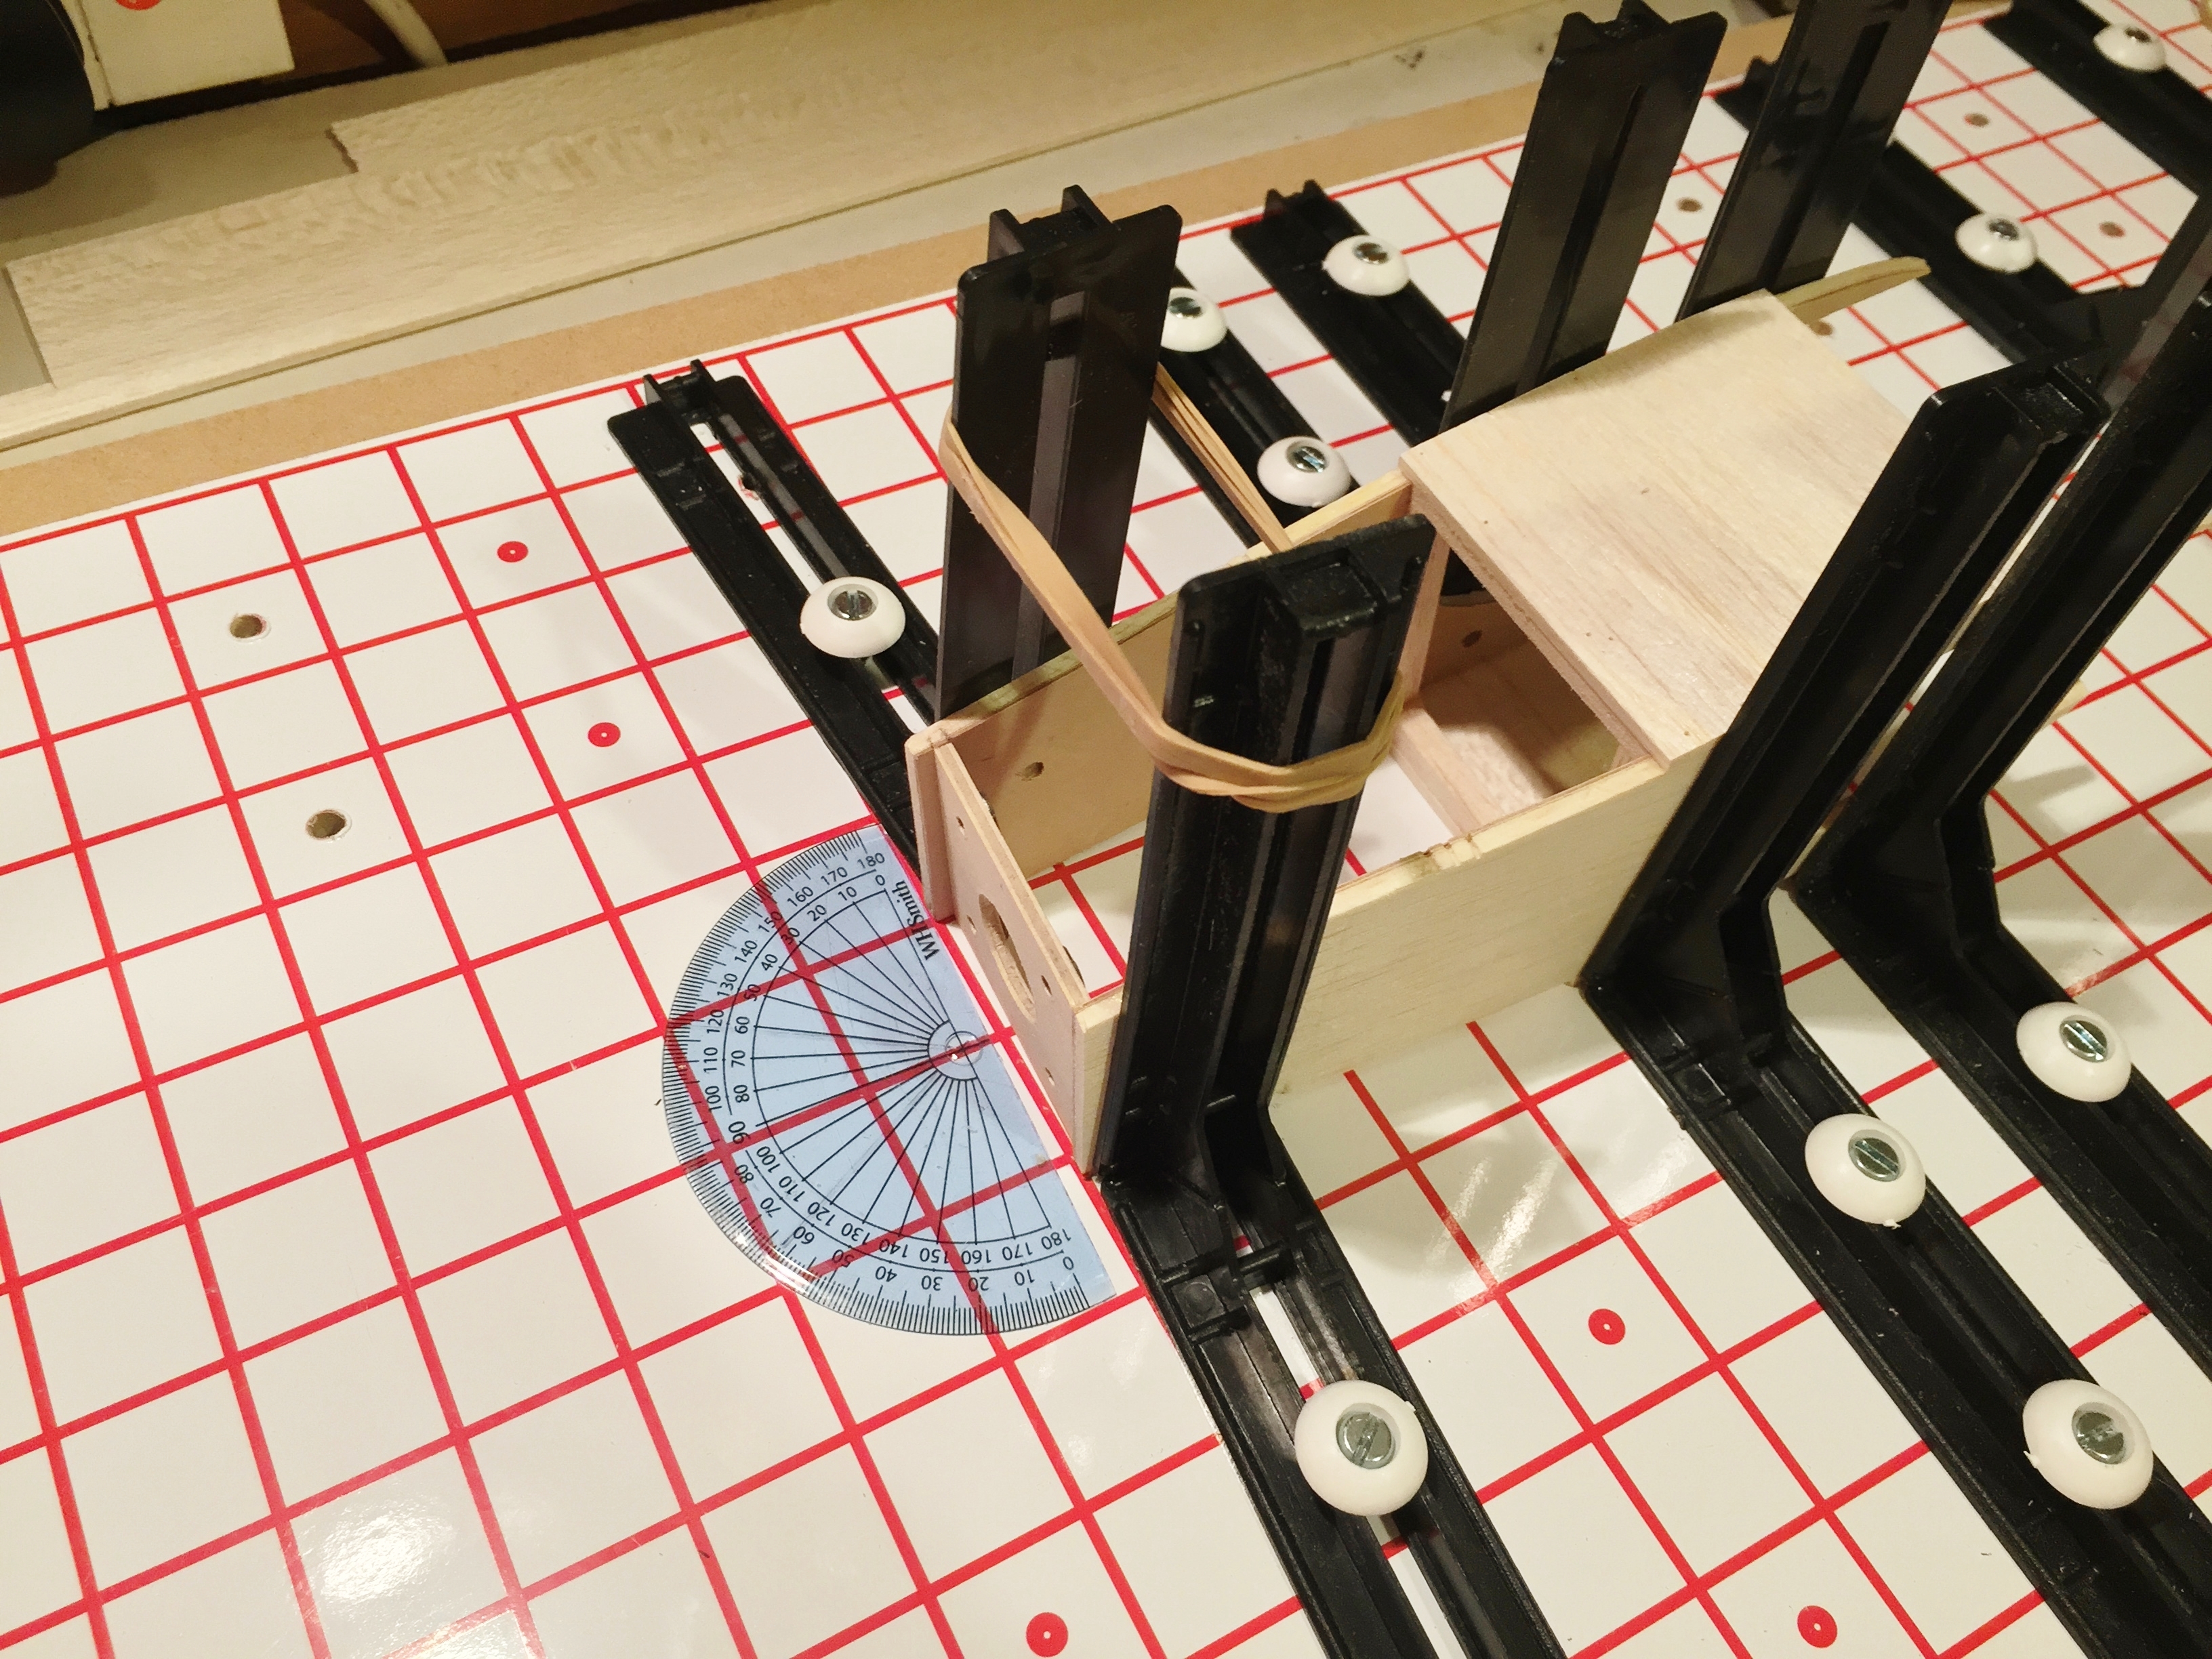
Side thrust angles for each engine (3° right and 1° left) are suggested and I built these in from the outset. Alternatively, the firewalls could be left perpendicular and washers inserted behind the engine mounts to suit.
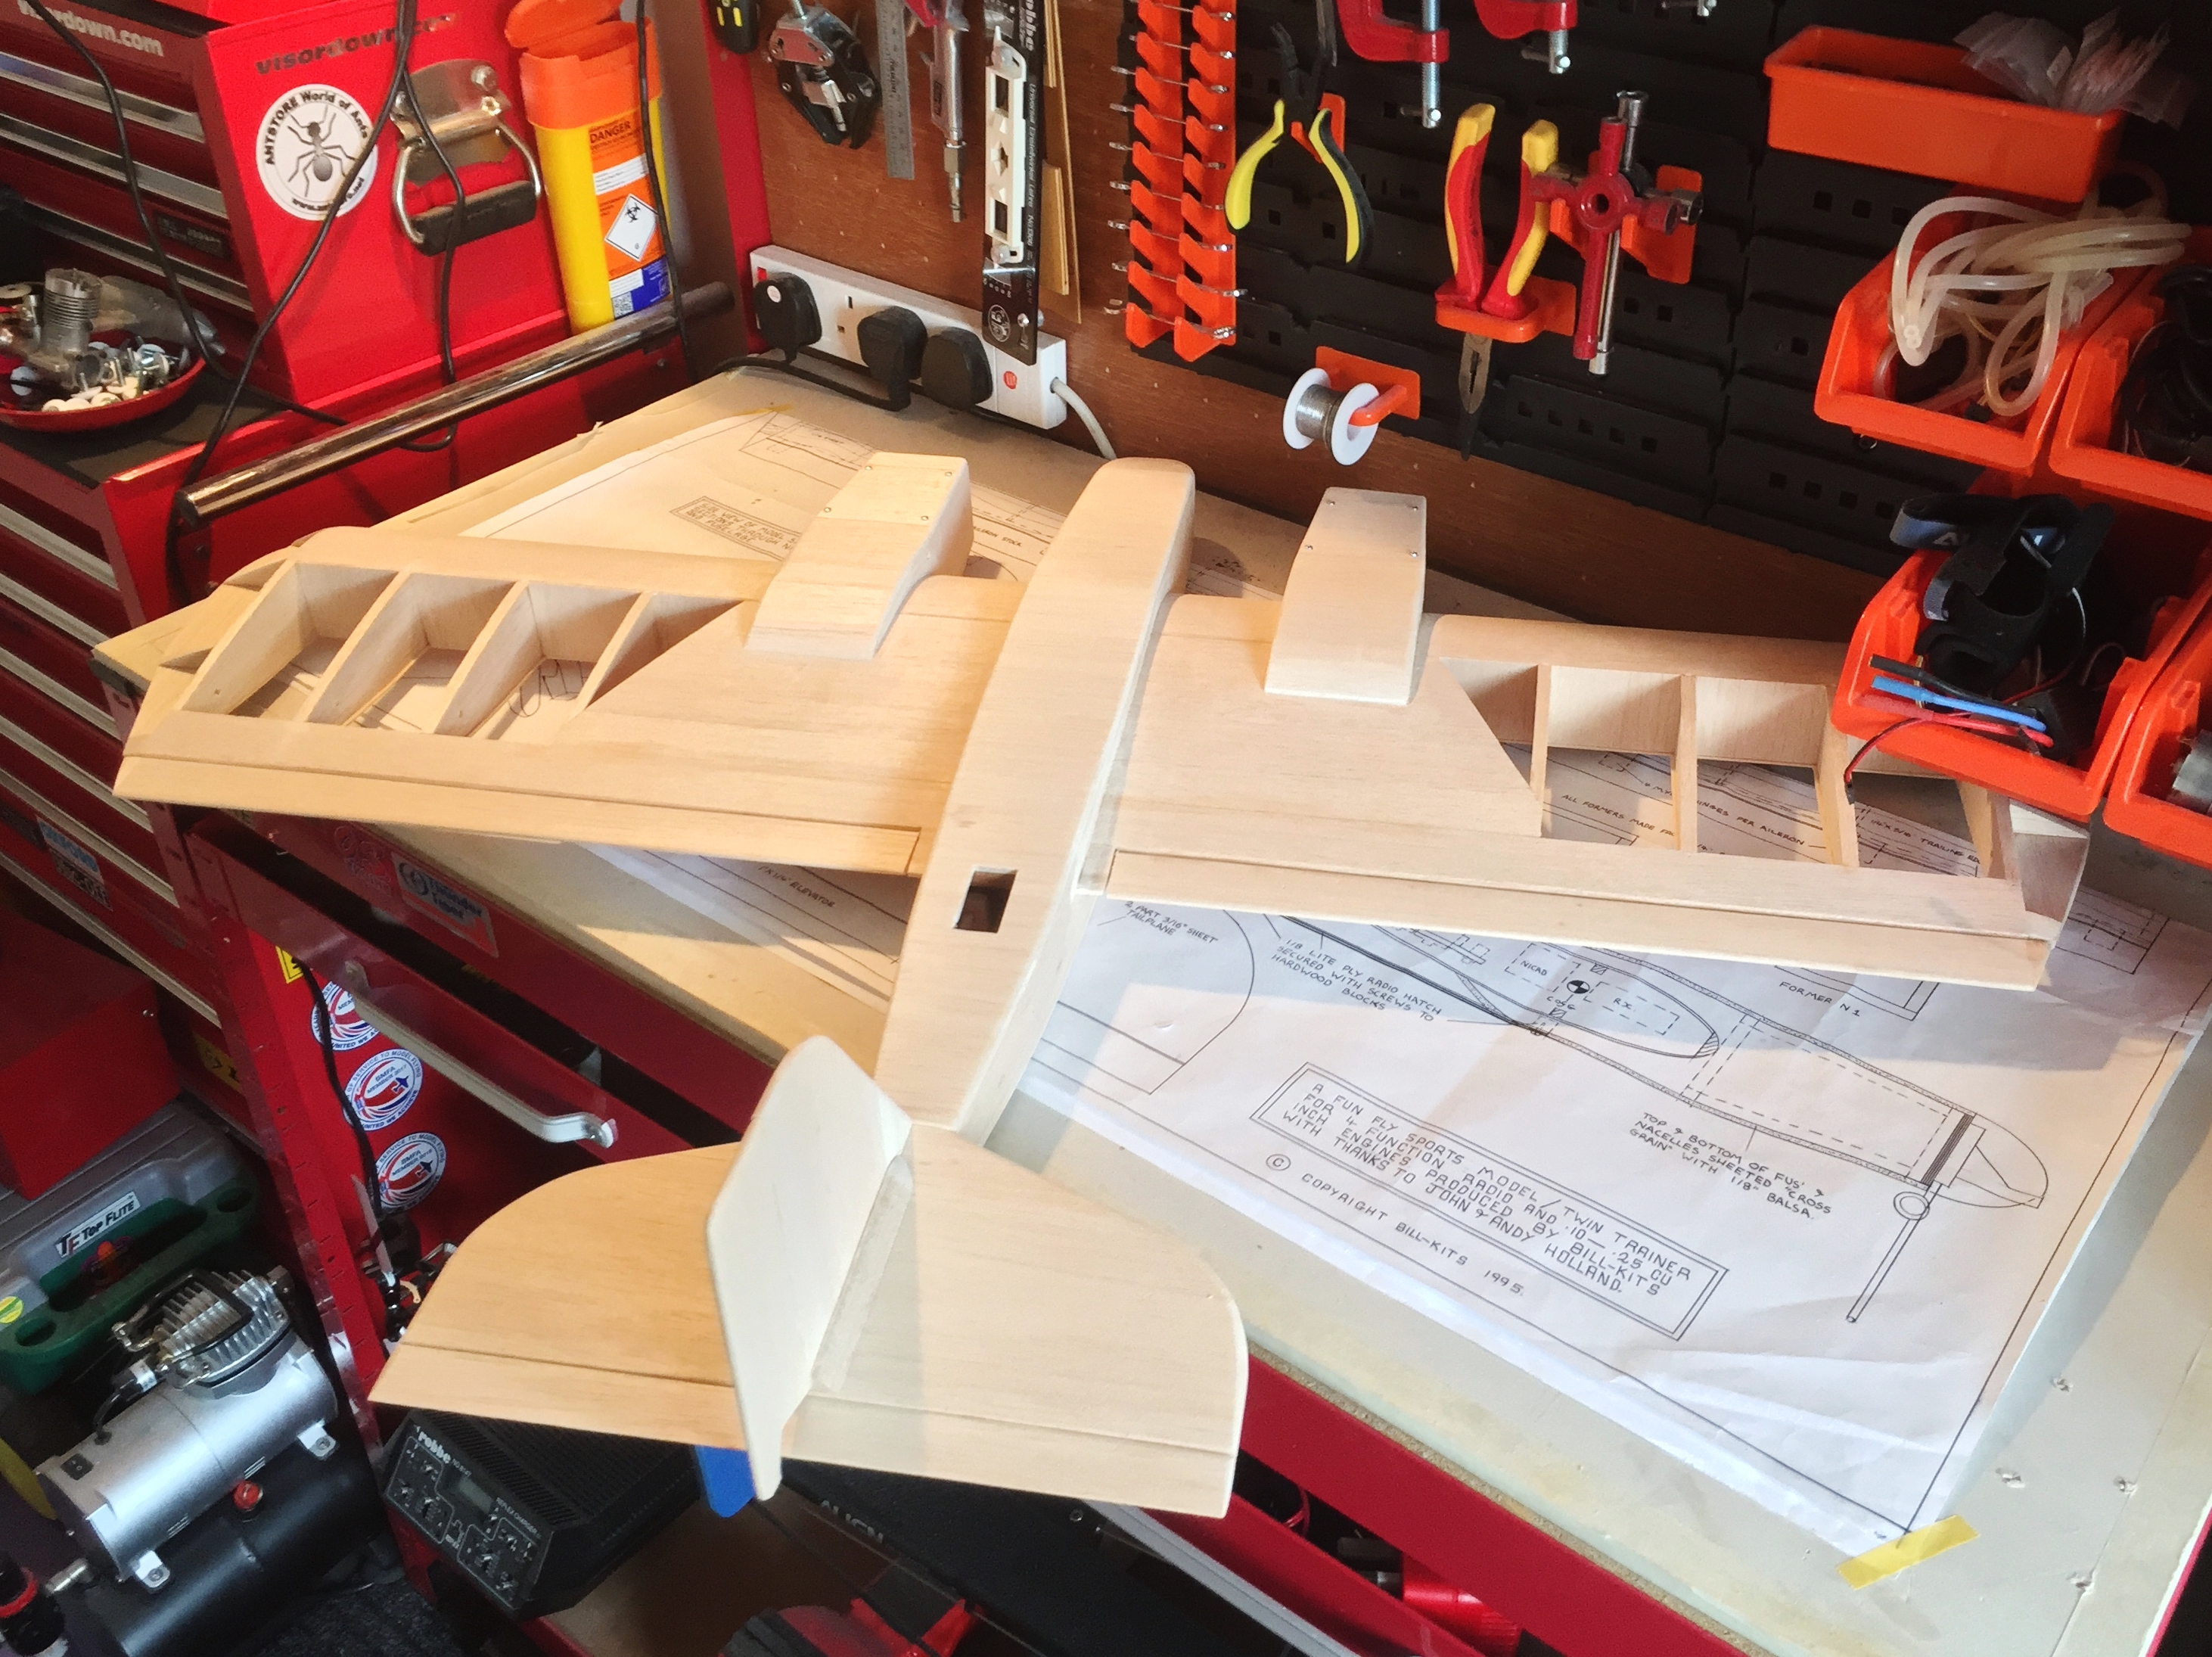
Dry assembly prior to covering.

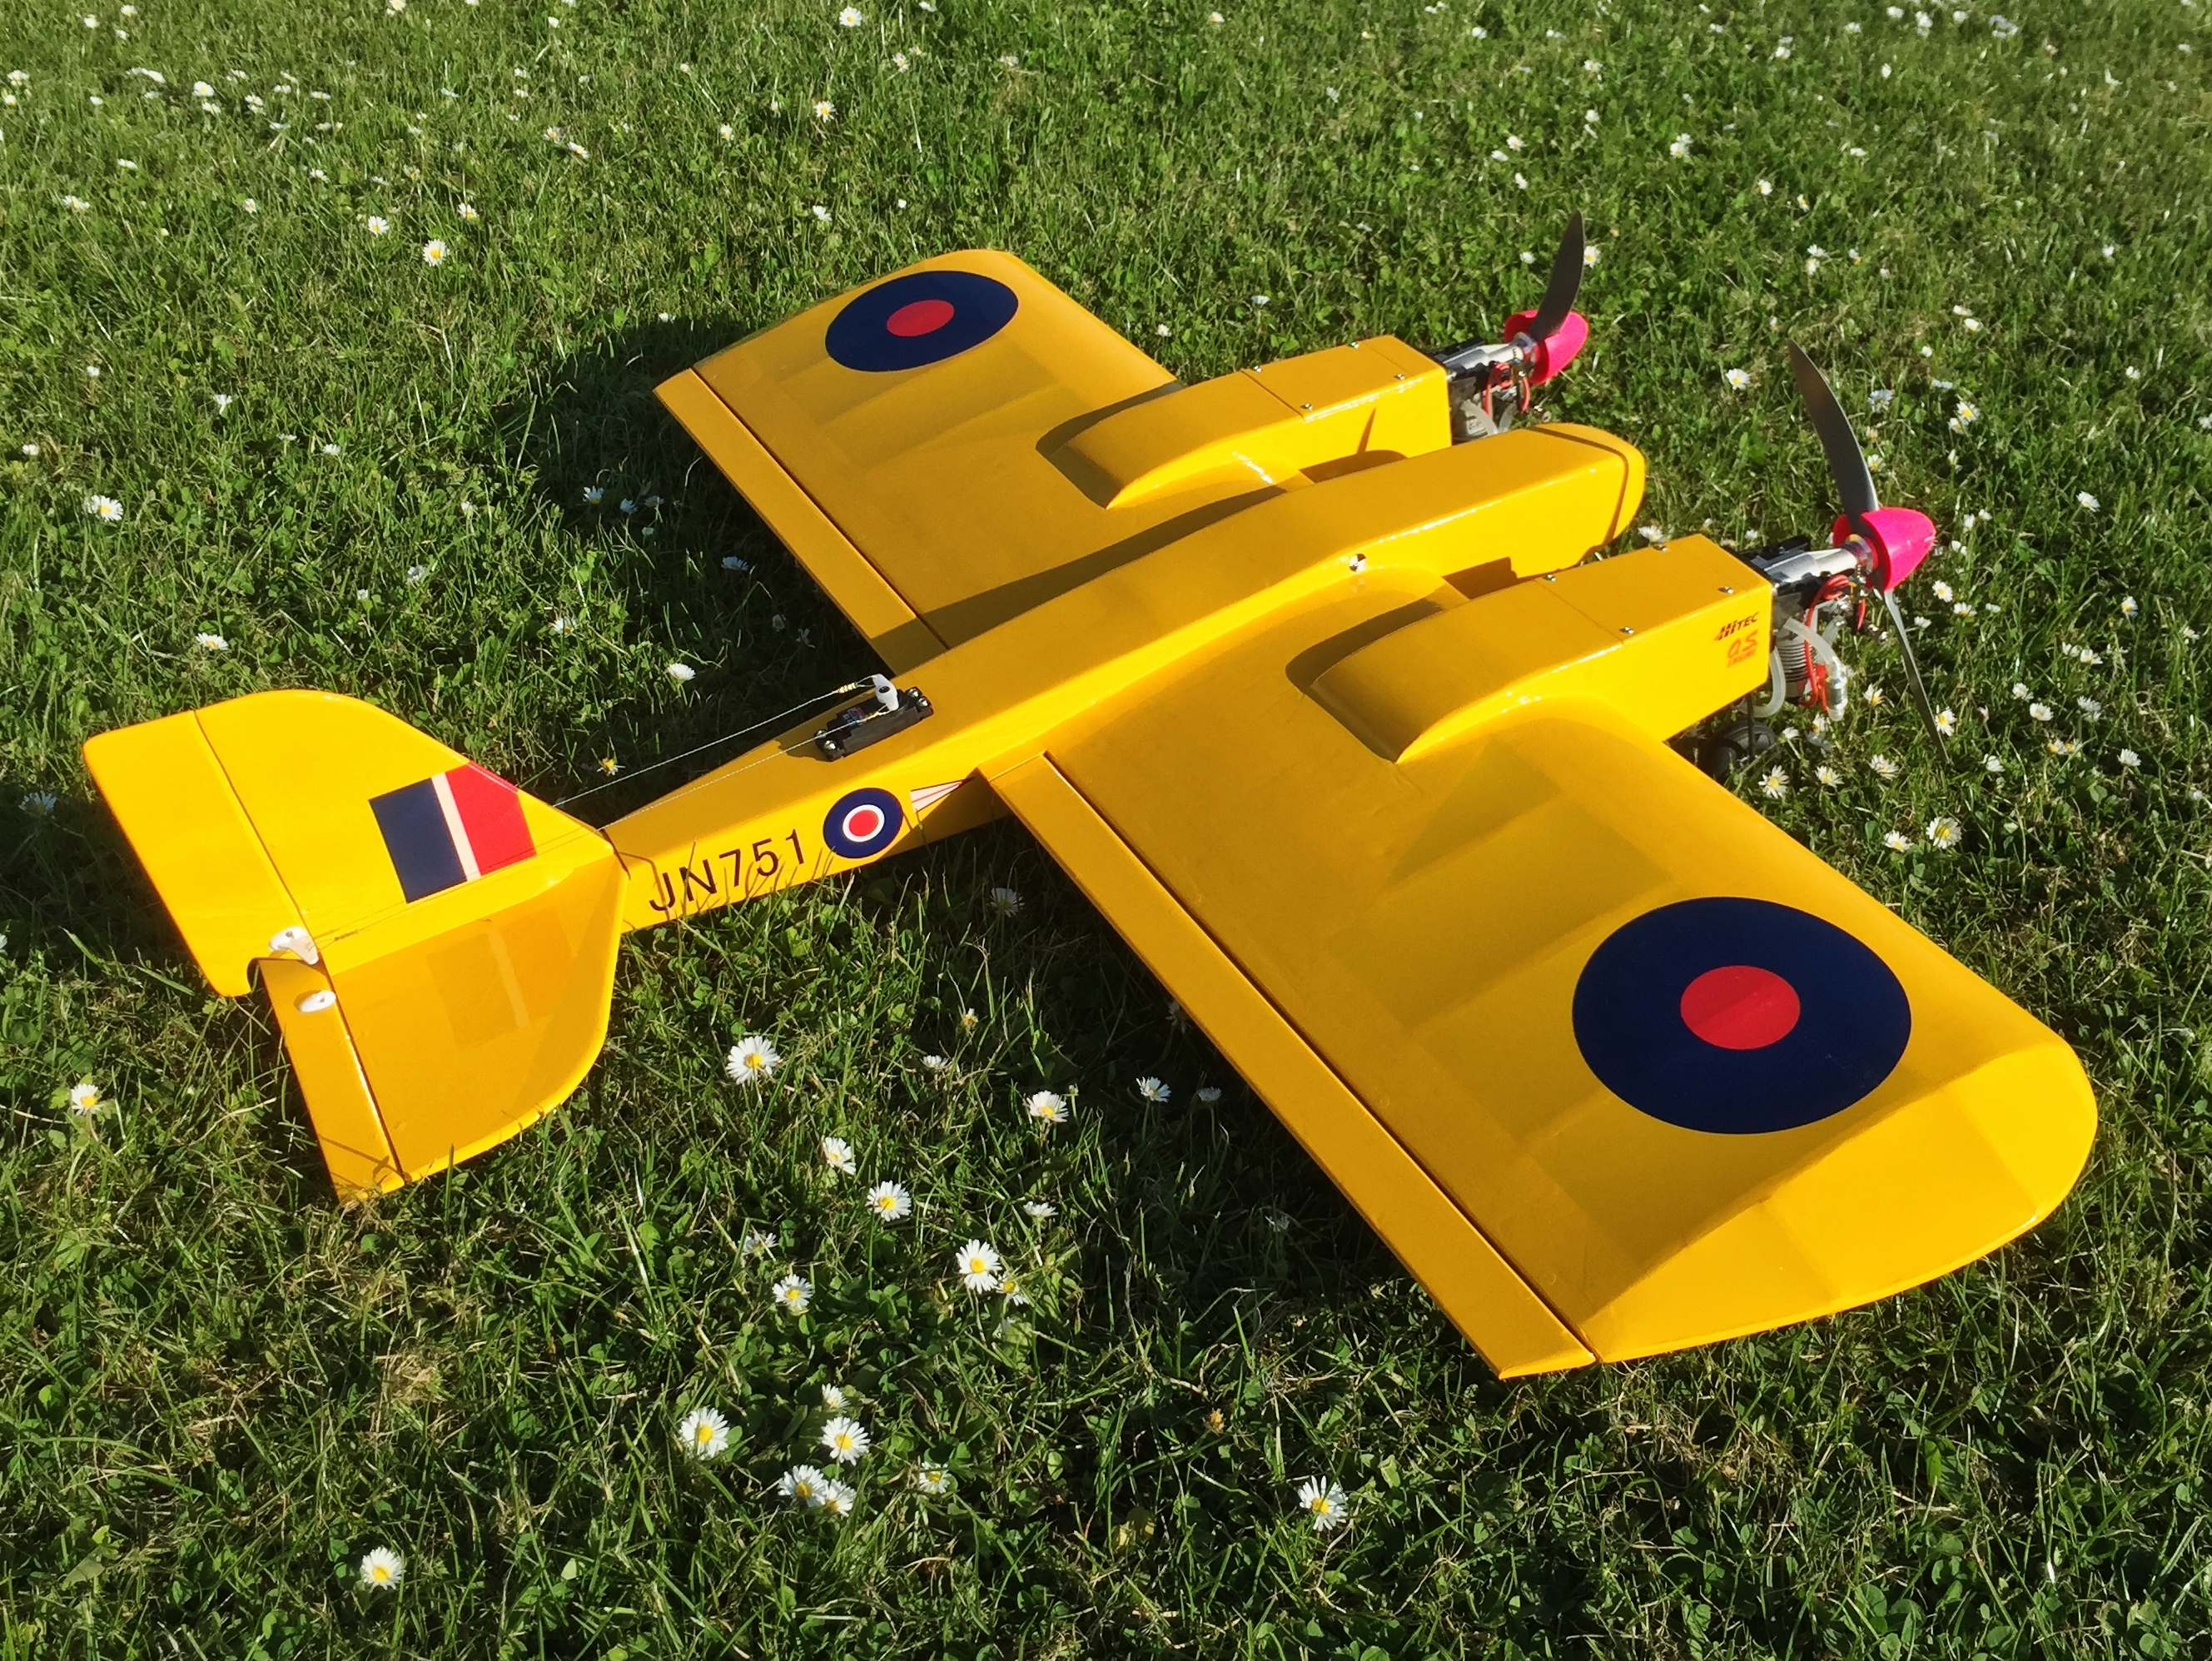
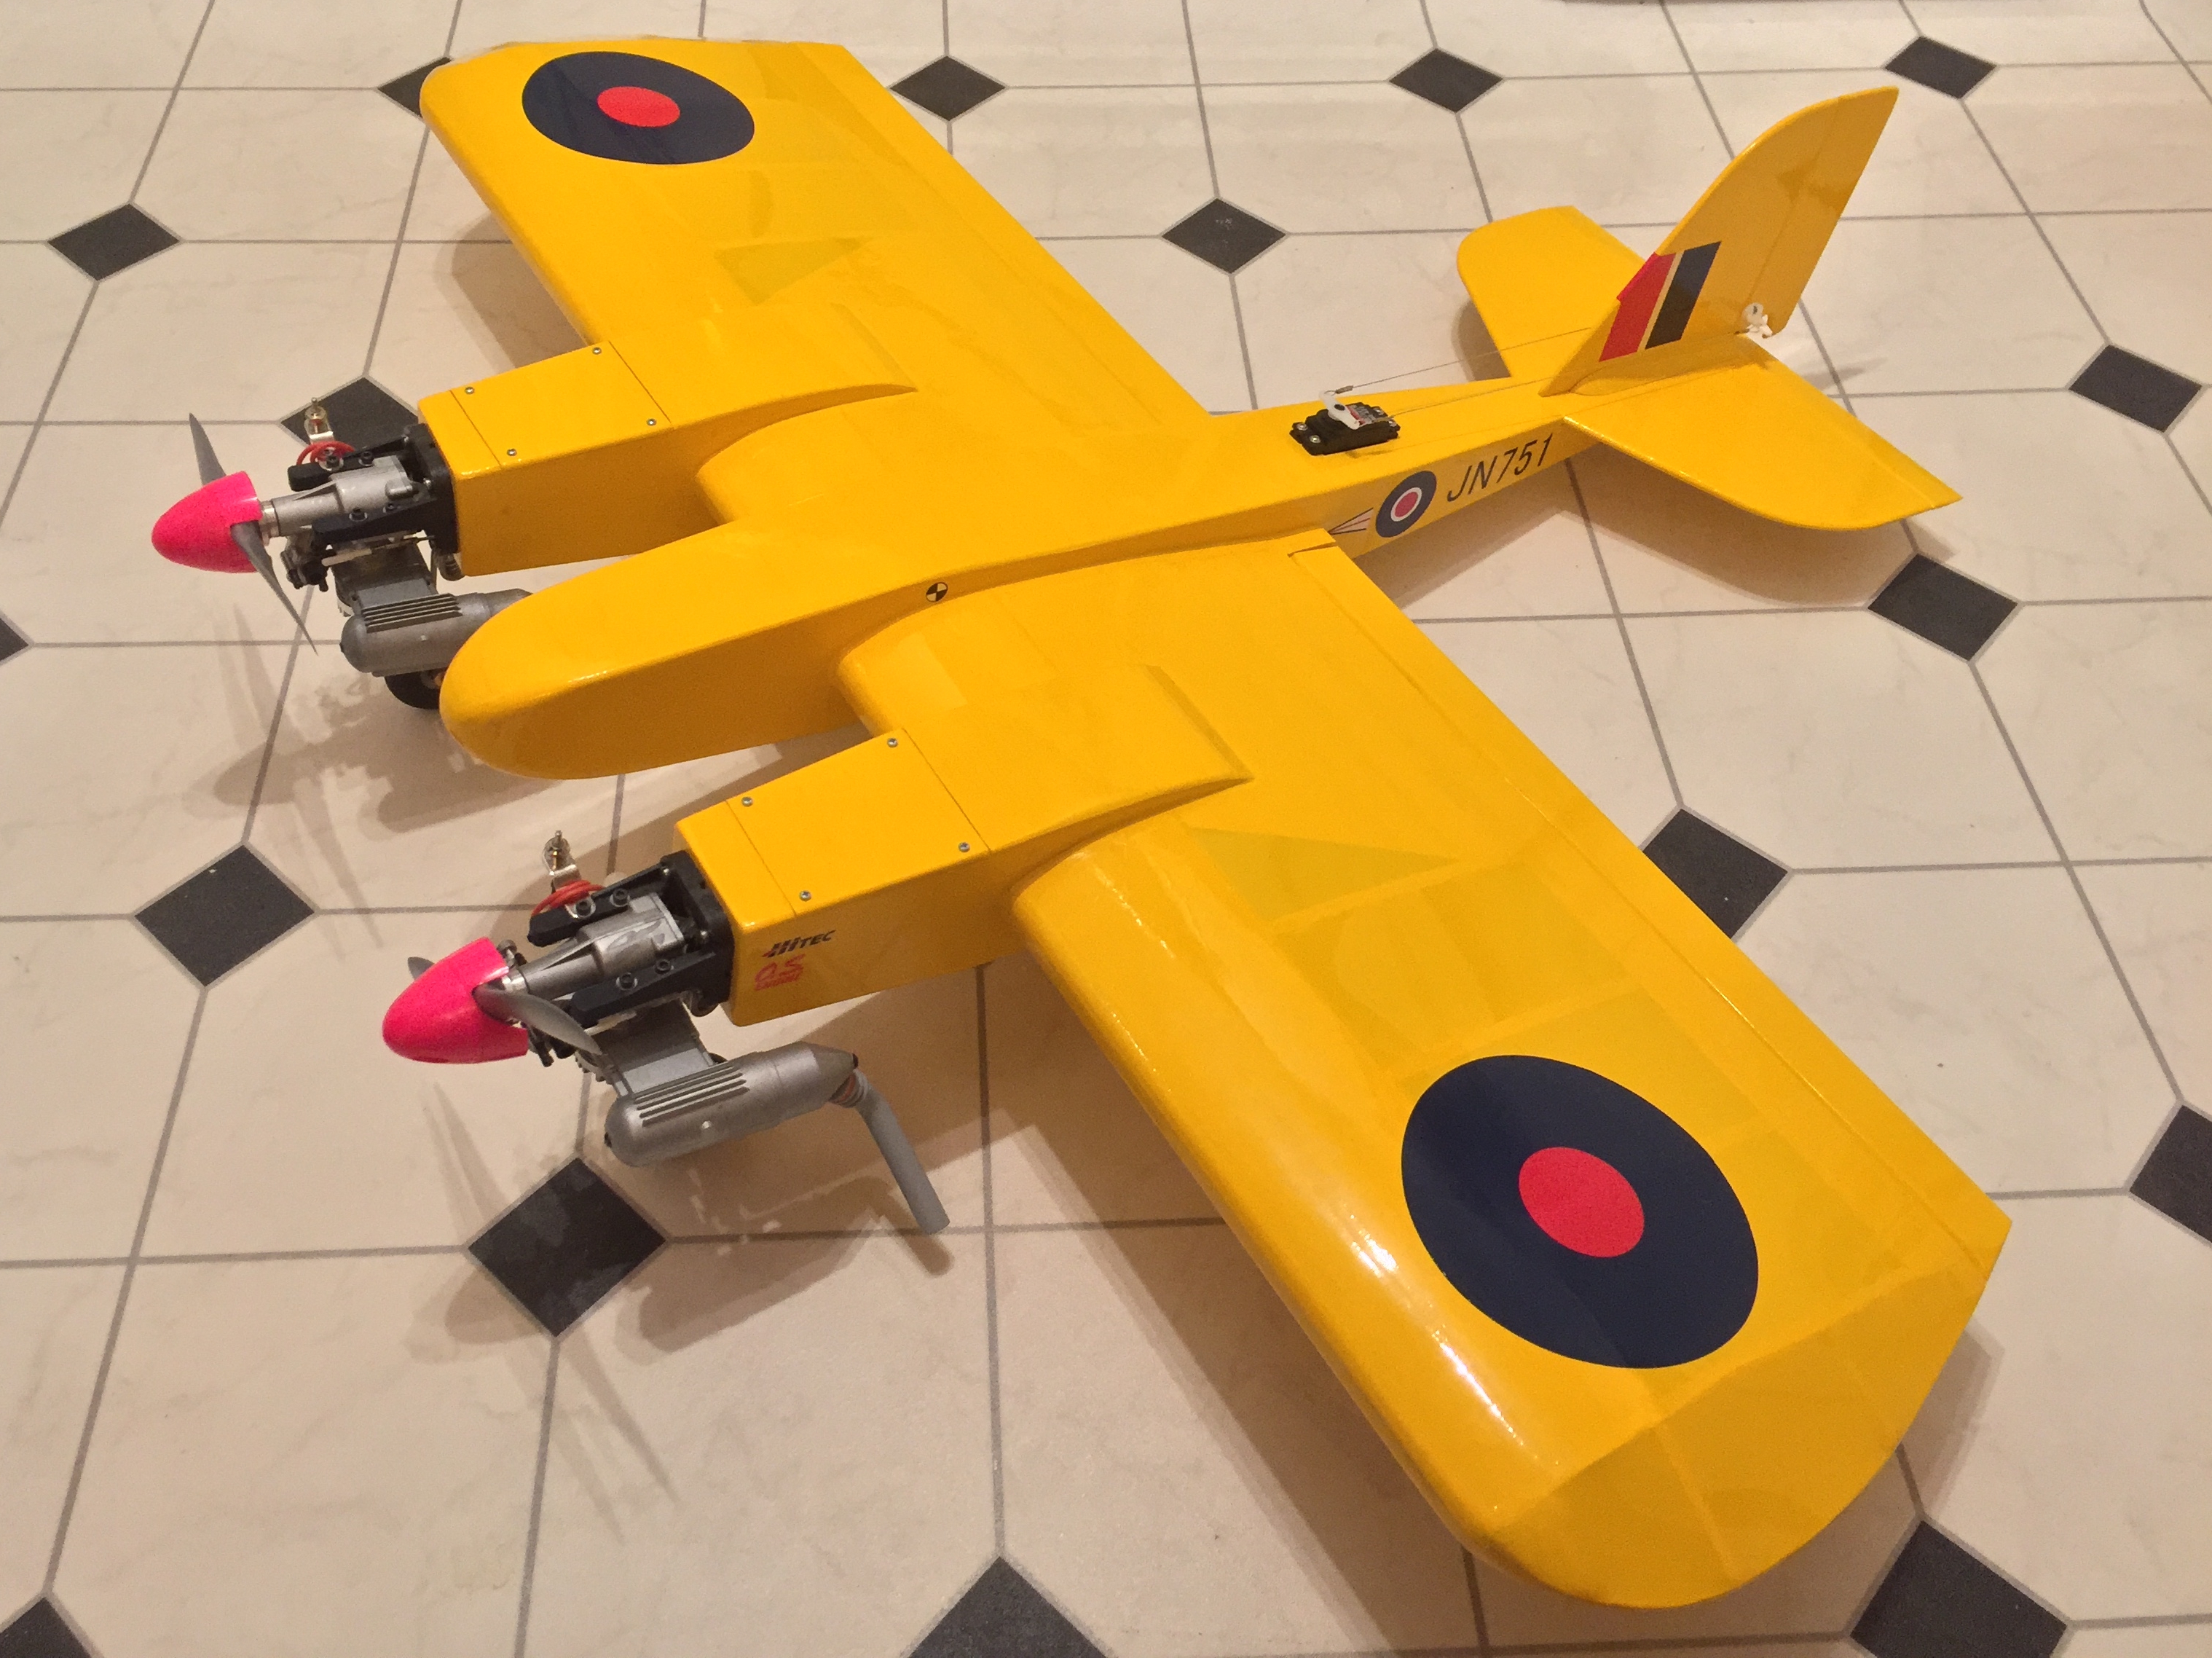
Ready for final assembly. I covered my Twinkle in dark yellow Solarfilm with diagonal black Solartrim ‘this way up’ stripes affixed to the underside. Incidently I’m pleased that Solarfilm have managed to avoid complete closure by offering an online-only service.
The addition of a few RAF roundels and my colour scheme pays homage to the RAF ‘target-tug’ scheme of WW2. Seems to suit the model nicely and certainly stands out in the air – vital as it’s a compact little thing with no shortage of power! Mine came out at 1.8kg and towards the higher end of the weight described in the instructions. Still it flies nicely, and the stall is nothing to really speak about so all was good.
Ready for final assembly. I covered my Twinkle in dark yellow Solarfilm with diagonal black Solartrim ‘this way up’ stripes affixed to the underside.
That magic moment when everything is done – doesn’t she look purposeful!
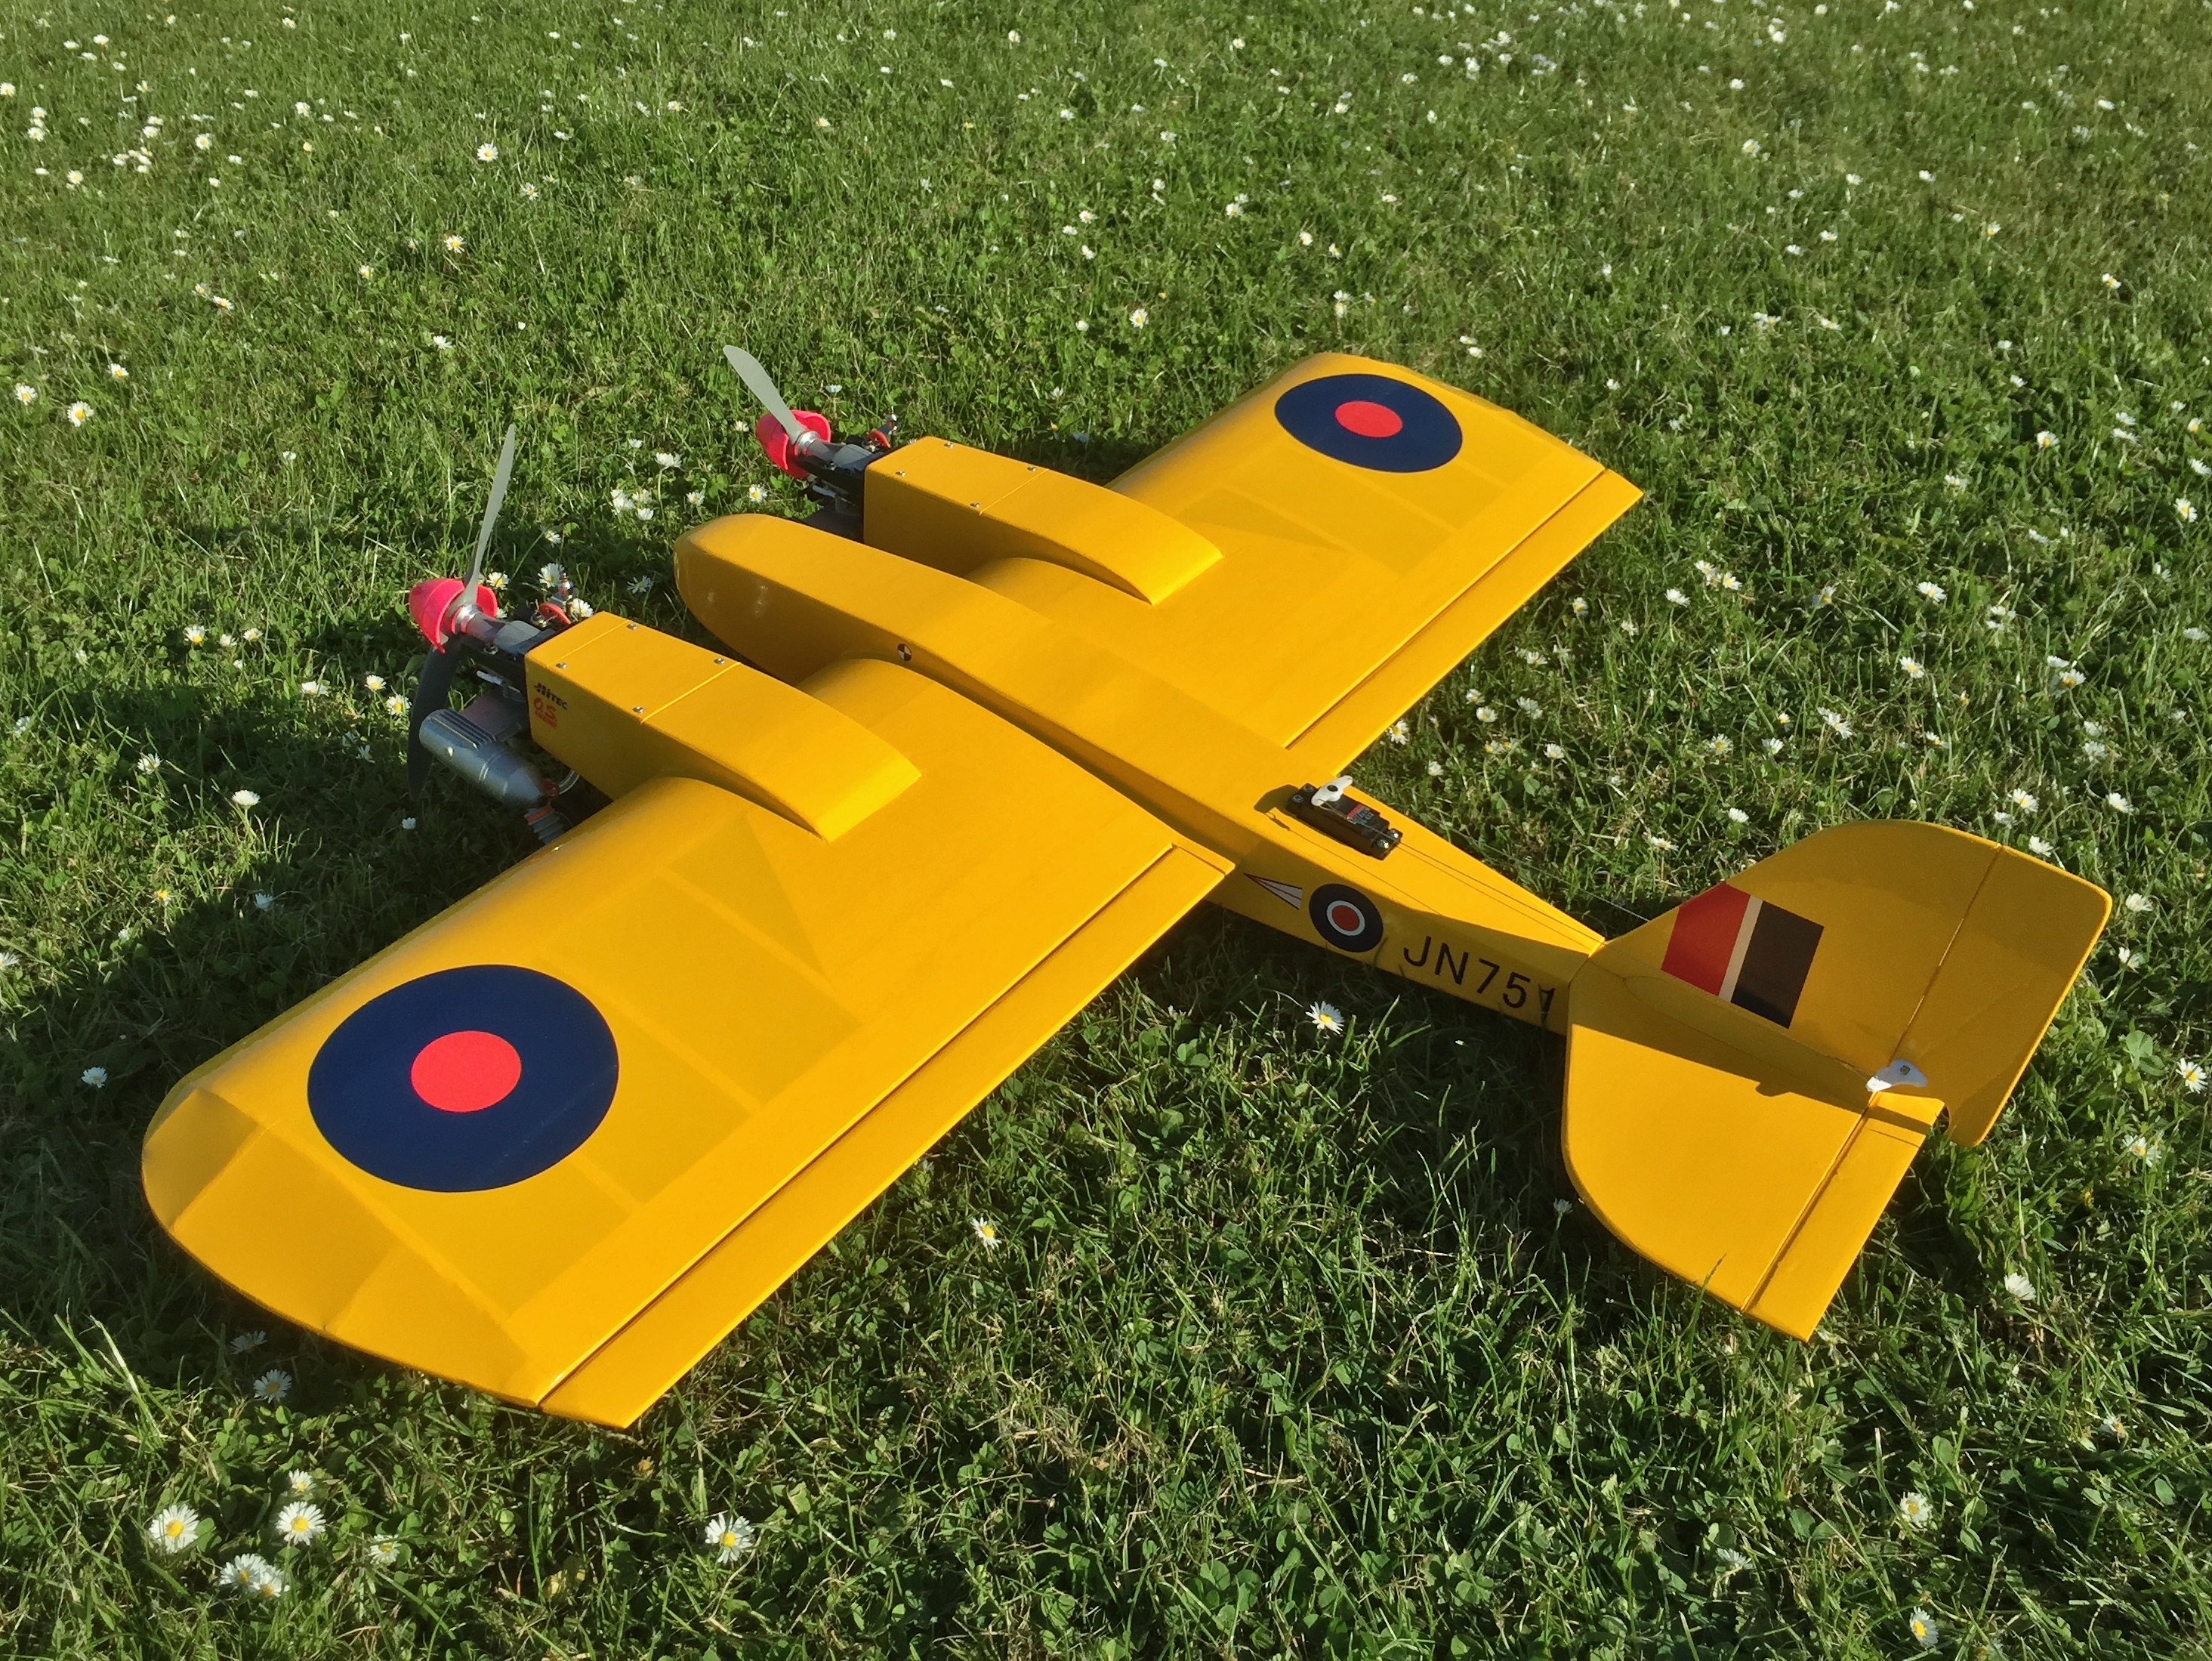
Outside in the sun and ready for the maiden flight. Stay clear of fuels using castor oil and there is no need reason why everything cannot stay nice and clean.
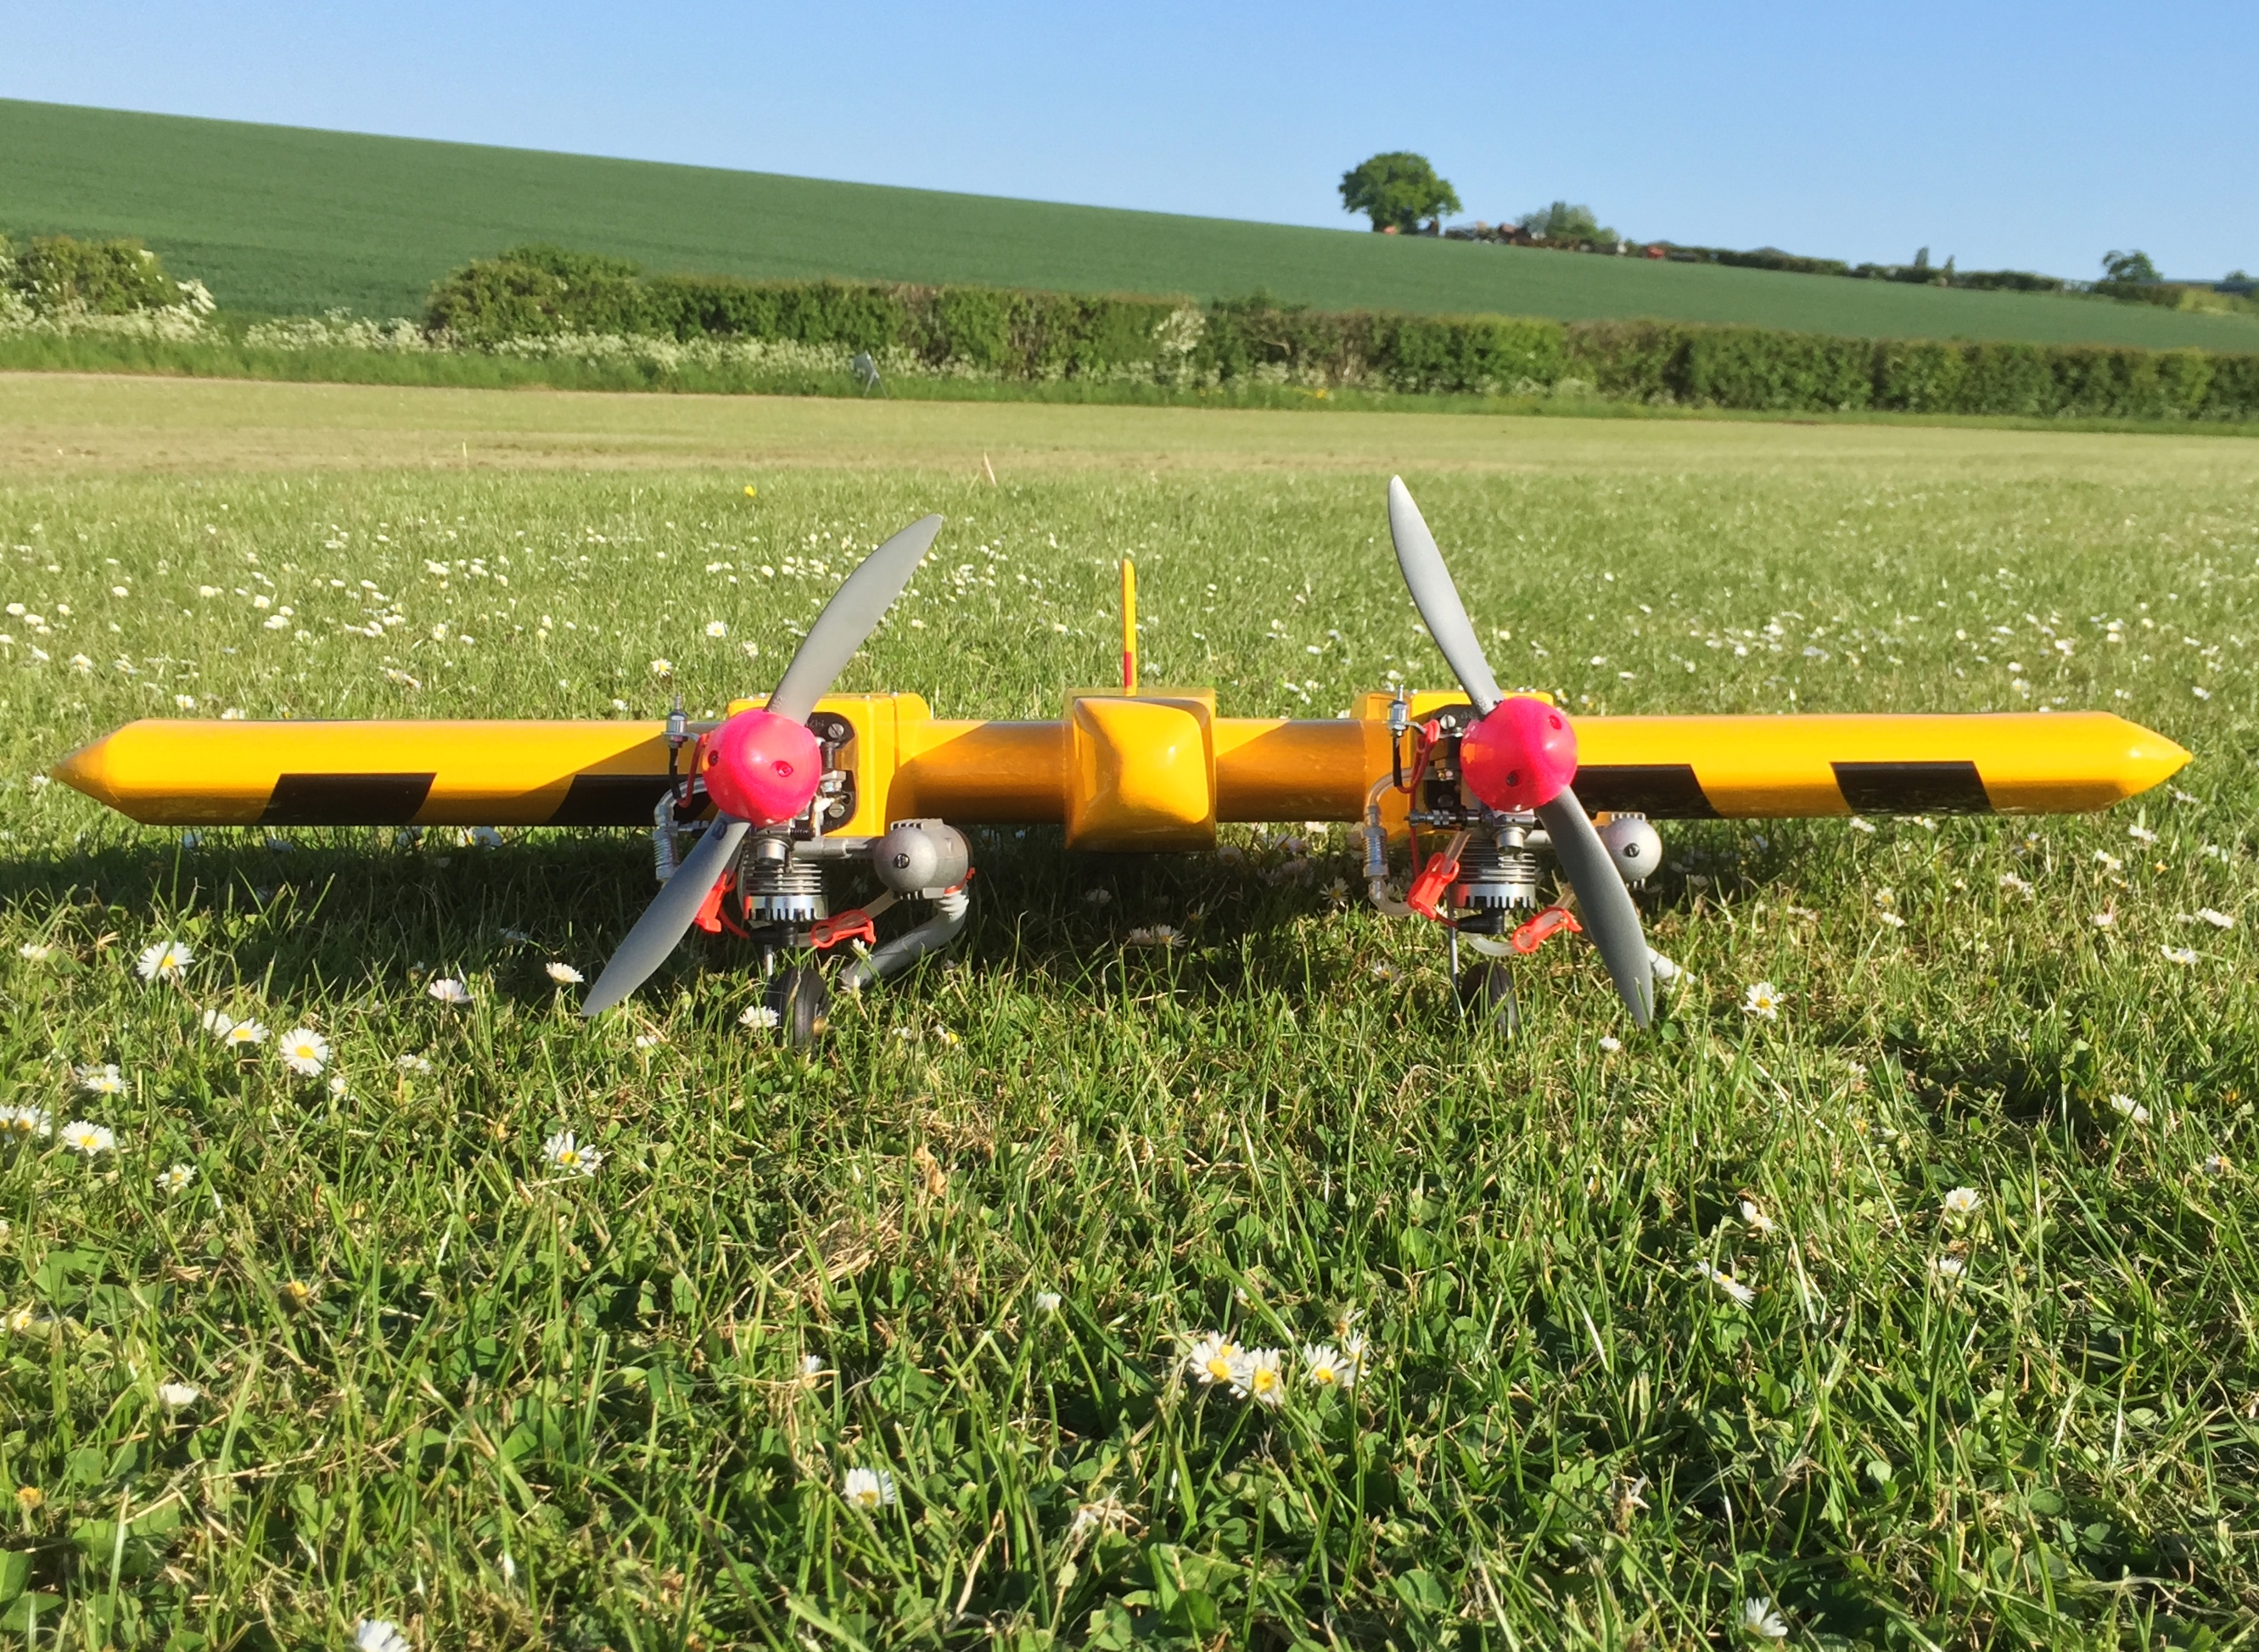
Sleek clean lines with that thick wing section; a legacy of the aforementioned adaptation from the single engined Fun Fly 15
It certainly draws a crowd at my site and the sound of two engines running in sync just cannot be beaten!!