London Calling: Time to get Extra Slim! (Part 2)

Ripmax Extra Slim
Frames completed and ready for covering.

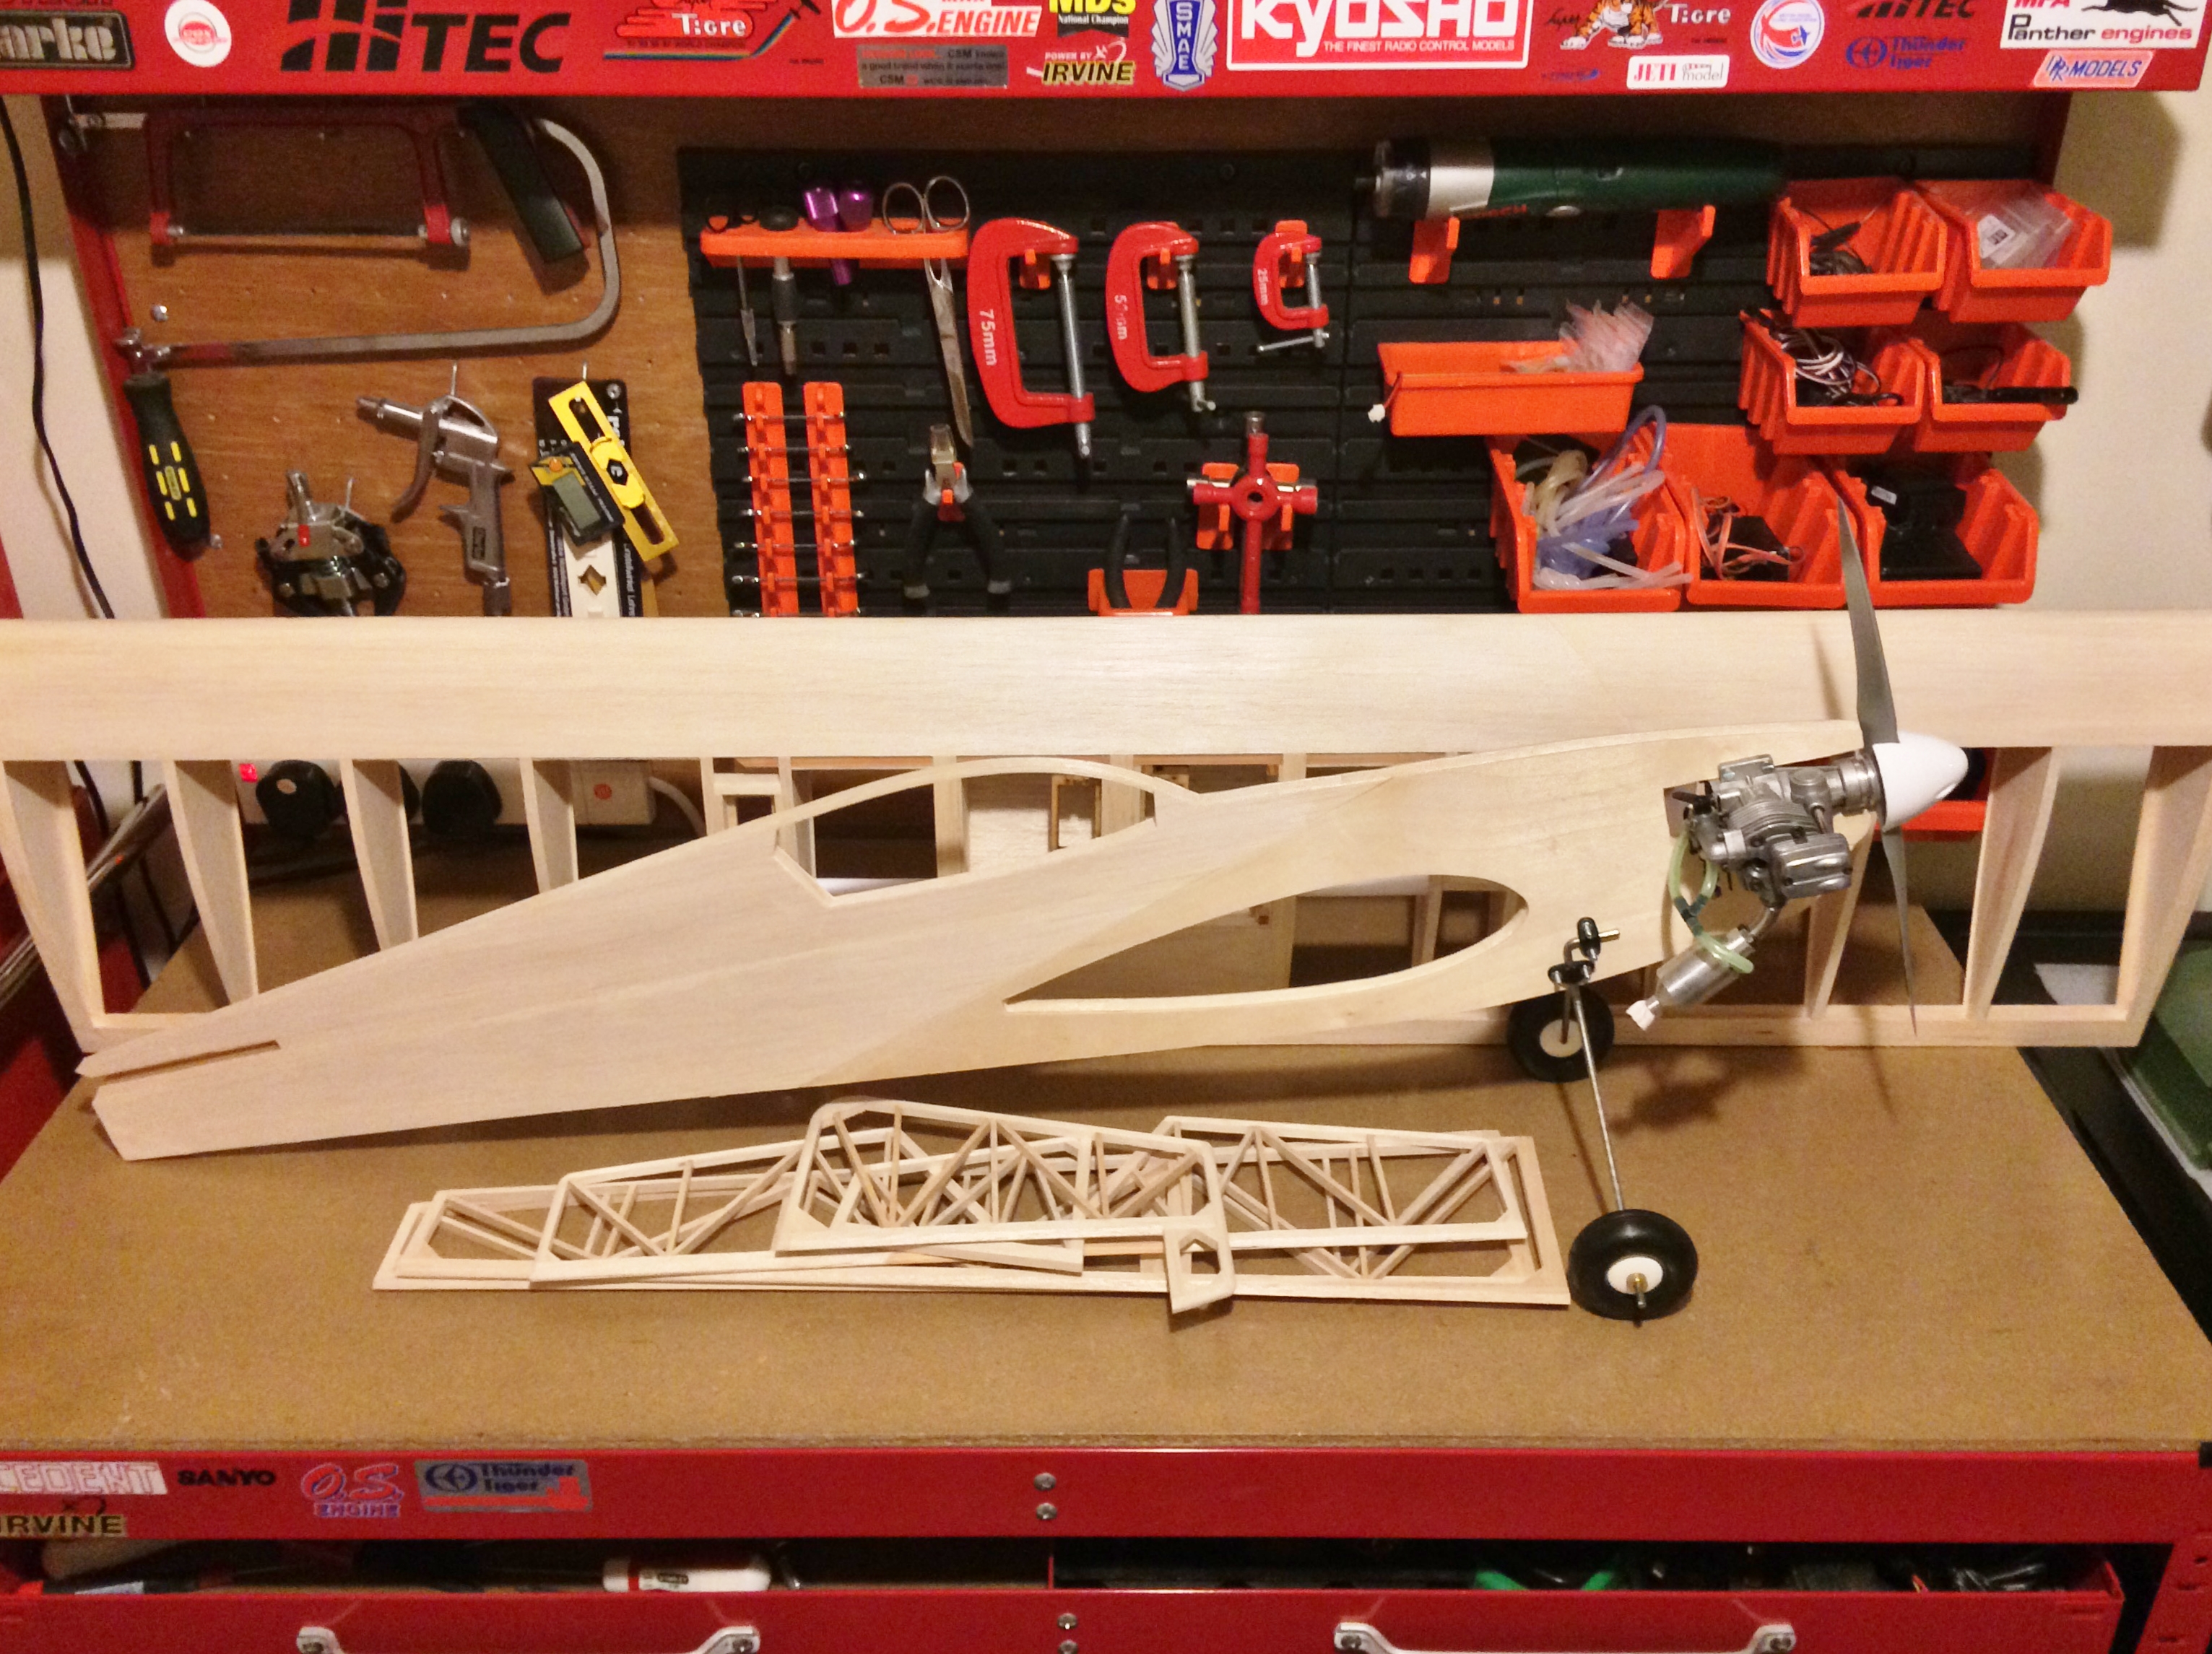
Things rather got in the way of completing the Extra Slim. The completed frames sat around for a few months with no further progress made on the covering.  A situation further exacerbated with the need to purchase a new covering iron added onto my to-do list.  I’ve had a bit of time over the last week and committed myself to doing a bit each evening. This strategy did the trick and just in time for the next Harlow and District Model Flying Club fun fly event! 🙂

Ripmax Extra Slim
The fuselage is a lightweight built-up structure which is then sheeted to sandwich in the engine bearers and undercarriage block.
Ripmax Extra Slim
The sheeting comprises ply at the front and balsa at the rear. My kit is one of the later marks (kit #003 to be exact according to the QC slip!) in which the wing is slotted through the complete fuselage as opposed to a 3 part fuselage build around the wing.
Ripmax Extra Slim
That moment when you reach for the last piece of wood from the box!
Ripmax Extra Slim
Finally covered after a few months delay.
Ripmax Extra Slim
And here she is ready to go! The decals were applied using the soapy water method to prevent air bubbles and fingerprints spoiling the finish.
Ripmax Extra Slim
I’ve used standard servos on the flight surfaces and a micro on the throttle. Turning an 11×3 prop, the OS 40fs should provide instant acceleration and sound nice to boot.

Leave a Reply

Fill in your details below or click an icon to log in:

WordPress.com Logo

You are commenting using your WordPress.com account. Log Out /  Change )

Twitter picture

You are commenting using your Twitter account. Log Out /  Change )

Facebook photo

You are commenting using your Facebook account. Log Out /  Change )

Connecting to %s