
My original Hawk Mk1 heli suffered at my inexperienced hands. Not belonging to a club and not knowing anyone else who flew I learnt to fly the hard way through trial and error (this was before simulators were cheap enough for me to afford). That said it proved to be the ideal learning machine with an extremely stable hover and a solid feel in flight.
Following a big crash brought on by overconfidence I replaced it with a Hirobo Shuttle Z-TS primarily as I was getting fed up with the hawk’s one weakness; namely its starting cone. I didn’t realise at the time of course that a hex start upgrade was available that would have transformed the Hawk but you live and learn!
This new Hawk was purchased un-built on eBay following a fit of nostalgia. The Mk1 was only in production for 1 year (1997) and half of that was with the new style canopy so you don’t see many around built yet alone still unassembled. My original attempt at the ‘proper’ Mk1 ABS canopy looked like it had been cut out with garden secateurs. Experience takes time and this time around the canopy actually looks the part. I also made one concession and that was to replace that starting cone with a hex adapter!

Upper stacked frames incorporate the planetary ring gear system; sounds great in flight.

Rotor head and lower stacked frames attached. Compared to more modern machines the fuel tank is tiny.

Mechanics completed, servos and engine fitted. As I don’t really intend to fly this I decided to fit a cheap but new and shiny SC32 engine. To be fair to SC I’ve always found them reliable if slightly short lived and like all engines respond to the fuel used. It pays to get the good stuff and for the sake of repeating myself: No castor.

Canopy halves cut out and carefully glued together. When cutting ABS, rather than use scissors, score with a scalpel then flex back and forth to gently break the piece away. Finish off the edges with fine grade paper and glue together with thick cyano a short section at a time.

Decals are large and best applied using the corner tab method. I did debate soapy water but considering the age of the decals I decided not to put the adhesive at risk.

Canopy fitted and carefully trimmed to fit around the muffler and the collective servo horn. As mentioned the MK1 canopy was soon replaced by the moulded polypropylene type which, while solving these problems, lost the original Hawk shape.
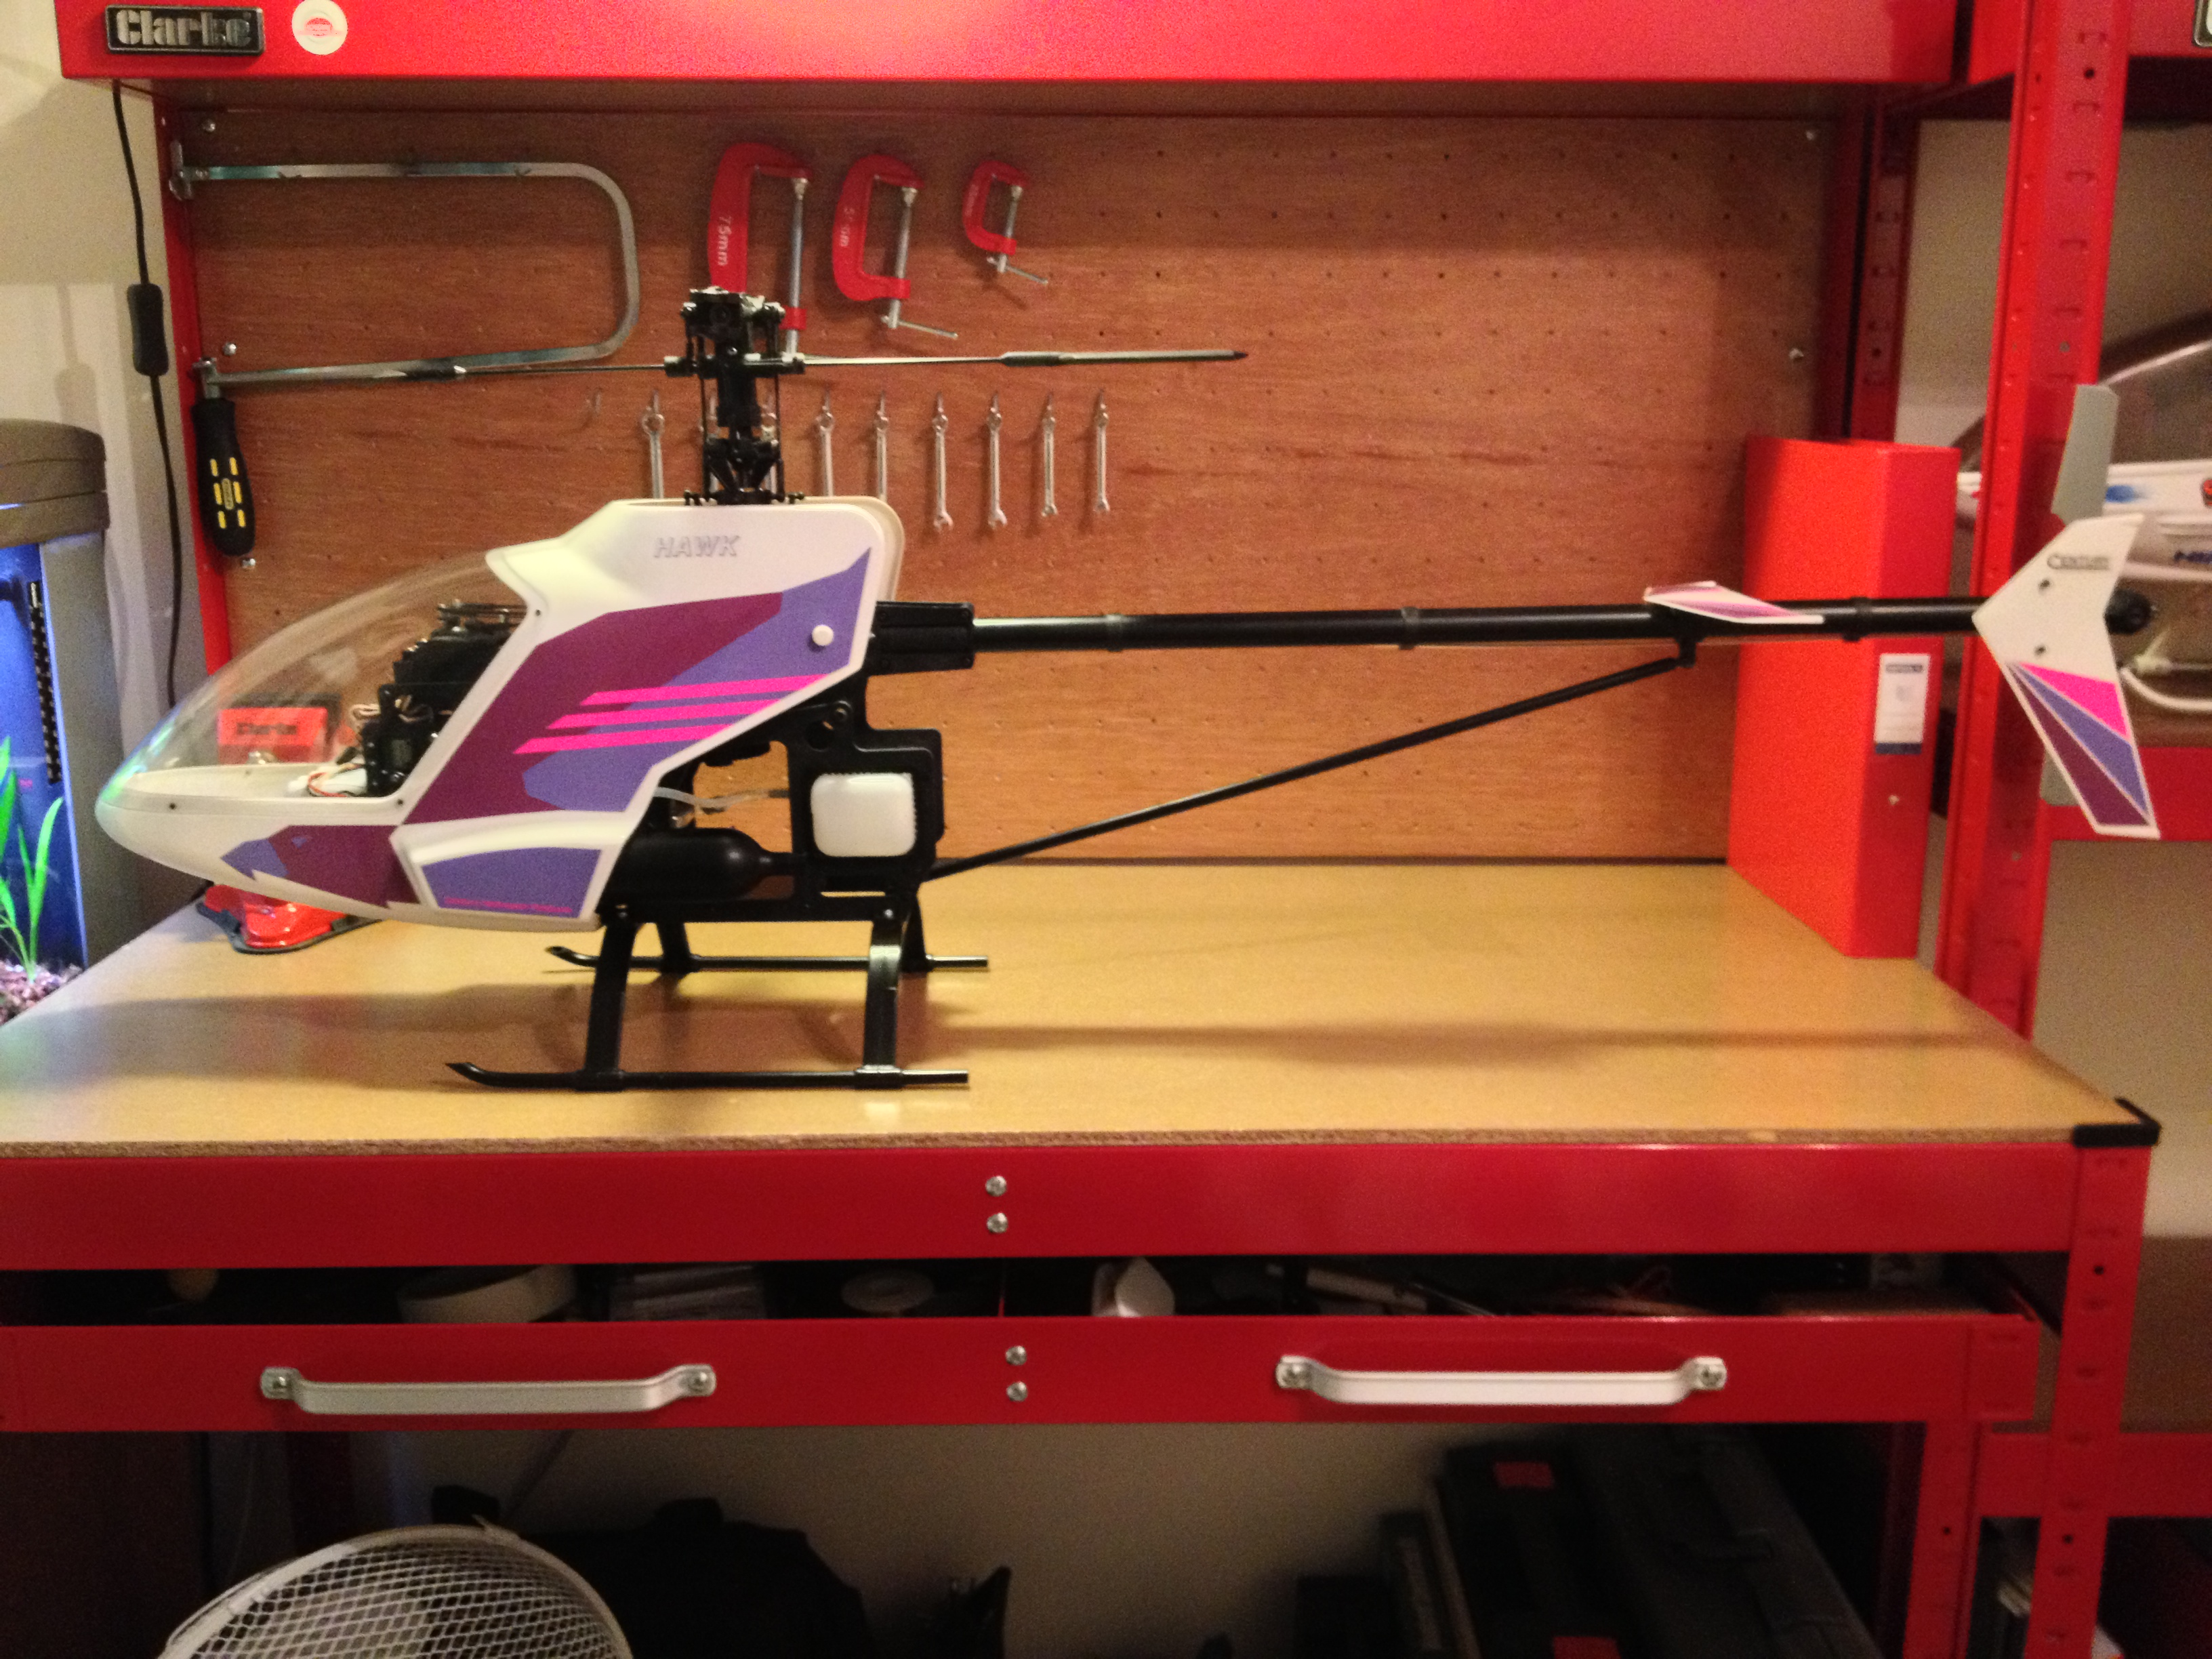
So there we have it, a nice Hawk MK1 model exactly how I remember and some.

Pingback: Kyosho Trainer 40 | extreme3d
Pingback: 14: Gear’s Up! | extreme3d