Balsa Flavoured Wings

Today’s subject is another eBay purchase I’ve made; A Precedent Flyboy. My first attempt at this kit was back in 1997 when I was 15. Unfortunately it was never finished as I struggled with the build using the limited range of tools I had to hand. To cap it all, the half-finished wings were then chewed up something rotten by a teething miniature Dachshund puppy. That little dog (Millie) actually put paid to a few models that day including a just completed Thunder Tiger Eagle 30H ARTF, my birthday present for that year, that was all ready to go and would have been my first flying model. Not funny to me at the time but it was amazing just how much damage a dog that was no higher than the undercarriage could do. Needless to say I quickly learnt not to leave anything balsa flavoured on the floor! The good news was my parents took pity and bought me a replacement in the guise of a Kyosho Trainer 40 that I learnt to fly with – the bad news was it was bright ‘in-your-face’ pink.

I’ve powered this particular kit with the same engine (ASP 25A) that was to power my original Flyboy. Heavy duty switches are a matter of course on helicopters but I now use them throughout my aeroplanes. It you ever want convincing open up a standard switch and see for yourself how flimsy the metal terminals are. Now throw in repetitive moment, vibration and dirt. The extra £5 in price to upgrade to a stronger switch is suddenly well worth the peace of mind. A set of unused oilite bearing Hitec standard servos operate the control surfaces and compete the avionics.
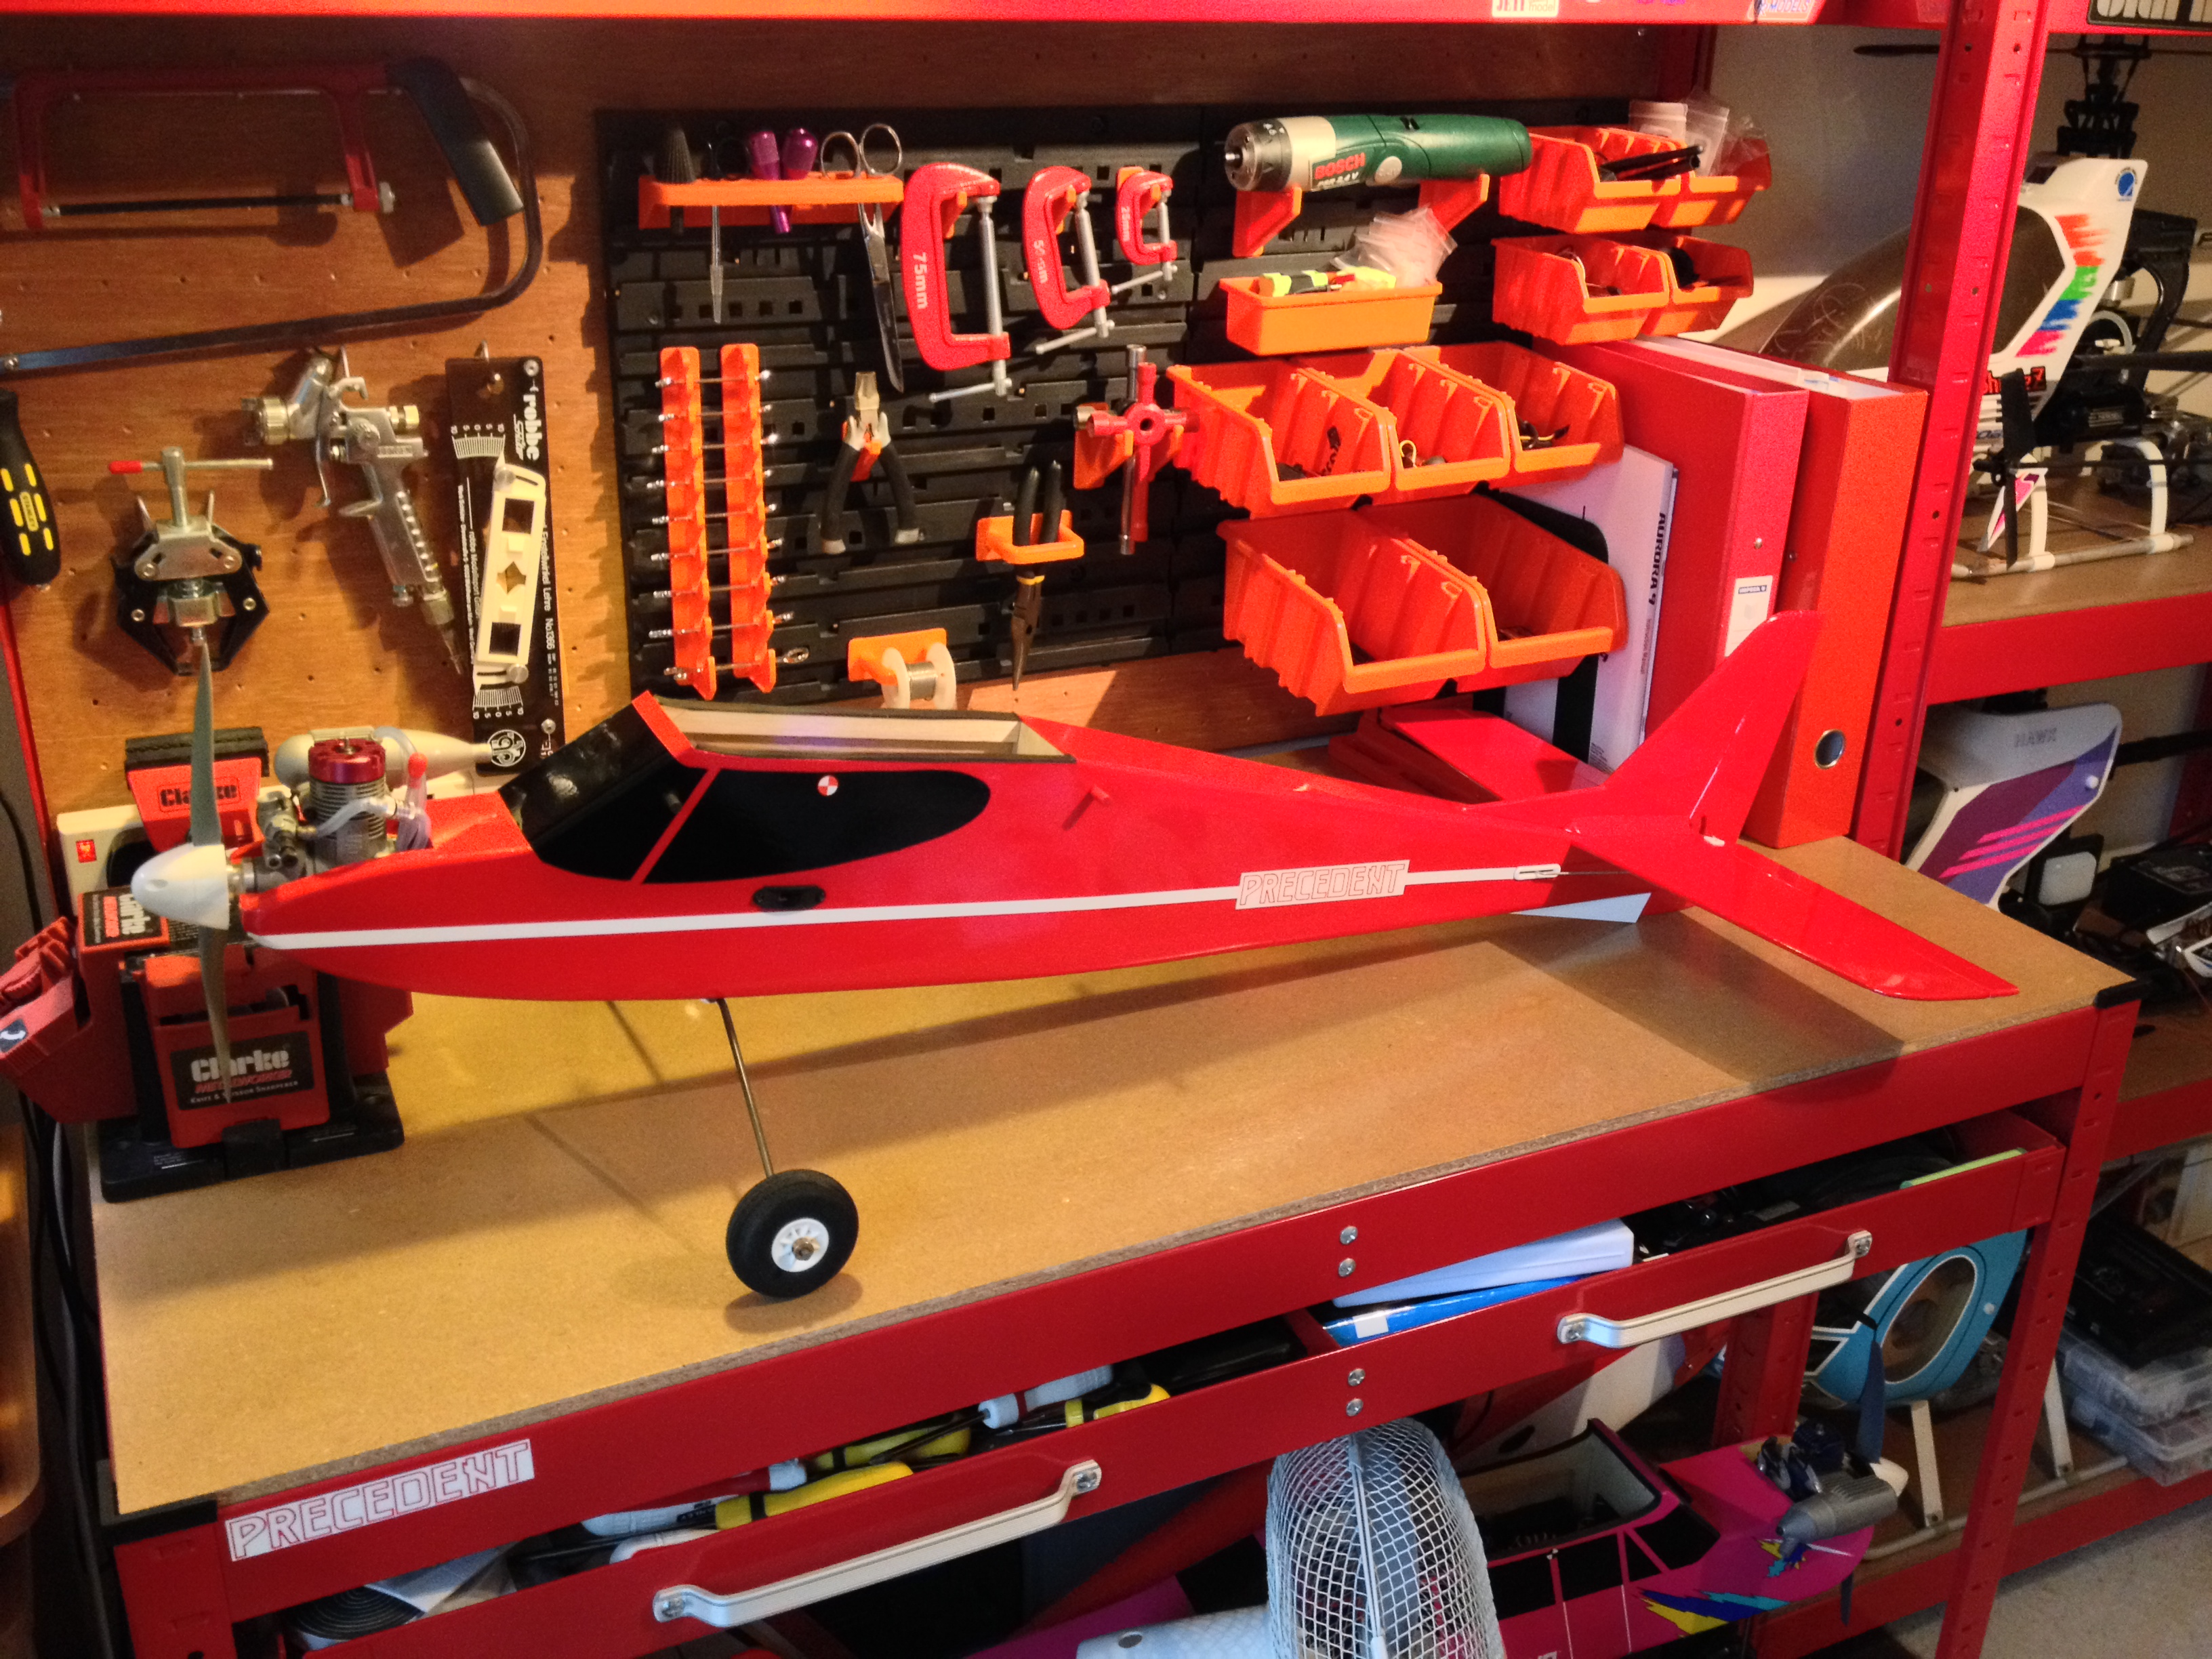
Precedent Fly-Boy  06.09.14

On the bench

Precedent Fly-Boy  06.09.14

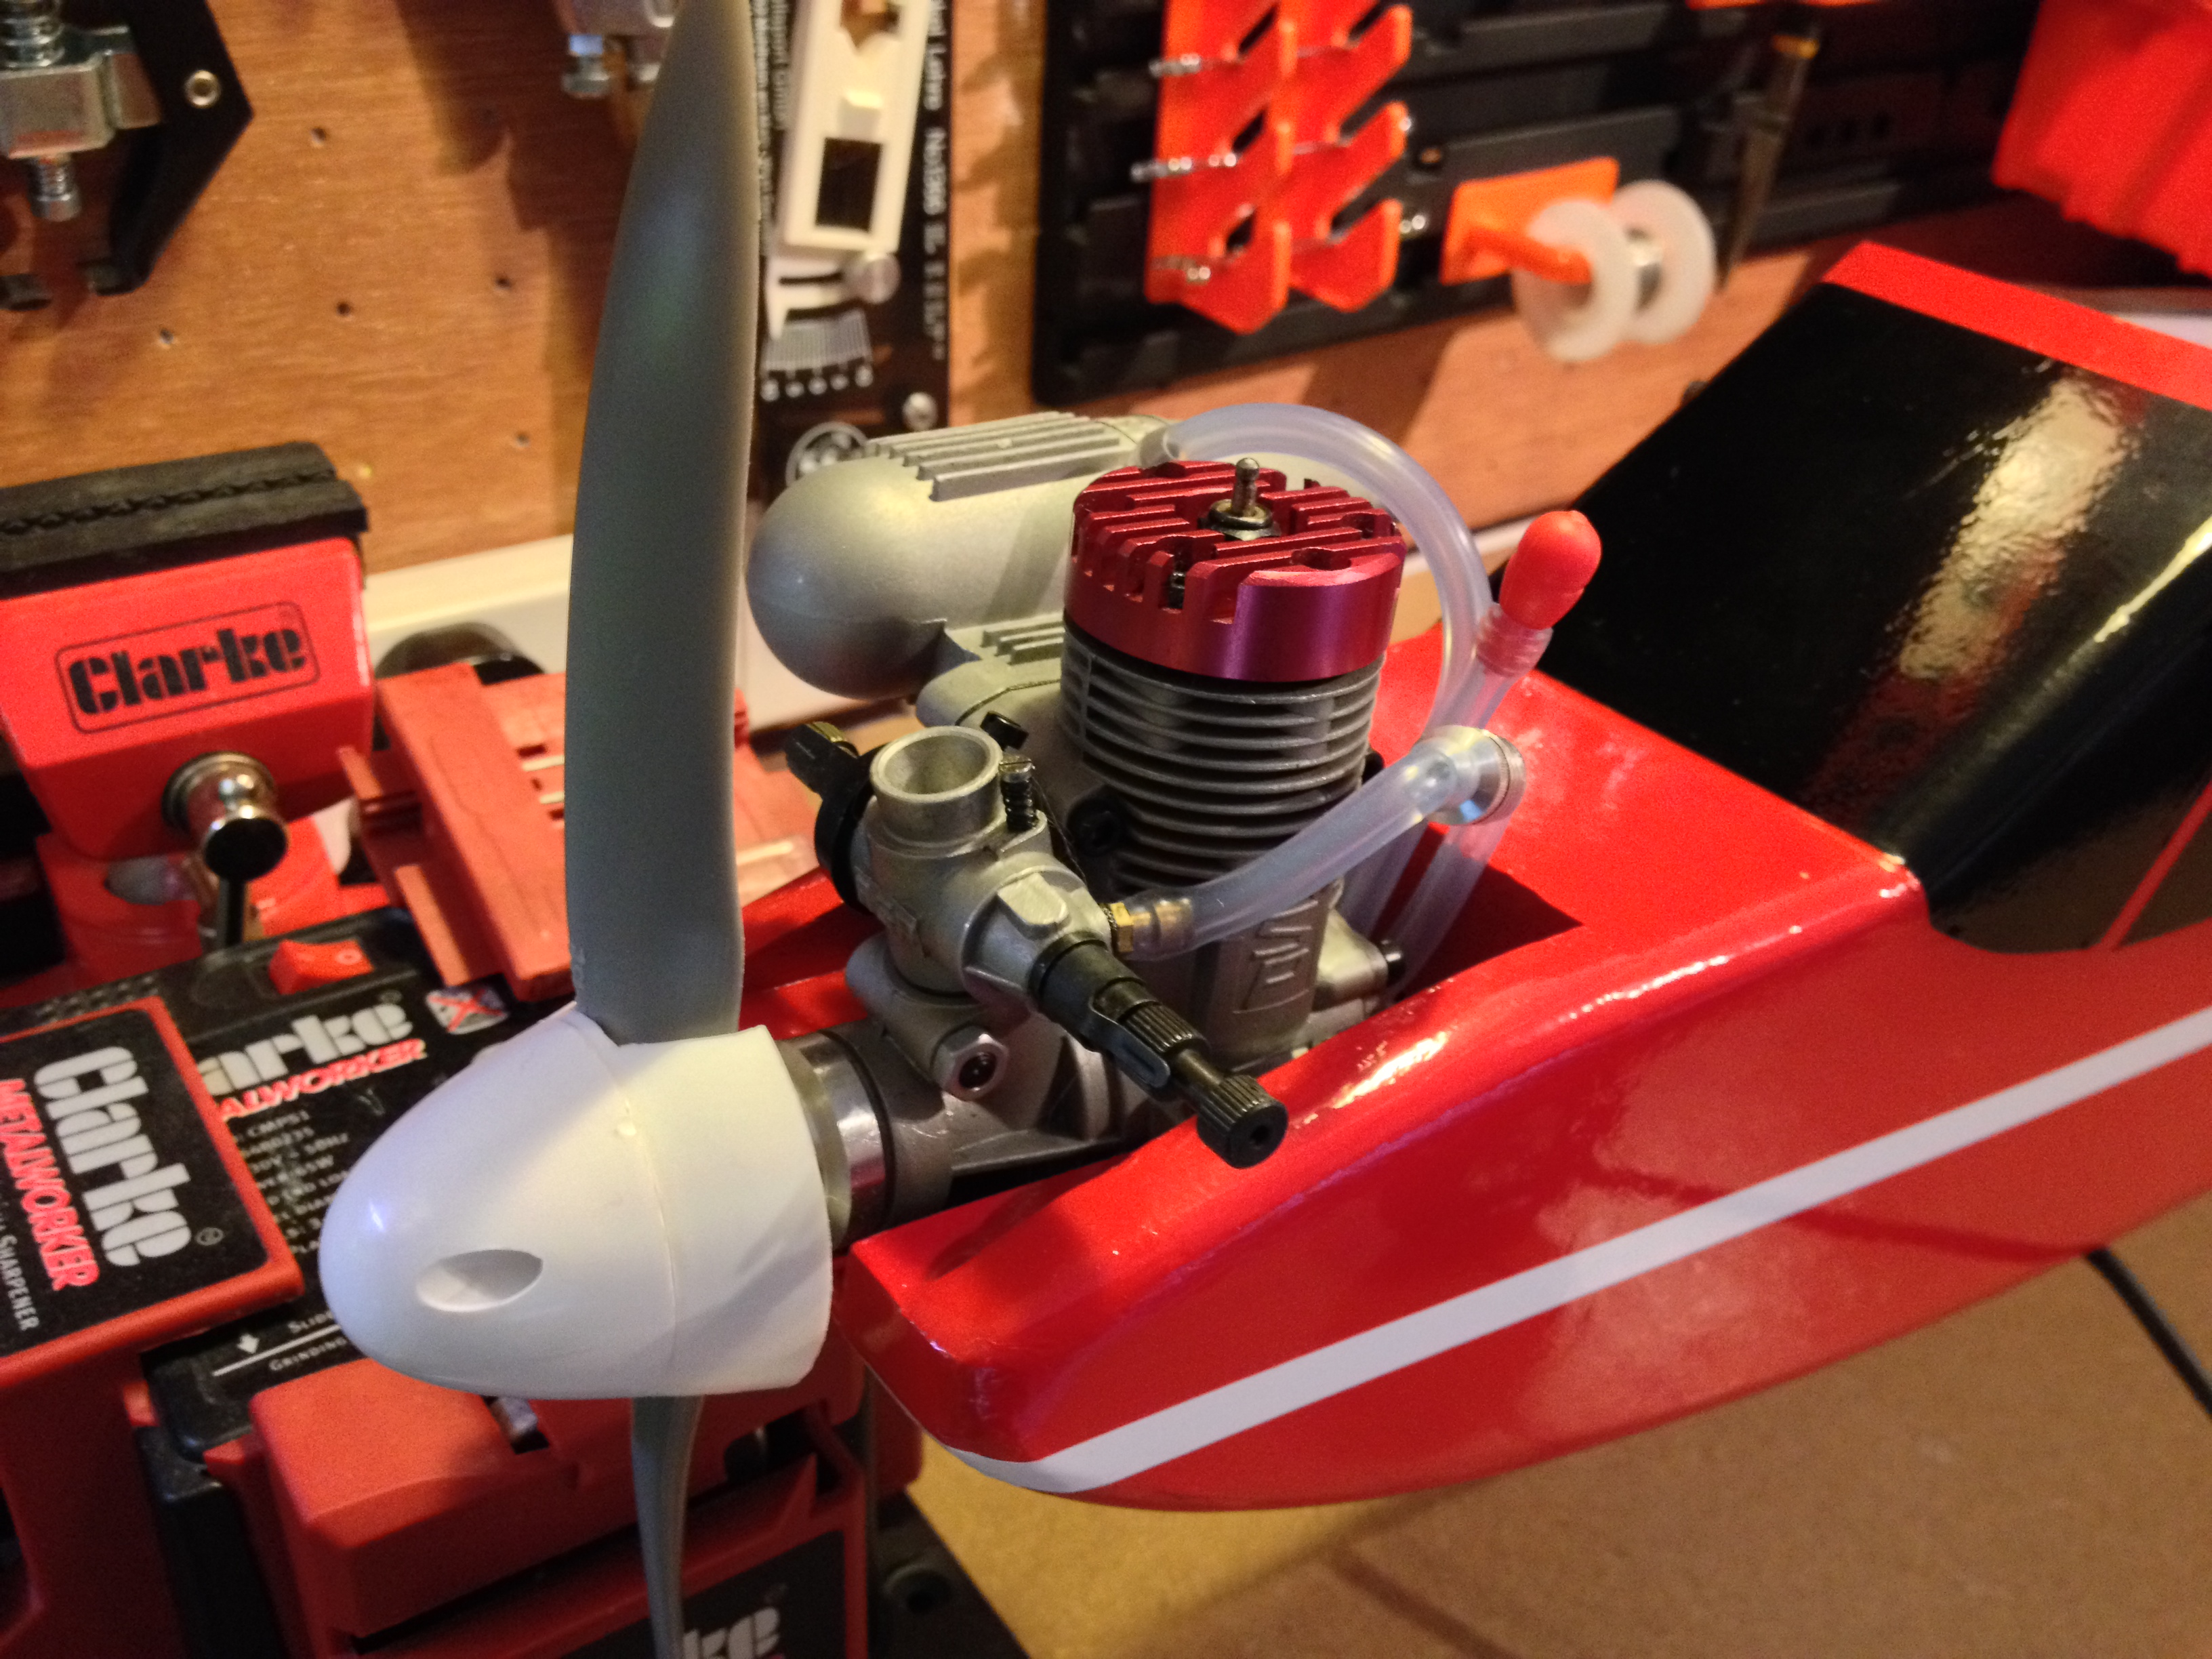
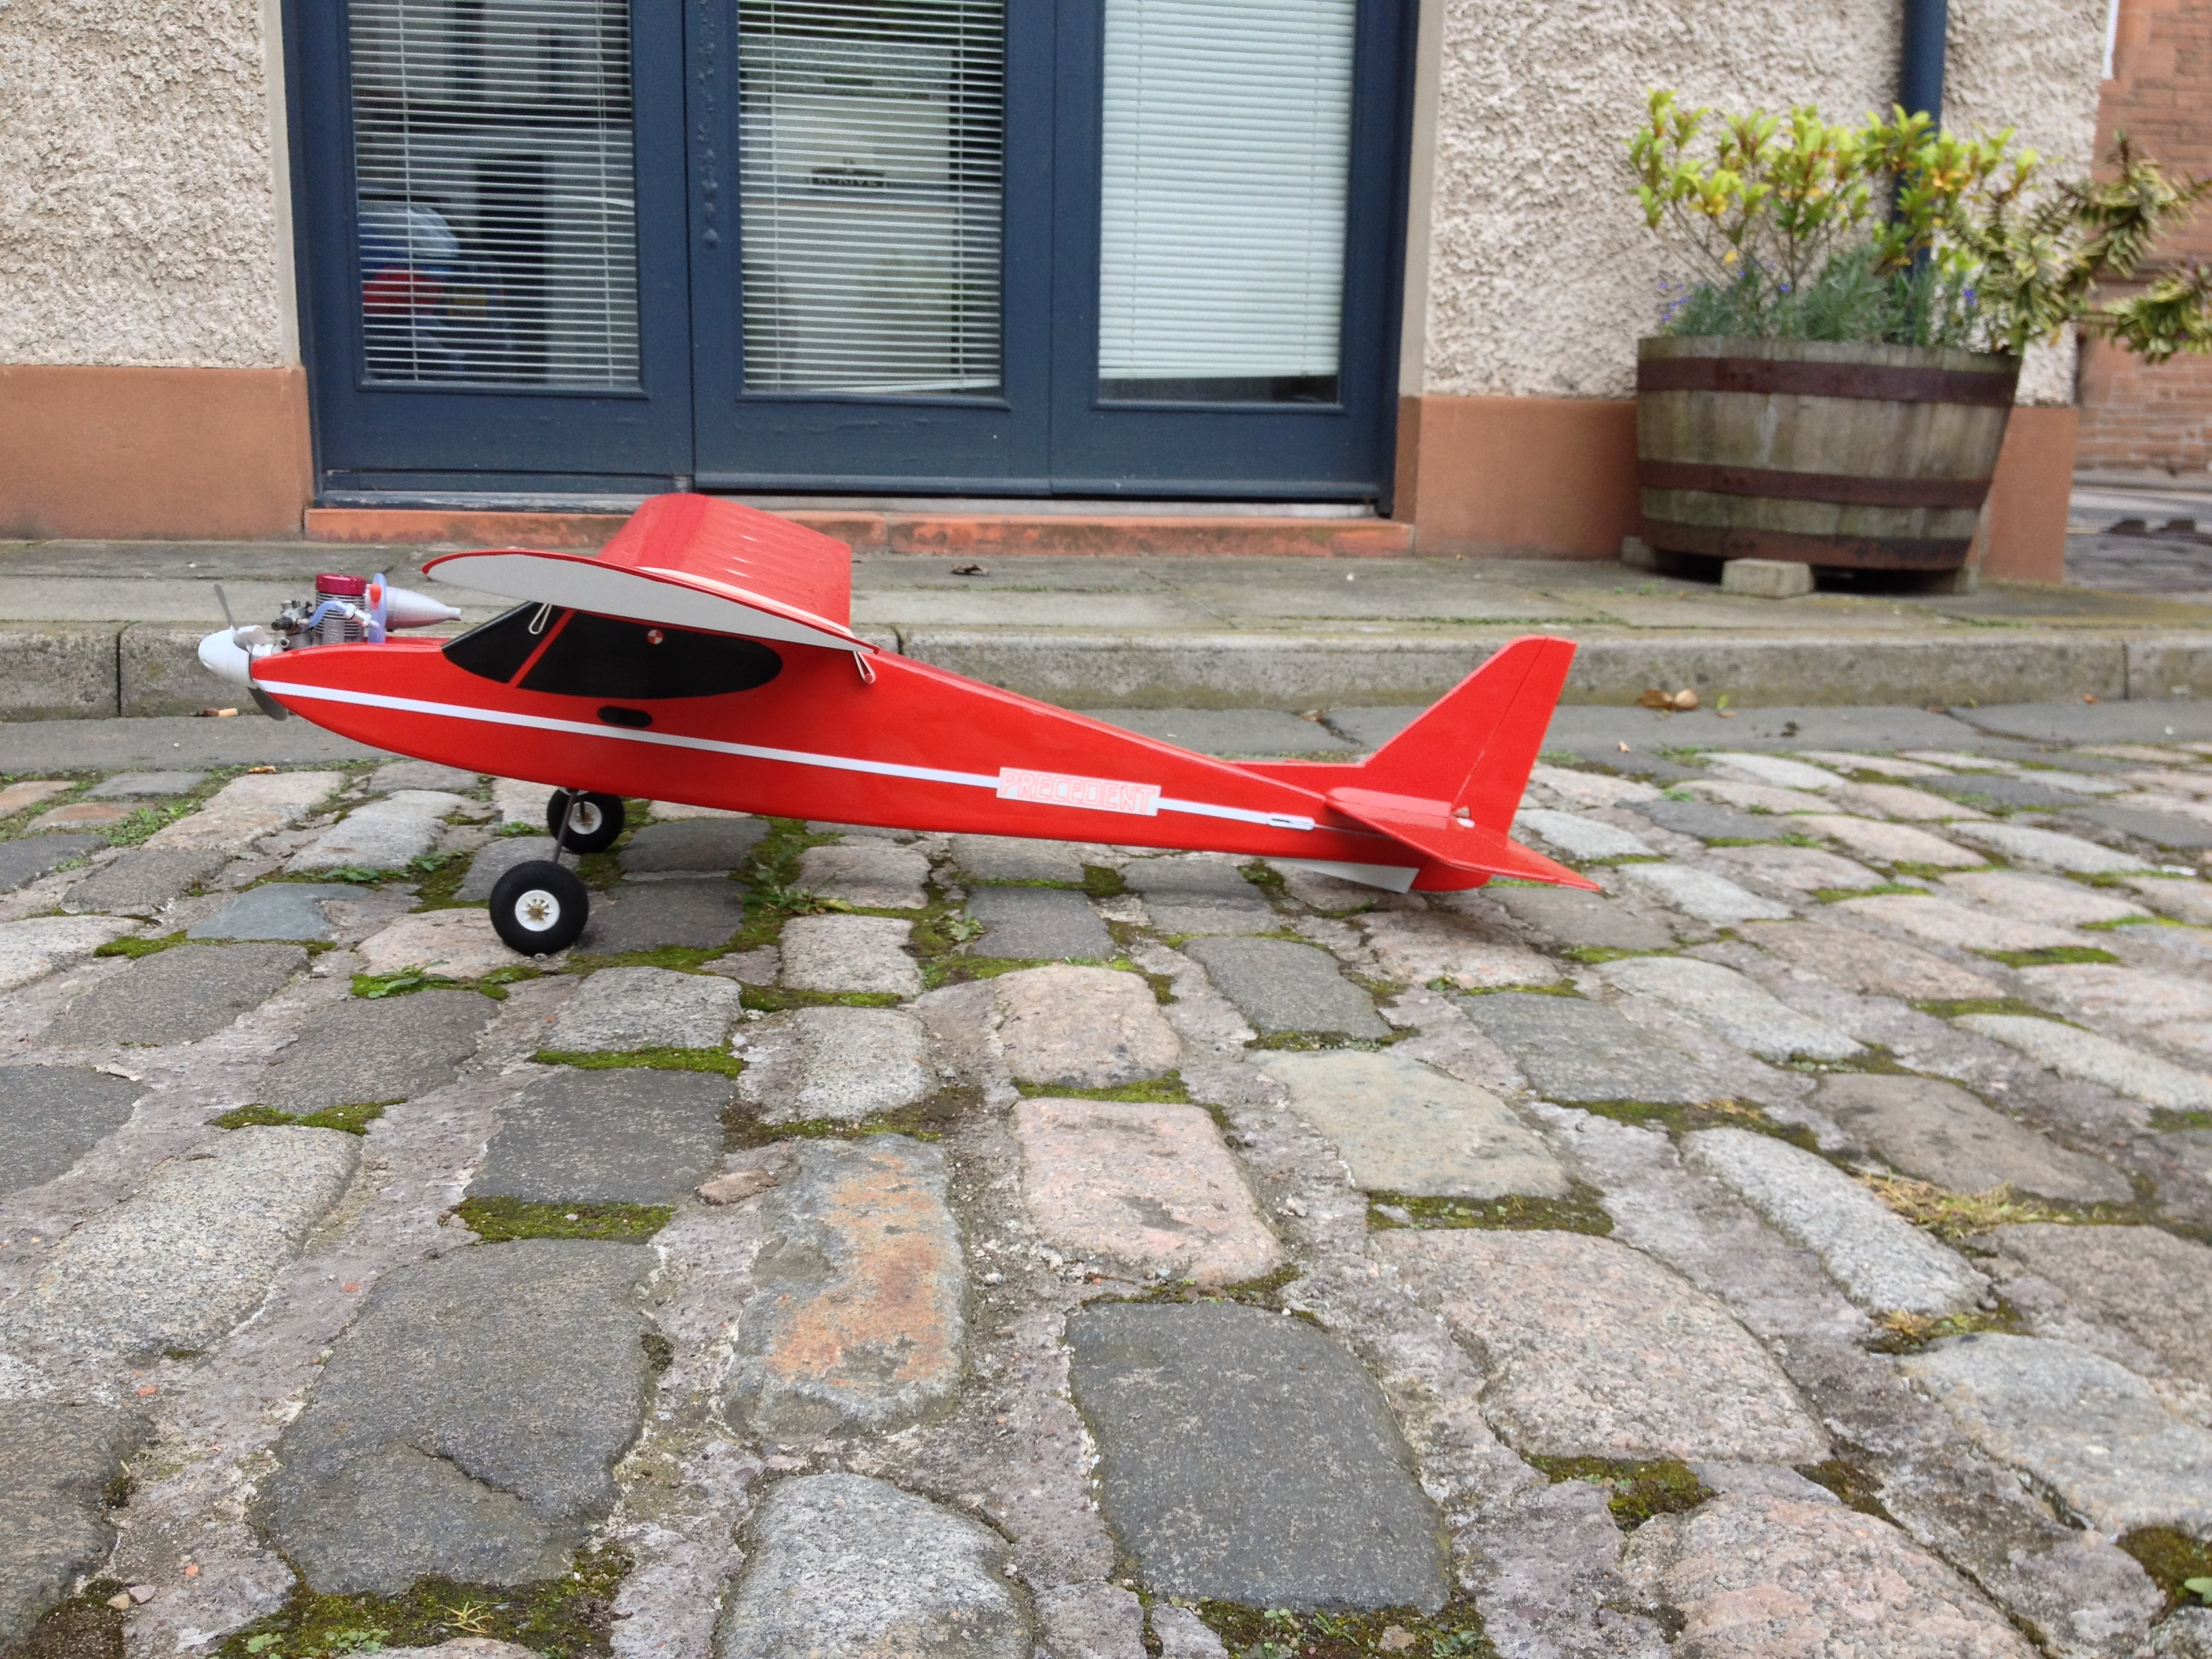
ASP 25A installed in the nose.

Precedent Fly-Boy  06.09.14

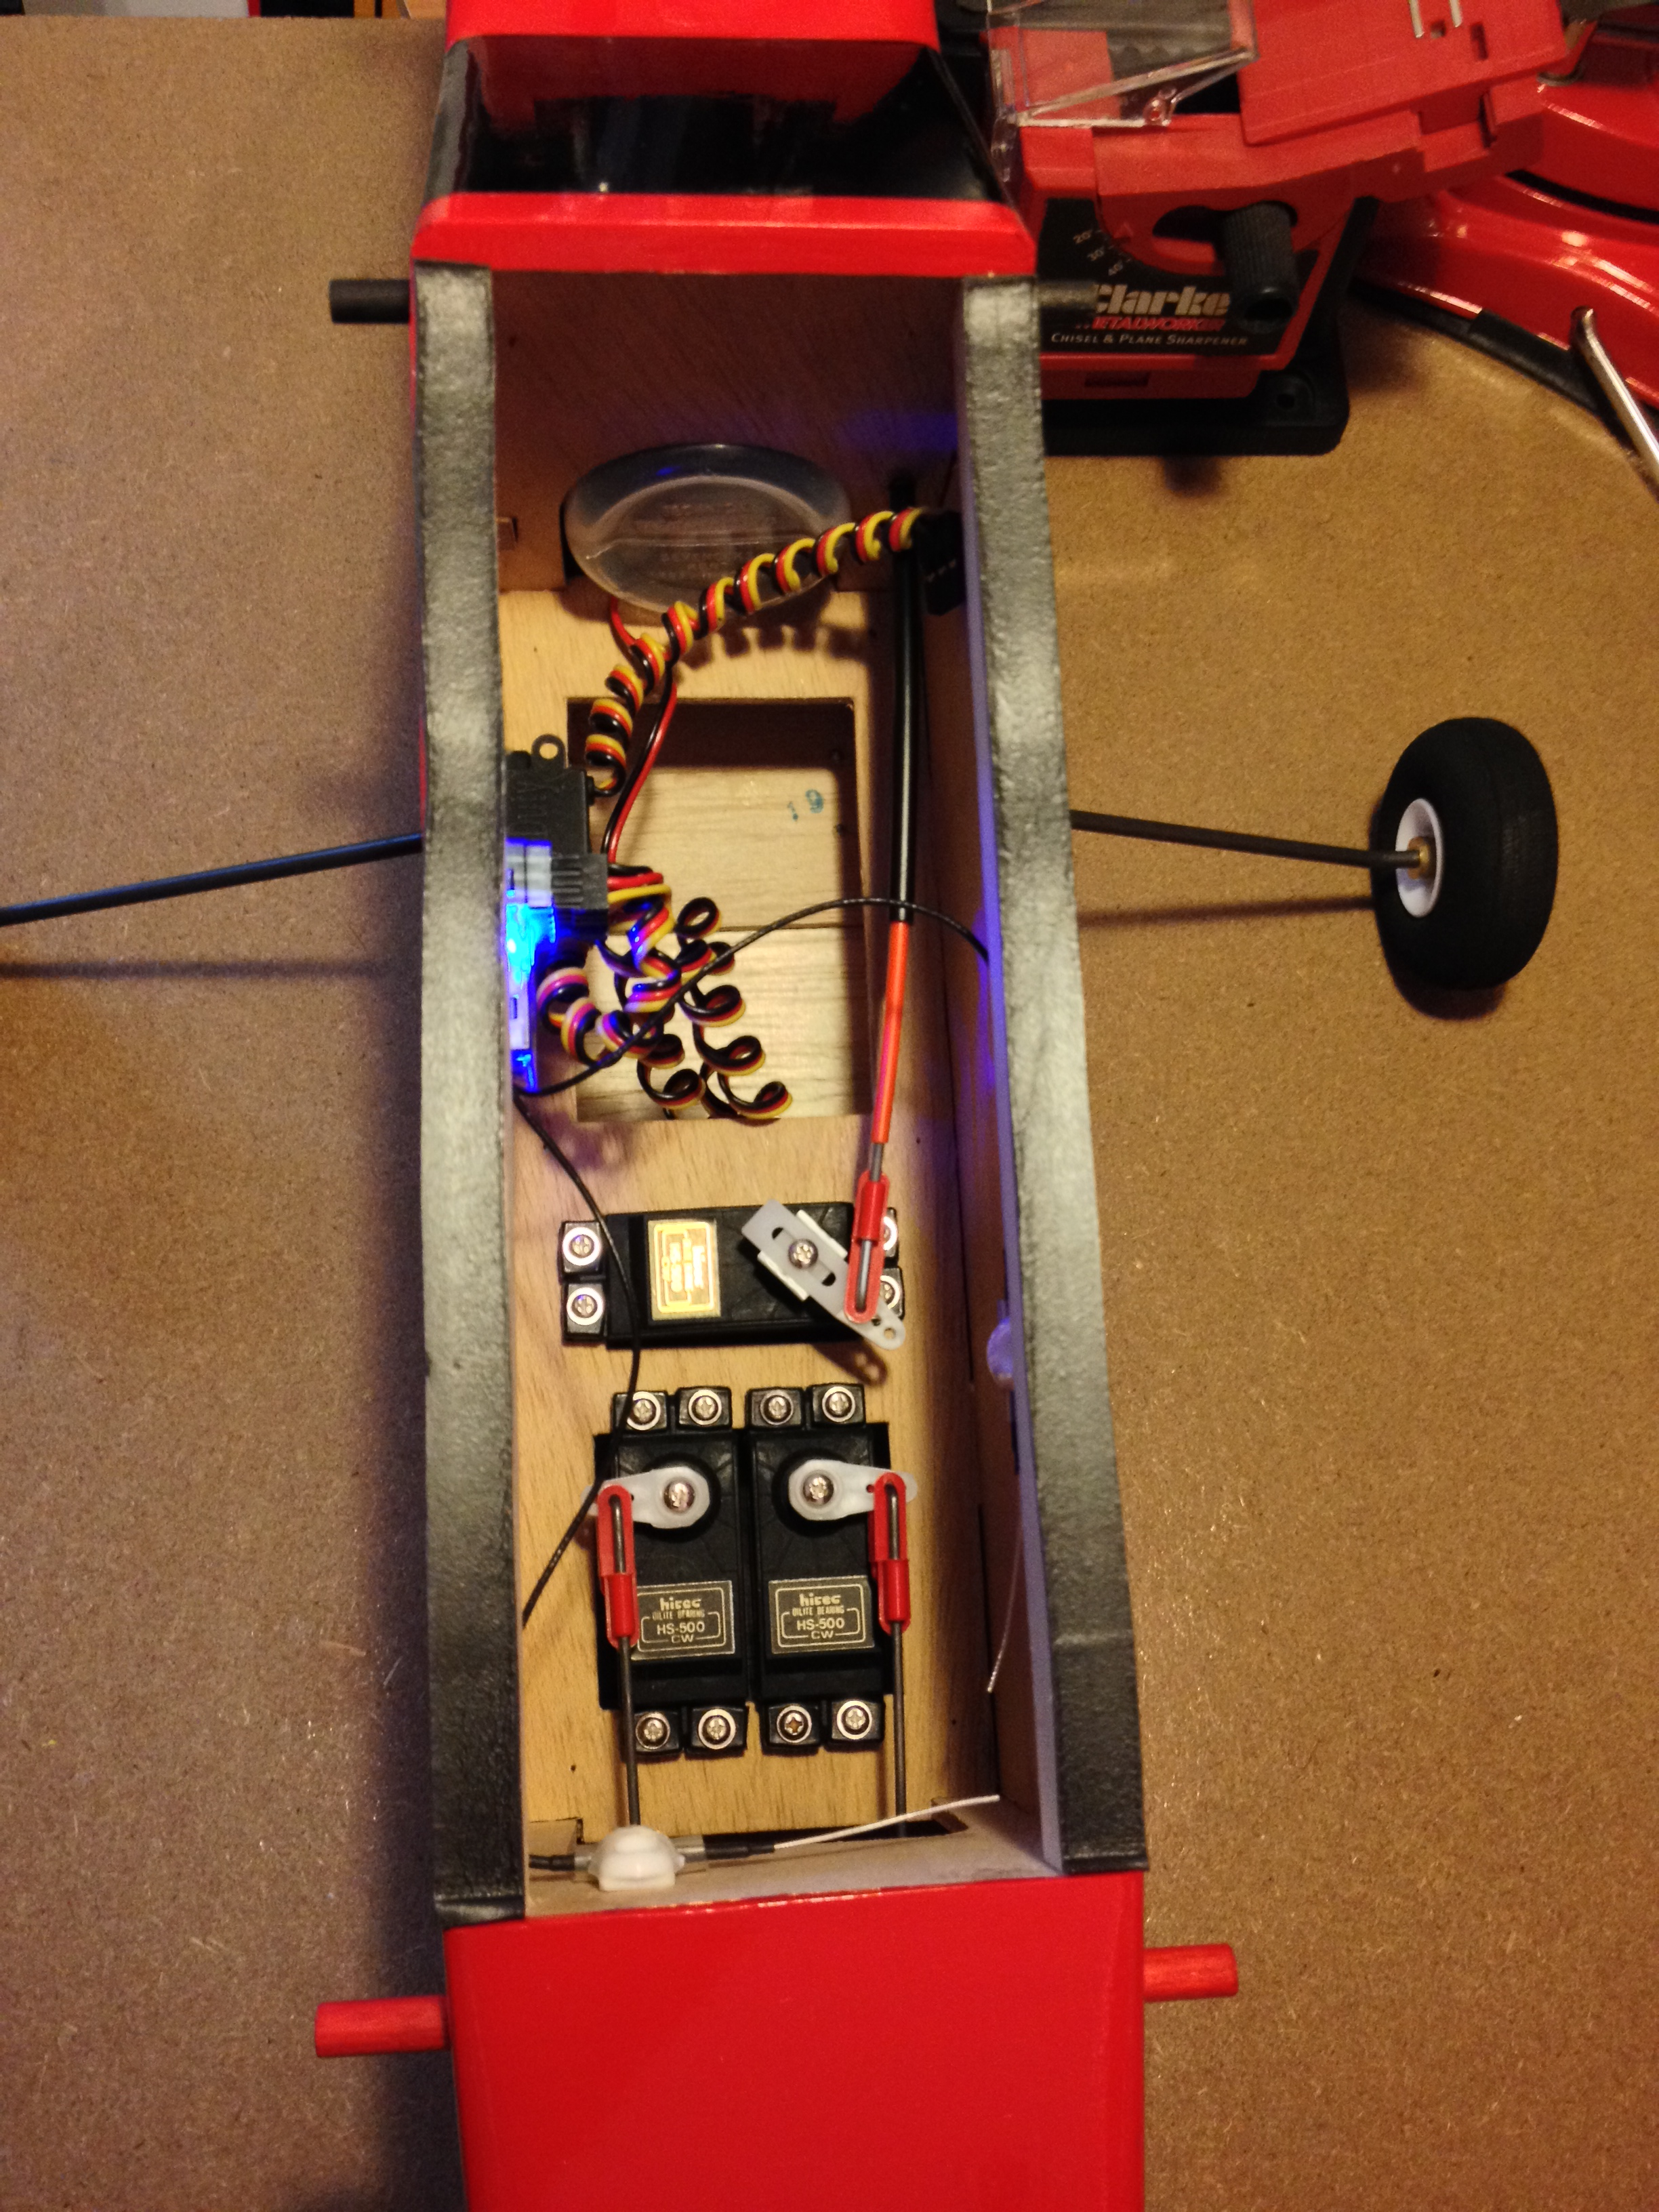
Hitec Minima 6S receiver makes this small fuselage seem cavernous!
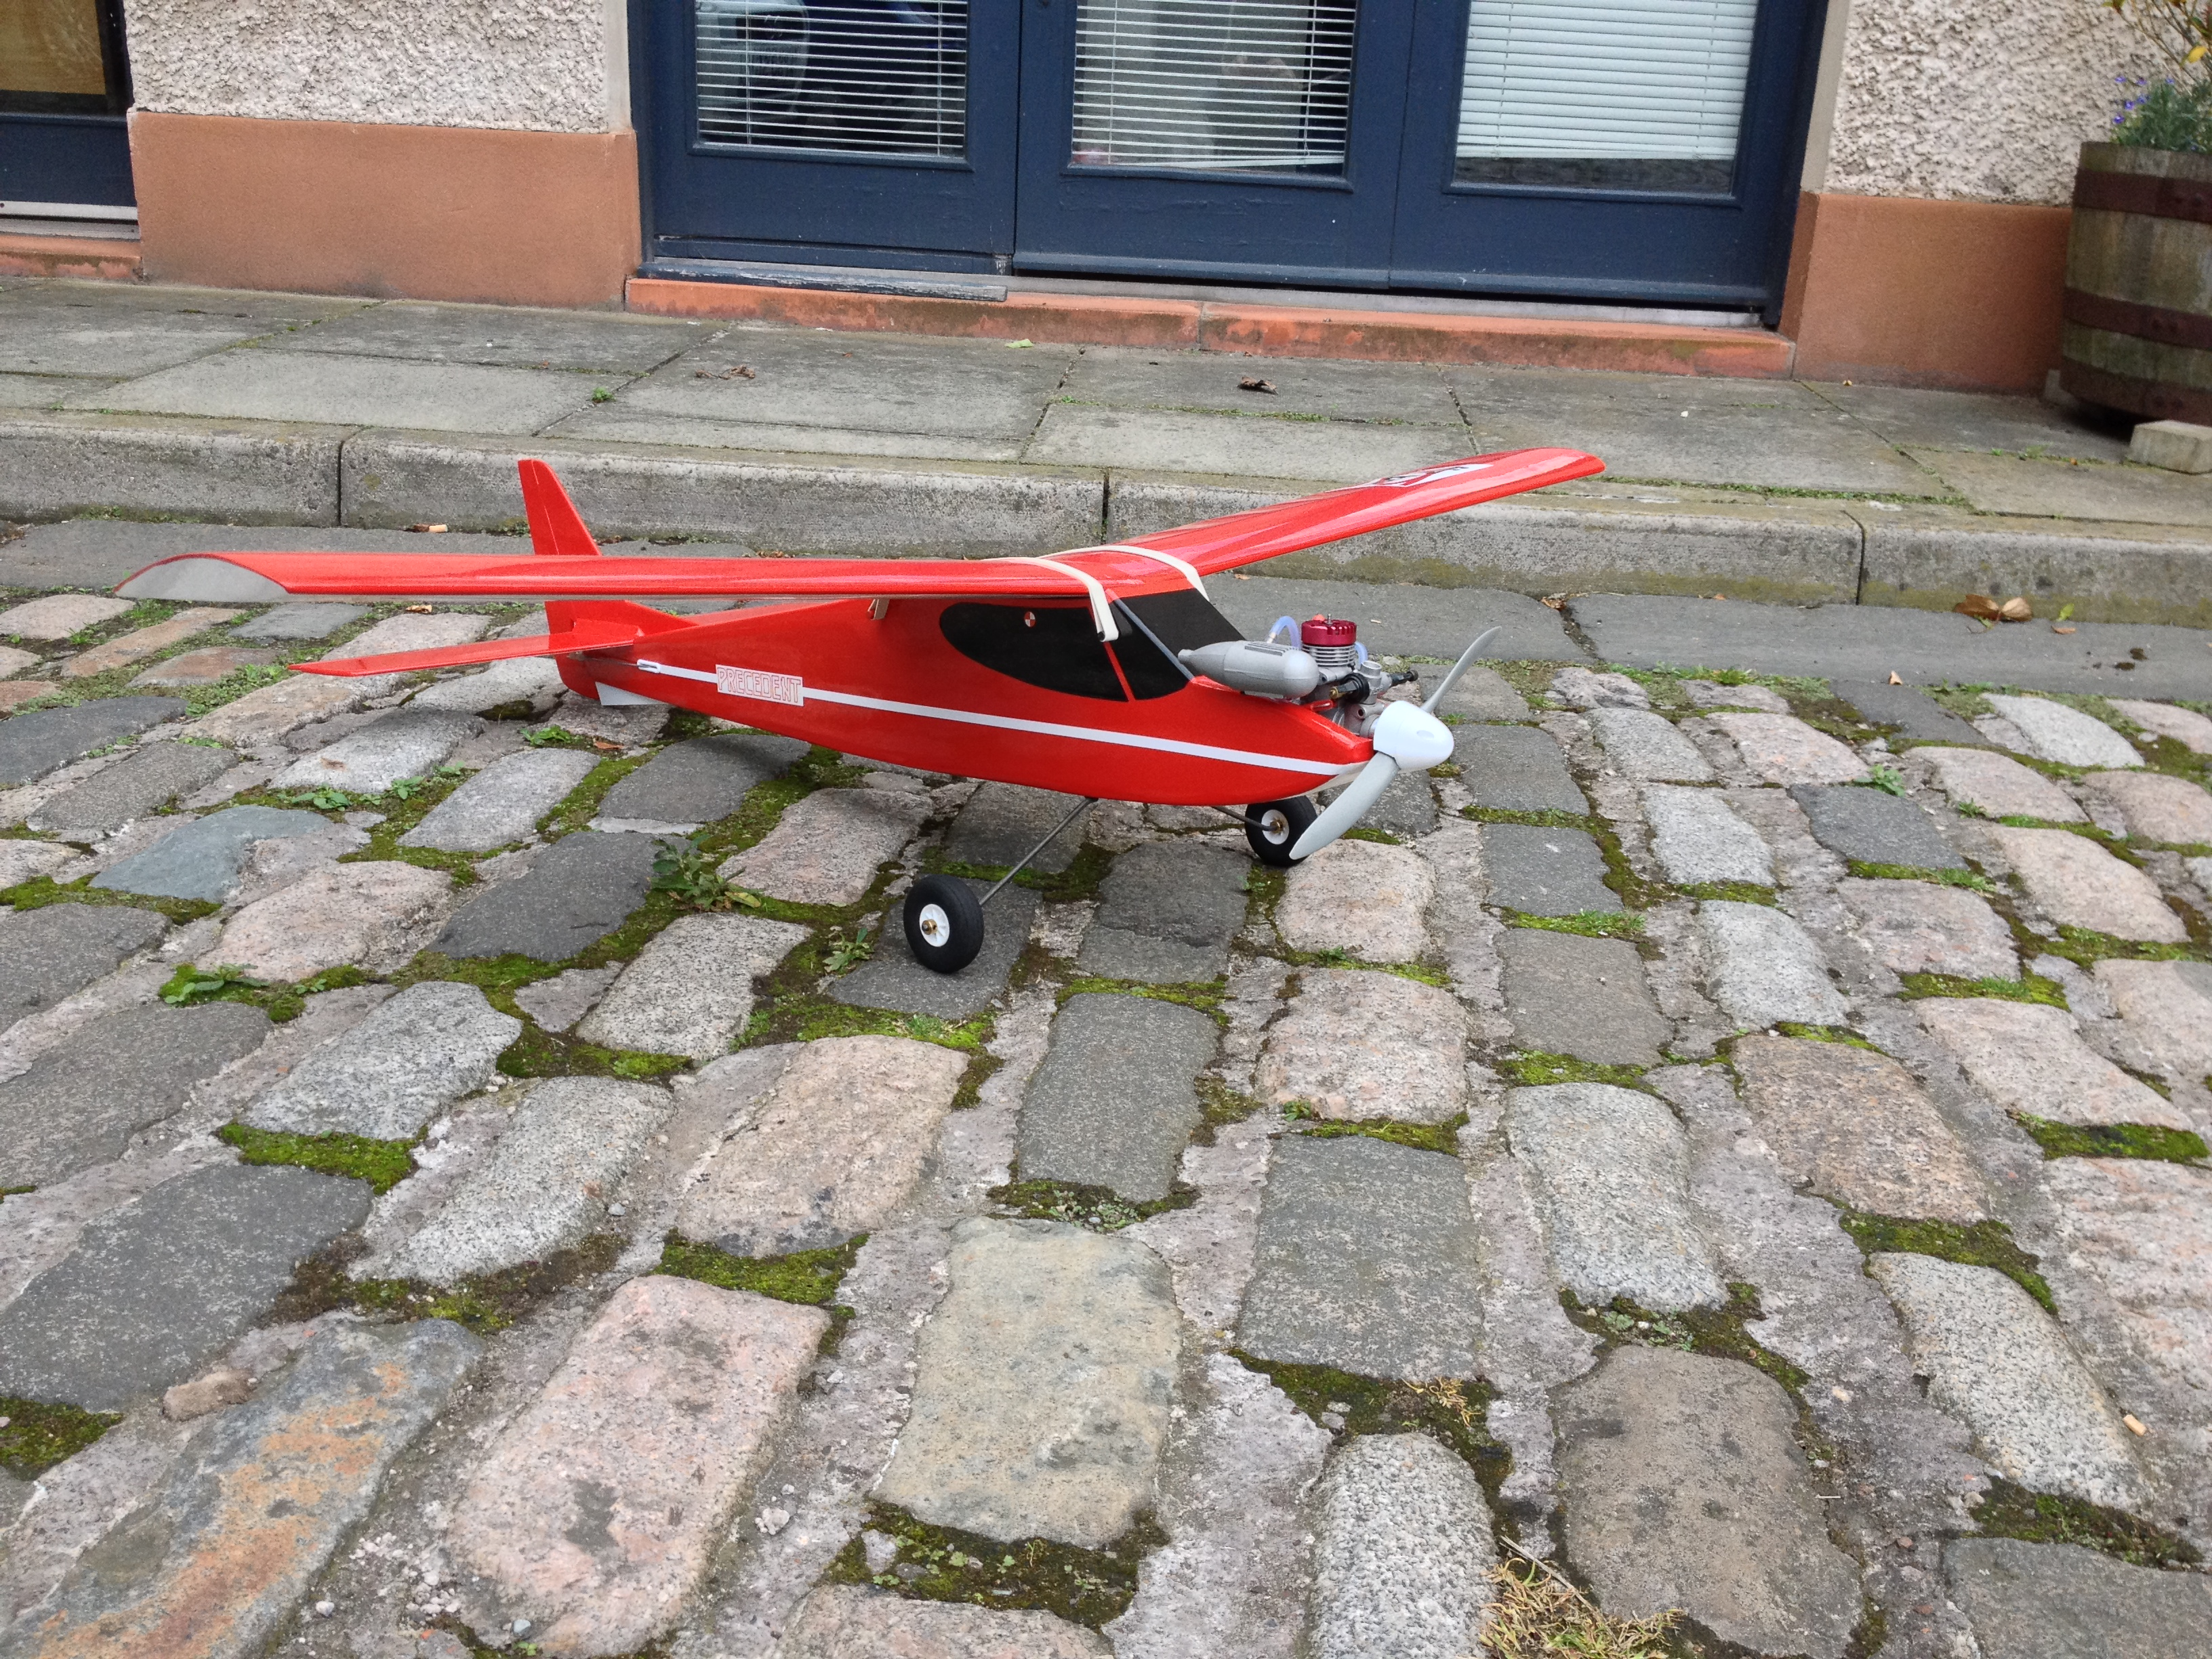
Precedent Fly-Boy  06.09.14

All ready to go

Precedent Fly-Boy  06.09.14

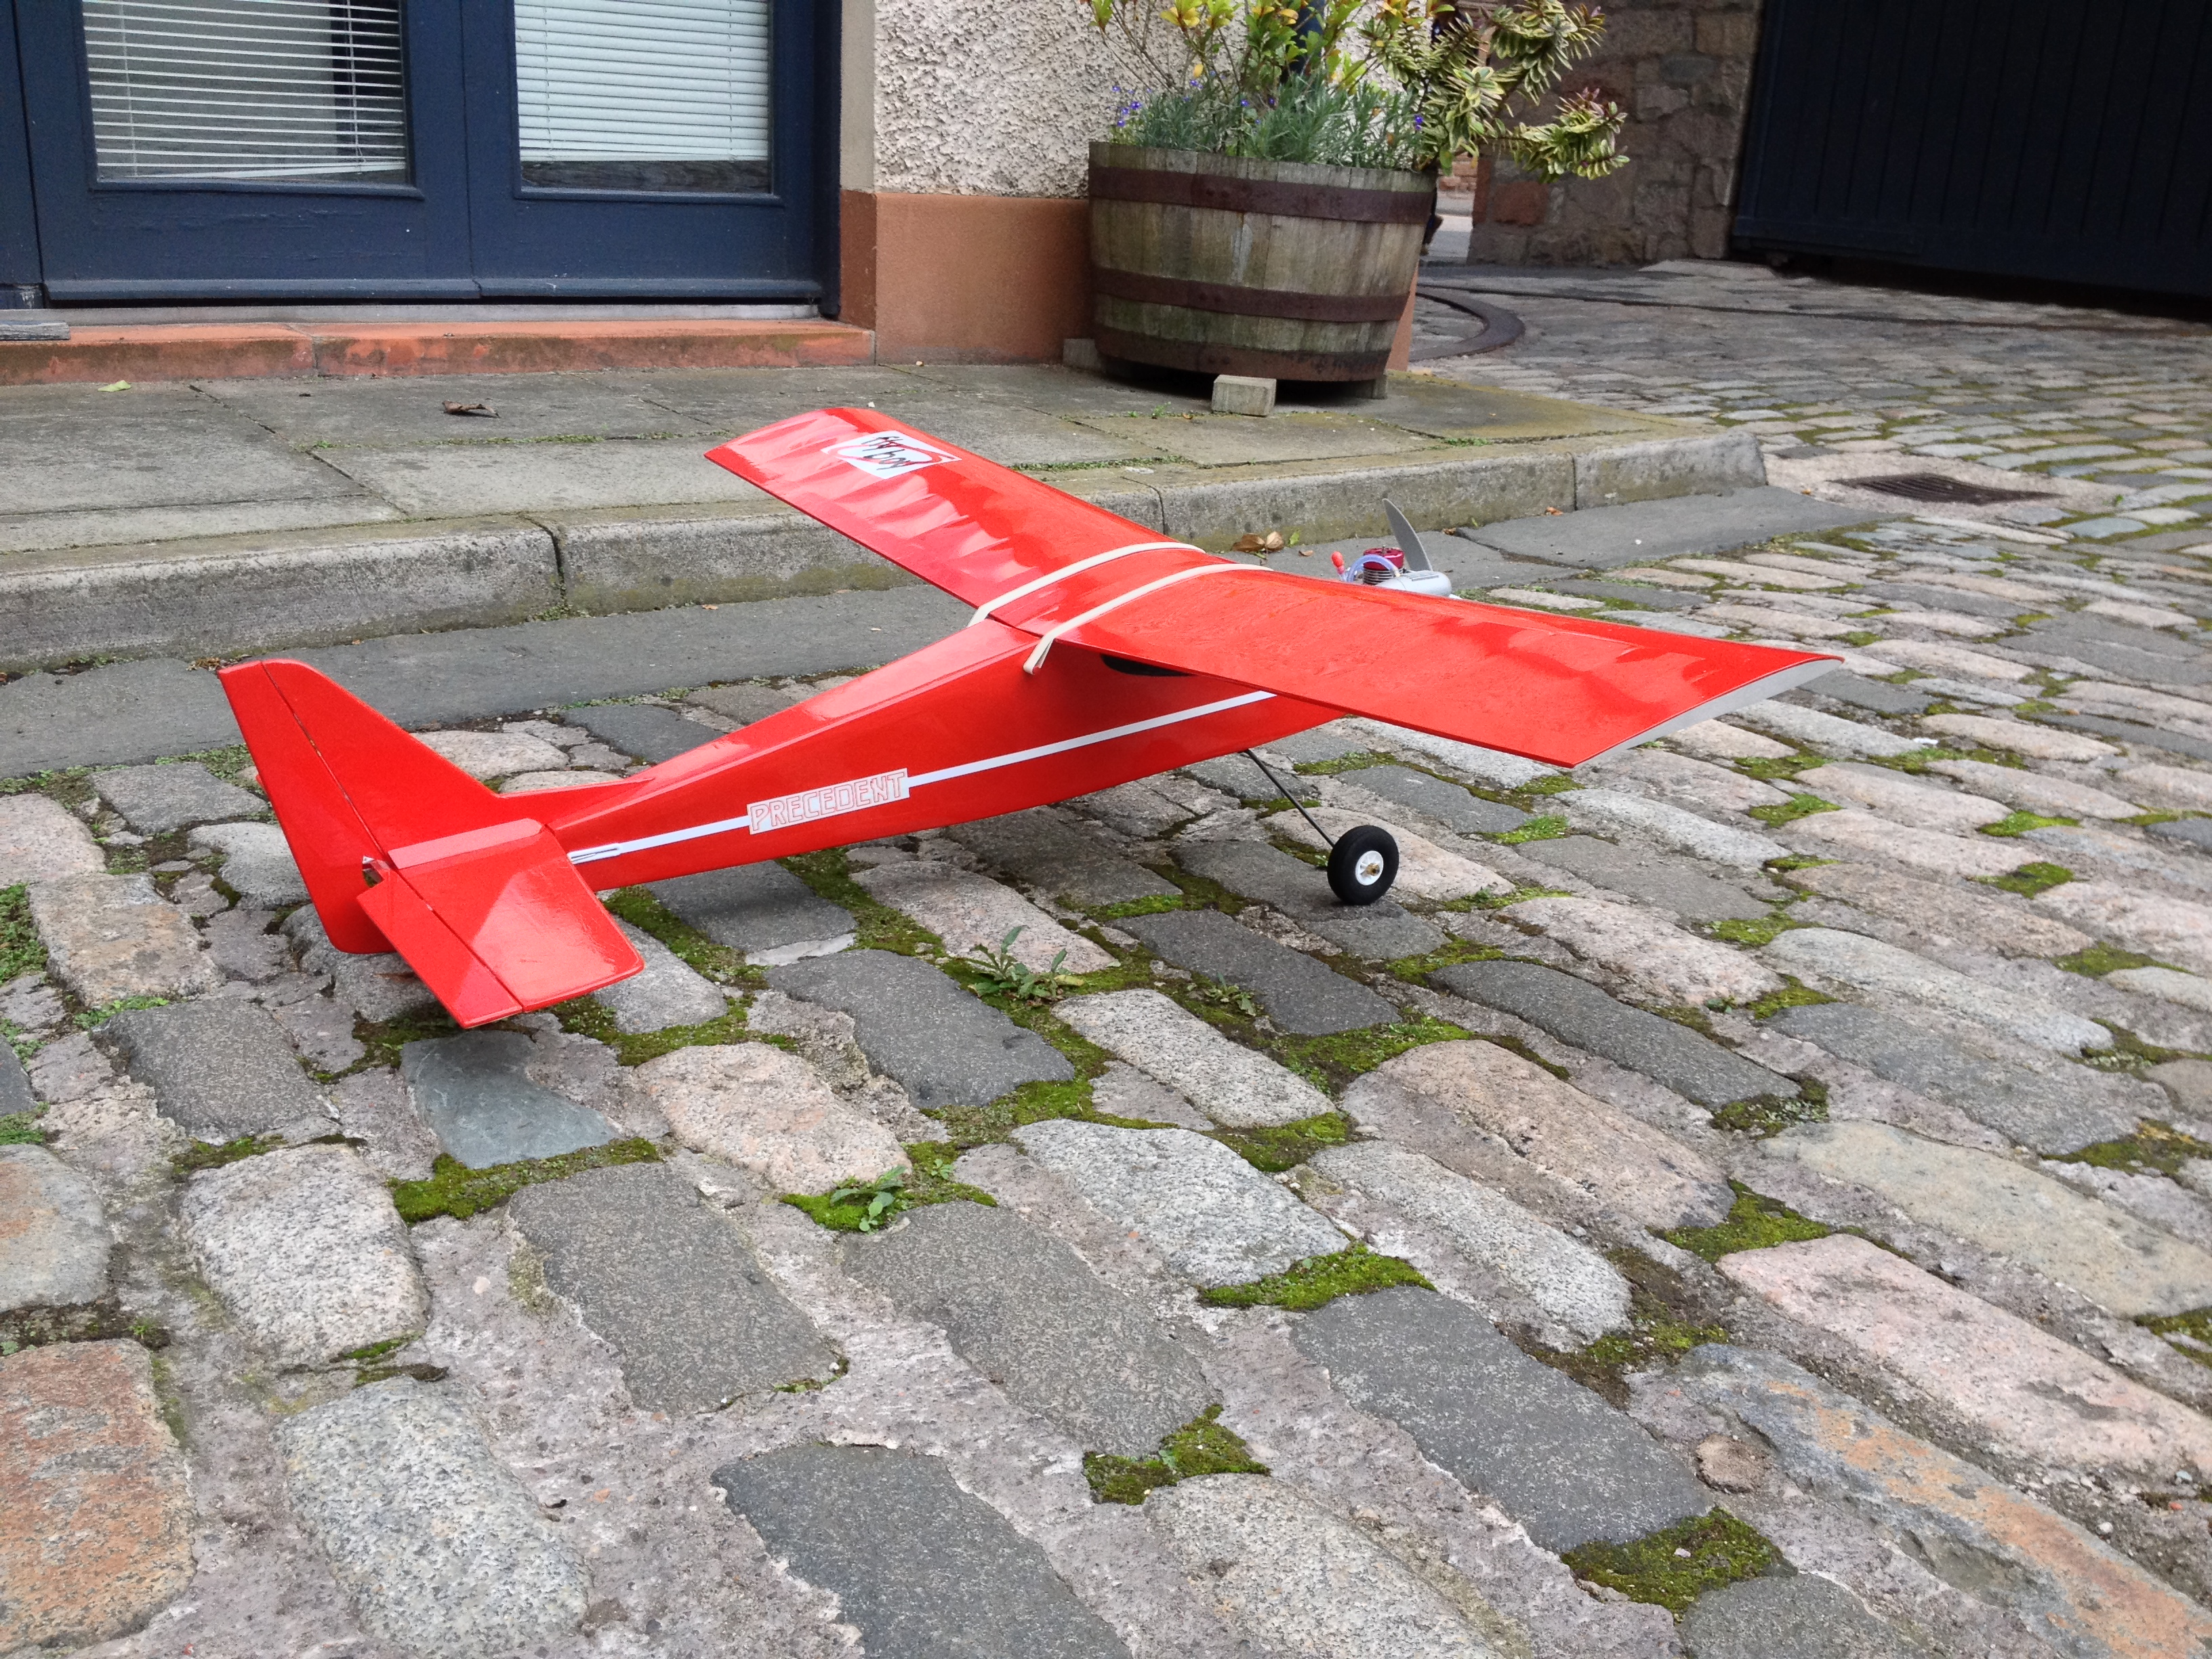
Nothing beats the purposeful look of a tail dragger

Precedent Fly-Boy  06.09.14

The lower surfaces are covered in white to give a bit of contrast.

Anodising Around

One of my favourite engines in my collection is a little ASP 25 Redhead.  As an old engine it’s in excellent condition but has suffered some minor hanger rash in the form of scratching to the back of that distinctive red cylinder head.  Anodising applies a tough natural oxide surface layer through electrolytic passivation in an acid bath.  Not a process typically performed at home and not a process that can be ‘repaired’ easily without treating the affected part to the entire process again.

The good news is there is a simple quick-fix that is successful enough at hiding scratches to such an extent that at first glance the observer may be none the wiser.  It’s also very cheap; all that is required is a permanent marker pen!  Surface scratches almost disappear but deeper marks are a little more visible: more due to shadows cast by raised edges than anything else.  Anodising in this hobby is typically coloured and these pens come in just about any colour you want. The pen only needs to be a close enough match for the repair to work well as shown with my engine below:

Before: Annoying scratches to the rear of the distinctive red cylinder head.

After: Scratches covered up using the marker pen. It’s never going to look like new but imo is considerably better than before.

The pen I used. More or less any permanent marker will do the job. Is the repair permanent/fuel proof? Well it took a bit of scrubbing with methylated spirits before the colour came off fully so I suspect nitro fuel will eventually remove it. As it takes 5 seconds to re-apply I don’t see this as a major hurdle.